To use Sound Recorder in Windows 11, open it from Start, press Ctrl + R to start recording, press Space to pause and press Esc to stop and save.
This guide covers recording, pausing, renaming, sharing and deleting clips, where recordings are kept, and how to fix microphone access and volume when the app records nothing.
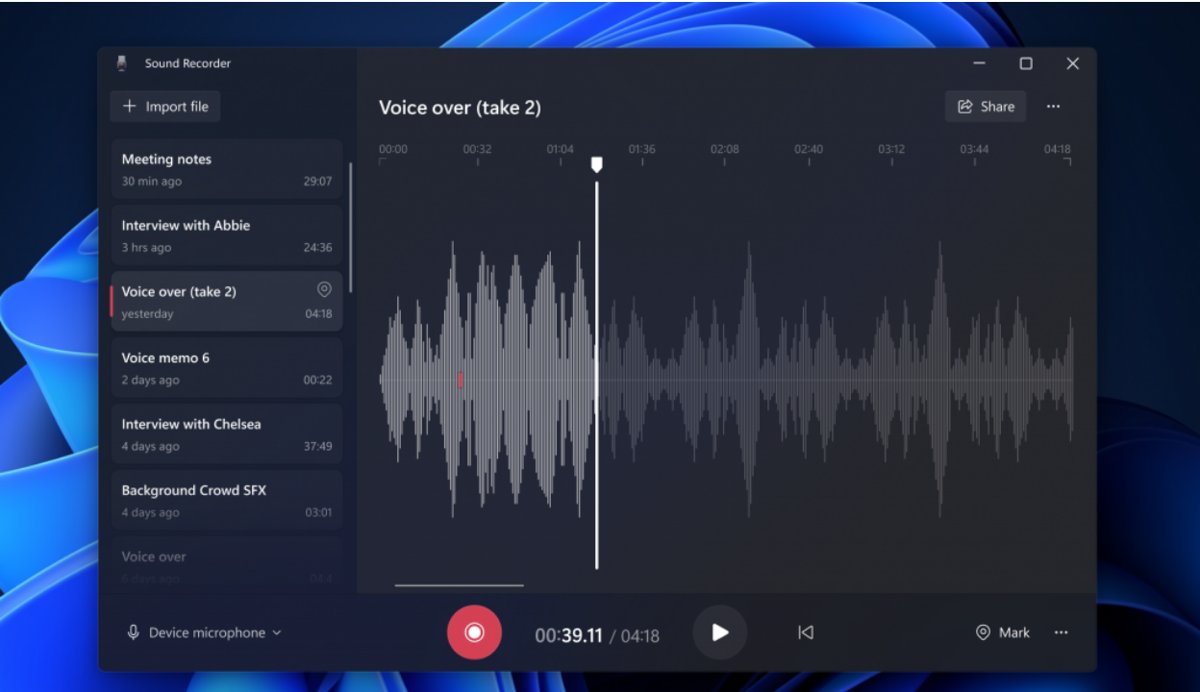
The fastest way to record audio with Sound Recorder
Sound Recorder records up to three hours of audio per file, and it keeps running while you work in other apps.
- Select Start, type Sound Recorder and open the app.
- Allow microphone access if the app asks for it on first launch.
- Press Ctrl + R or select Start recording to begin.
- Speak or play the audio you want to capture.
- Press Esc or select Stop recording to save the clip.
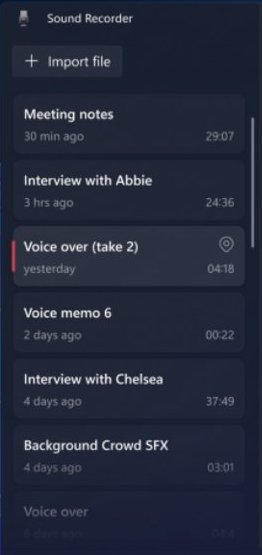
- Find the new clip at the top of the recordings list and select it to play it back.
How to use Sound Recorder in Windows 11/10
Sound Recorder is the Windows 11 replacement for the older Windows Voice Recorder app. The controls below are the same whether you use the mouse, touch or the keyboard.
| Task | Button | Keyboard shortcut | What happens |
|---|---|---|---|
| Start a new recording | Start recording | Ctrl + R | Recording begins and the audio visualization moves |
| Pause | Pause | Space | The Pause button turns into a Record button |
| Resume the same recording | Resume recording | Space | Audio is added to the paused clip, not a new one |
| Stop and save | Stop recording | Esc | The clip appears in your list of recordings |
| Start a fresh clip | Start recording | Ctrl + R | A separate recording starts after the last one was stopped |
Each clip can run for up to three hours. Stop and start a new recording for longer sessions, such as a full-day workshop.
Give Sound Recorder permission to use the microphone
Sound Recorder captures nothing if Windows blocks it from the microphone. The first launch asks for permission, but you can allow apps to access your microphone later from Settings.
- Select Start > Settings.
- Select Privacy & security > Microphone.
- Make sure microphone access is turned on for the device.
- Under Let apps access your microphone, find Sound Recorder.
- Turn the switch next to Sound Recorder on.
- Close Settings and reopen Sound Recorder.
How to pause and resume a Sound Recorder recording
Pausing keeps everything in one file, which saves you from joining clips together later.
- Start a recording with Ctrl + R.
- Press Space or select Pause when you need a break.
- Press Space again or select Resume recording to continue the same clip.
- Press Esc or select Stop recording when you are done.
- Select Start recording afterwards only if you want a new, separate clip.
How to rename recordings in Sound Recorder
New clips get a generic name. Rename them straight away so a list of interviews or lectures stays easy to search.
- Open Sound Recorder.
- Right-click the recording, or tap and hold it on a touchscreen.
- Select Rename.
- Type a new name for the recording.
- Select Rename to save the name.
How to share a Sound Recorder recording
Sharing sends the clip to another app on your PC, such as a mail app or a messaging app.
- Open Sound Recorder.
- Right-click the recording you want to send, or tap and hold it.
- Select Share.
- Pick an app from the list Windows shows.
- Finish sending inside that app, for example by adding a recipient and selecting send.
Uninstalling Sound Recorder deletes the recordings it holds, so share or copy any clip you want to keep before you remove the app.
How to delete recordings in Sound Recorder
- Open Sound Recorder.
- Select the recording you want to remove.
- Right-click it, or tap and hold it.
- Select Delete and confirm if the app asks.
Change the recording device, file format and microphone volume
The redesigned Sound Recorder lets you switch the recording device and the file format from inside the app. Microphone level is set in Windows Settings instead.
| What you want | Where to change it | When to do it |
|---|---|---|
| Record from a USB or headset mic instead of the built-in mic | The recording device option inside Sound Recorder | Before you press Ctrl + R |
| Save in a different file format | The file format option inside Sound Recorder | Before you start the clip |
| Make quiet recordings louder | Settings > System > Sound > Input > your microphone > Input volume slider | When playback is too quiet or clips |
| Turn on the microphone for the app | Settings > Privacy & security > Microphone | When the visualization stays flat |
Other input options, such as the default device, sit with the rest of the Windows 11 sound settings.

How to check that Sound Recorder captured your voice
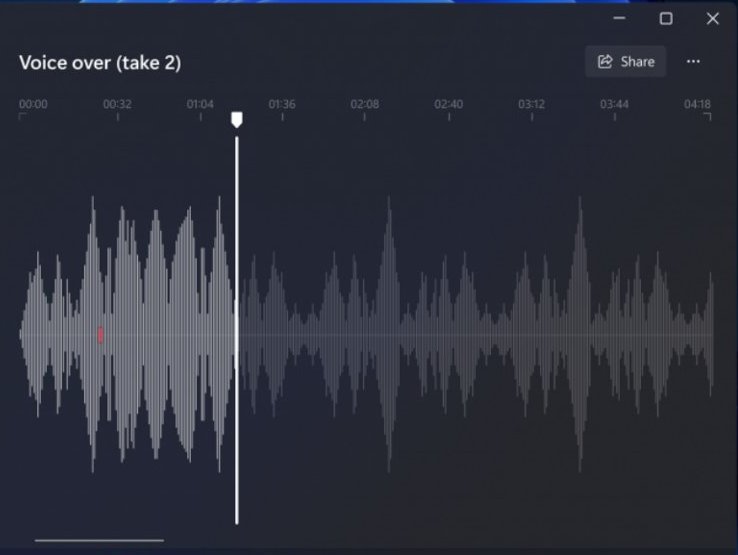
- Watch the audio visualization while you speak; it should move with your voice.
- Press Esc to stop after a short test sentence.
- Select the new clip in the recordings list and play it back.
- Listen for your voice at a comfortable level without distortion.
- Raise or lower the input volume in Settings if the test is too quiet or too loud, then record again.
Where are Sound Recorder recordings saved?
| Question | Answer |
|---|---|
| Where are recordings kept? | Inside the Sound Recorder app, in its list of recordings |
| What happens if I uninstall the app? | The recordings are deleted with it |
| How do I get a clip out of the app? | Right-click it and select Share, or attach it from a mail app |
| Is there a length limit? | Up to three hours per recording file |
Sound Recorder app not working in Windows 11
Sound Recorder records silence
Windows is blocking the app from the microphone.
- Open Settings > Privacy & security > Microphone.
- Turn on Let apps access your microphone.
- Turn on the switch for Sound Recorder.
- Reopen the app and record a short test.
Recordings are too quiet
The input volume for the microphone is set low.
- Open Settings > System > Sound.
- Under Input, select the chevron next to your microphone.
- Drag the Input volume slider up.
- Record a test clip and play it back.
The wrong microphone is used
Sound Recorder is set to a different recording device.
- Open Sound Recorder.
- Open the recording device option in the app.
- Select the microphone you want.
- Press Ctrl + R and test again.
Sound Recorder is missing from Start
The app was uninstalled or never installed on this PC.
- Open Microsoft Store.
- Search for Windows Sound Recorder.
- Select Get or Install; the app is free.
- Open it from Start once the install finishes.
To capture music or system audio instead of your voice, set Sound Recorder up to record internal PC sounds through a different input.
Windows 11 Sound Recorder app FAQ
What is the Sound Recorder app?
Sound Recorder is the free audio recording app built into Windows 11. It records from your microphone for up to three hours per file and lets you pause, rename, share and delete clips.
What is the Microsoft Sound Recorder app?
It is Microsoft's own recording app for Windows 11, published in Microsoft Store as Windows Sound Recorder. It replaced the older Voice Recorder app and added an audio visualization, a recording device choice and a file format choice.
How do I record using Sound Recorder?
Open Sound Recorder from Start and press Ctrl + R or select Start recording. Press Space to pause and Esc to stop. The saved clip appears in the list of recordings.
How do I use the Voice Recorder app on Windows 11?
Voice Recorder has been replaced by Sound Recorder in Windows 11. Open Sound Recorder from Start and use the same idea: Ctrl + R to record, Space to pause and Esc to stop.
How do I install the Sound Recorder app?
Open Microsoft Store, search for Windows Sound Recorder and select Get or Install. The app is free, and it then appears in the Start menu like any other app.
Is there a Sound Recorder app download for PC?
Yes. Windows Sound Recorder is a free download from Microsoft Store. Get it there rather than from a third-party download site, so updates arrive automatically.
Where does Sound Recorder save files?
Recordings are stored inside the Sound Recorder app and listed in its recordings pane. If you uninstall the app, its recordings are deleted, so share any clip you need first.
How long can a Sound Recorder recording be?
Each recording file can be up to three hours long. For longer sessions, stop the recording and start a new one.
Can Sound Recorder record system sound?
Sound Recorder records from an input device such as a microphone. Capturing system audio needs an input that carries PC playback, such as Stereo Mix on sound cards that offer it.
Why is Sound Recorder not working on my laptop?
The usual cause is that microphone access is turned off for the app. Open Settings > Privacy & security > Microphone and turn on access for Sound Recorder, then record a short test.