To install VirtualBox Guest Additions on Windows 11, start the VM, choose Devices > Insert Guest Additions CD Image, run VBoxWindowsAdditions.exe from the virtual CD drive, follow the installer and reboot the guest.
This guide covers what the Additions add, what to check first, the manual ISO route, a silent install, how to confirm it worked, and fixes when the installer or its features fail.
How to install VirtualBox Guest Additions on Windows 11
Guest Additions install inside the virtual machine, not on your host PC. Windows 11 must already be installed in the VM before you start.
- Start the Windows 11 virtual machine and sign in.
- In the VM window's menu bar, select Devices, then Insert Guest Additions CD Image.
- If the installer does not start on its own, open File Explorer in the guest, select the virtual CD drive and double-click VBoxWindowsAdditions.exe.
- Approve the User Account Control prompt, then follow the setup wizard with its default components.
- Accept the Oracle driver installation prompts if Windows asks to trust the publisher.
- Choose to reboot when setup finishes, or restart the guest yourself.
After the restart, the mouse moves freely between host and guest and the guest's resolution follows the VM window size.
Which install route should you use?
| Your situation | Use this | Why |
|---|---|---|
| A normal Windows 11 VM with the menu bar visible | Devices > Insert Guest Additions CD Image | VirtualBox mounts the right ISO for its own version |
| The Insert Guest Additions option is missing or greyed out | Mount VBoxGuestAdditions.iso manually | Works from the Optical Drives menu or VM settings |
| You are building a new VM | Unattended installation in the New Virtual Machine wizard | The wizard can install Windows and the Additions in one pass |
| You script or deploy many VMs | VBoxWindowsAdditions.exe /S | Silent install with no wizard |
| VirtualBox on the host was just upgraded | Devices > Upgrade Guest Additions | Replaces the old drivers with the matching version |
Preparing for Installation
| Check | What is required |
|---|---|
| Guest operating system | Windows 11 fully installed in the VM; the Additions support Windows 11 on x86_64 and Arm64 VMs |
| VirtualBox version | The Additions ship with every VirtualBox release; use the ISO from the version installed on your host |
| Account in the guest | An administrator account, because the installer adds device drivers |
| ISO location on a Windows host | VBoxGuestAdditions.iso in the VirtualBox install folder, usually C:\Program Files\Oracle\VirtualBox |
| Virtual optical drive | The VM needs a CD/DVD drive to mount the ISO |
| Snapshot (optional) | Take a snapshot first if you want an easy way back |
Still need a guest operating system? Get official media first with the Windows 11 download options, install it in the VM, then return here.
Mount the Guest Additions ISO manually
Use this when Insert Guest Additions CD Image is unavailable. Oracle documents it as the alternative route.
- In the running VM, select Devices, then Optical Drives, then Choose/Create a Disk Image.
- In the Virtual Media Manager, select Add.
- Browse on the host to VBoxGuestAdditions.iso in the VirtualBox installation folder.
- Select the ISO and select Add to mount it as a CD in the guest.
- In the guest, open the CD drive in File Explorer and run VBoxWindowsAdditions.exe.
- Complete the installer and reboot the guest.
Install Guest Additions silently from the command line
Open Command Prompt as administrator in the guest and change to the Guest Additions CD drive first.
VBoxWindowsAdditions.exe /S/S runs an unattended install that picks the correct 32-bit or 64-bit files and drivers for the guest. Run VBoxWindowsAdditions.exe /? to list the other switches.
You should see: The installer finishes without a wizard. Reboot the guest to load the new drivers.
To stop driver trust prompts during an unattended install, run VBoxCertUtil.exe add-trusted-publisher vbox*.cer --root vbox*.cer from the cert folder on the CD first. To unpack the files without installing, use VBoxWindowsAdditions.exe /extract.
How to check Guest Additions are working
- Move the pointer out of the VM window; it should leave without pressing the Host key.
- Drag a corner of the VM window; the guest resolution should resize to fit.
- Open Device Manager in the guest and confirm Oracle VirtualBox Graphics Adapter and Oracle VirtualBox System Device are listed.
- Open Settings > Apps > Installed apps in the guest and look for the VirtualBox Guest Additions entry.
Understanding VirtualBox Guest Additions
Guest Additions are device drivers and system applications that run inside the VM. They are part of the VirtualBox base package and are licensed under GPLv3, so they cost nothing.
| Feature | What it gives you |
|---|---|
| Mouse pointer integration | One pointer; no Host key needed to release the mouse |
| Better video support | Higher and non-standard resolutions, auto-resize with the window, 3D acceleration option |
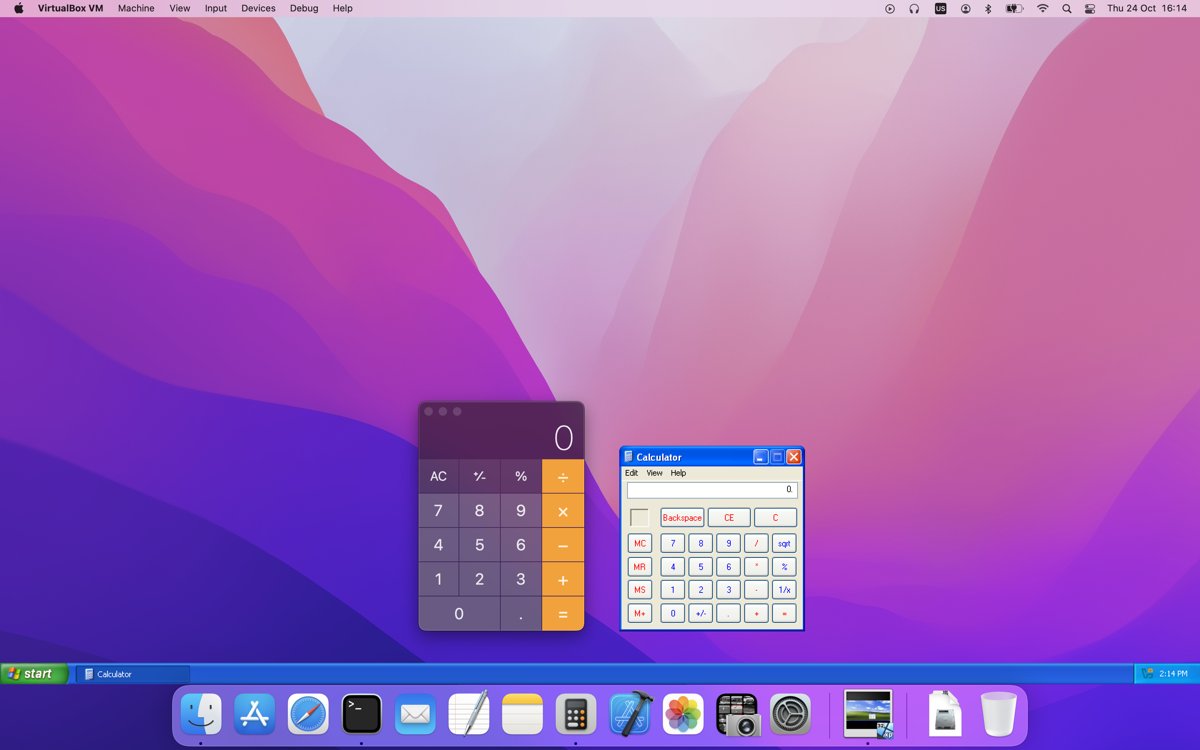
| Shared folders | Host folders appear in the guest as network shares, even with no network |
| Shared clipboard | Copy and paste between host and guest, in one or both directions |
| Drag and drop | Drag files between host and guest |
| Seamless windows | Guest app windows appear on the host desktop |
| Time synchronization | Keeps the guest clock aligned with the host after pauses or saved states |
| Automated logins | Passes credentials to the guest login |
The VBoxSVGA and VMSVGA graphics controllers also require the Additions in the guest.
Turn on shared clipboard, drag and drop, and shared folders
Installing the Additions does not switch these on. Shared clipboard and drag and drop are off by default for security.
- In the running VM, select Devices > Shared Clipboard and choose Bidirectional, Host to Guest or Guest to Host.
- Select Devices > Drag and Drop and pick a direction.
- Select Devices > Shared Folders, add a host folder and give it a share name.
- Tick the auto-mount option to have the guest map it to a free drive letter, starting from Z:.
- Or map it yourself in the guest with
net use x: \\vboxsvr\sharename, replacing x: and sharename.
With the VM powered off, the same clipboard and drag-and-drop options sit under Settings > General > Advanced.
Update, uninstall or reinstall Guest Additions
- To update after upgrading VirtualBox, select Devices > Upgrade Guest Additions in the VM, or run the installer from the new ISO again.
- To uninstall, open Start > Settings > Apps > Installed apps in the guest.
- Find the VirtualBox Guest Additions entry and select More > Uninstall.
- Restart the guest.
- To reinstall, insert the Guest Additions CD image again and run VBoxWindowsAdditions.exe.
Older Additions keep working after a host upgrade, but Oracle recommends matching versions. Windows guests show a notice when the host runs a newer VirtualBox.
Troubleshooting Common Issues
Guest Additions not installing: nothing happens after inserting the CD image
AutoPlay is off in the guest, so the installer does not start by itself.
- Open File Explorer in the guest.
- Select the VirtualBox Guest Additions CD drive.
- Double-click VBoxWindowsAdditions.exe and approve the prompt.
Insert Guest Additions CD Image is missing or does nothing
The menu option is unavailable for this VM or the optical drive is busy.
- Eject any other ISO from Devices > Optical Drives.
- Mount VBoxGuestAdditions.iso through Choose/Create a Disk Image as shown above.
- If the VM has no optical drive, power it off and add one under Settings > Storage.
Guest Additions not working: screen does not resize after install
The guest has not restarted, or the graphics drivers are out of date.
- Restart the guest so the new drivers load.
- Run Devices > Upgrade Guest Additions if the host VirtualBox is newer.
- Check Settings > Display for the VM and use the default VBoxSVGA controller for Windows guests.
Copy and paste or drag and drop does not work
Both features are disabled by default even with the Additions installed.
- Select Devices > Shared Clipboard > Bidirectional.
- Select Devices > Drag and Drop and choose the direction you need.
- Try the copy again.
A shared folder does not appear in the guest
It was not set to auto-mount, or every drive letter is taken.
- Open Devices > Shared Folders and confirm the folder and share name.
- Turn on auto-mount, or run
net use x: \\vboxsvr\sharenamein the guest. - Free a drive letter if all are assigned.
Frequently asked questions
How do I install VirtualBox Guest Additions?
Start the VM, select Devices > Insert Guest Additions CD Image, then run the installer from the virtual CD drive in the guest and reboot. On Windows guests the installer is VBoxWindowsAdditions.exe.
How do I install the VirtualBox Guest Additions ISO?
Mount VBoxGuestAdditions.iso as a virtual CD. Select Devices > Optical Drives > Choose/Create a Disk Image, add the ISO from the VirtualBox install folder, then run the installer from the CD drive inside the guest.
What is VirtualBox Guest Additions?
It is a set of drivers and system applications installed inside a virtual machine. It adds mouse integration, better video and auto-resize, shared folders, shared clipboard, drag and drop and time synchronization.
Where is Guest Additions located?
On a Windows host, VBoxGuestAdditions.iso sits in the VirtualBox installation folder, usually C:\Program Files\Oracle\VirtualBox. On Linux and Solaris hosts it is usually under /opt/VirtualBox.
How do I uninstall and reinstall VirtualBox Guest Additions?
In the Windows guest, open Settings > Apps > Installed apps, uninstall the Guest Additions entry and restart. Then insert the Guest Additions CD image again and run VBoxWindowsAdditions.exe to reinstall.
What is Extension Pack for VirtualBox?
The Extension Pack is a separate binary package of extra VirtualBox features. It is free for personal and educational use under the PUEL licence, and commercial use needs a paid licence. Guest Additions do not need it.
Is VirtualBox Guest Additions free?
Yes. Guest Additions ship as part of the VirtualBox base package and are licensed under GPLv3, so they are free for any use. Only the separate Extension Pack has personal-use licence terms.
Bottom line
Install Guest Additions in every Windows 11 VM right after setup with Devices > Insert Guest Additions CD Image, then switch on clipboard and shared folders. It takes a few minutes, costs nothing, and fixes the pointer capture, fixed resolution and file-transfer limits of a plain VM.