To check what monitor you have, run one PowerShell command that reads the model name, manufacturer and serial number your monitor reports to Windows.
This guide also covers Devices and Printers, Device Manager, Settings, DxDiag, the physical label and the Mac route, plus fixes when the model will not show.
Check what monitor you have with PowerShell
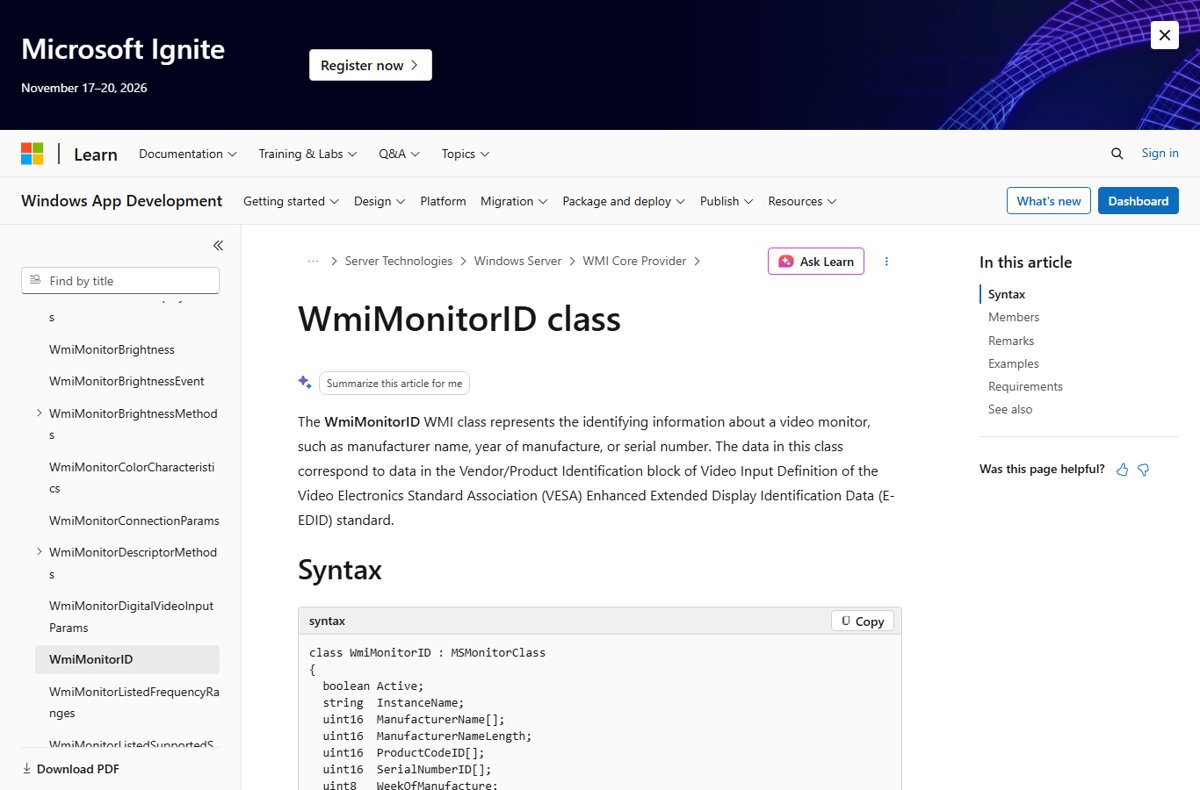
Every modern monitor stores its identity in a small data block called EDID, and Windows exposes it through the WmiMonitorID class. This command decodes it for every connected monitor at once.
Open Start, type PowerShell, and select Windows PowerShell. Then paste the command below and press Enter.
gwmi WmiMonitorID -Namespace root\wmi | ForEach-Object {($_.ManufacturerName -ne 0 | foreach {[char]$_}) -join ""; ($_.UserFriendlyName -ne 0 | foreach {[char]$_}) -join ""; ($_.SerialNumberID -ne 0 | foreach {[char]$_}) -join ""; $_.YearOfManufacture}gwmi queries the WmiMonitorID class in the root\wmi namespace. Each property is stored as an array of character codes, so the ForEach-Object block turns them back into text: a three-letter manufacturer code, the model name, the serial number, and the year of manufacture.
You should see: Four lines per monitor, for example a manufacturer code, a model name such as a product series and number, a serial string, and a year. A laptop with an external screen shows two blocks.
Search the model name on the manufacturer's support site to see its full specifications. If the name line is empty, the monitor did not report one; use the label method below.
Which way to find monitor information should you use?
Windows has several software methods to check monitor specs, and each answers a different question. The physical label is the fallback when the PC cannot start.
| What you need | Use this | What it shows |
|---|---|---|
| Exact model and serial number | PowerShell WmiMonitorID command | Manufacturer code, model name, serial, year |
| A quick look without typing commands | Devices and Printers or Device Manager | The name Windows lists for the monitor |
| Resolution and refresh rate | Settings > System > Display > Advanced display | Current resolution, refresh rate, VRR support |
| Which graphics card drives the screen | DxDiag, Display tab | Display adapter name and driver |
| The PC will not start or show a picture | Label on the monitor | Printed model and serial number |
| You use a Mac | Apple menu > About This Mac | Display settings and System Report |
Third-party identification tools read the same EDID data the monitor sends to Windows, so the built-in PowerShell command gives you the model and serial number without installing anything.
Using Devices and Printers
Devices and Printers is the Control Panel view of connected hardware. It lists the monitor alongside your keyboard, mouse and printers.
- Press Windows key + R to open Run.
- Type
control.exe /name Microsoft.DevicesAndPrintersand press Enter. - Look in the Devices section for the monitor icon.
- Read the name under the icon; it is the name your monitor reports to Windows.
- If the newer Settings page opens instead of Control Panel, use Device Manager or PowerShell.
Check monitor information in Device Manager
Windows lists every monitor as a child device of the graphics adapter it is connected to. Device Manager shows that list in one place.
- Right-click the Start button and select Device Manager.
- Select the arrow next to Monitors to expand it.
- Read the entry for each connected monitor.
- Expand Display adapters to see the graphics card each monitor connects through.
- If the monitor entry shows only a generic name, run the PowerShell command to read the real model.
Find monitor information in Windows 11 Settings
Settings does not replace the model lookup, but it shows the figures most people actually need: resolution, refresh rate and variable refresh rate support.
- Select Start > Settings > System > Display.
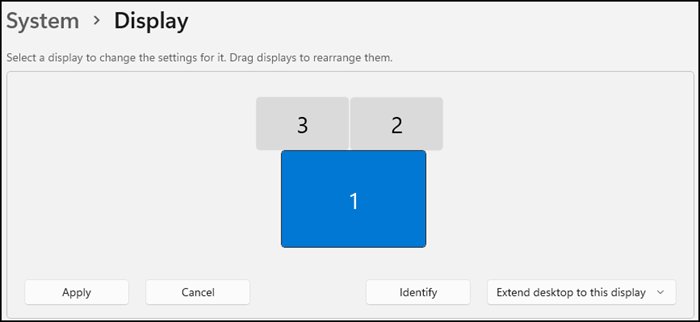
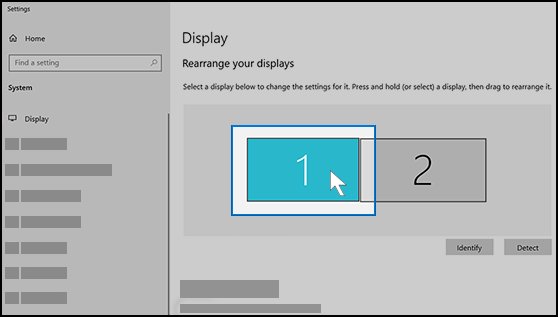
- If you have more than one screen, select Identify to see which number belongs to which monitor.
- Select the monitor you want to check.
- Select Advanced display.
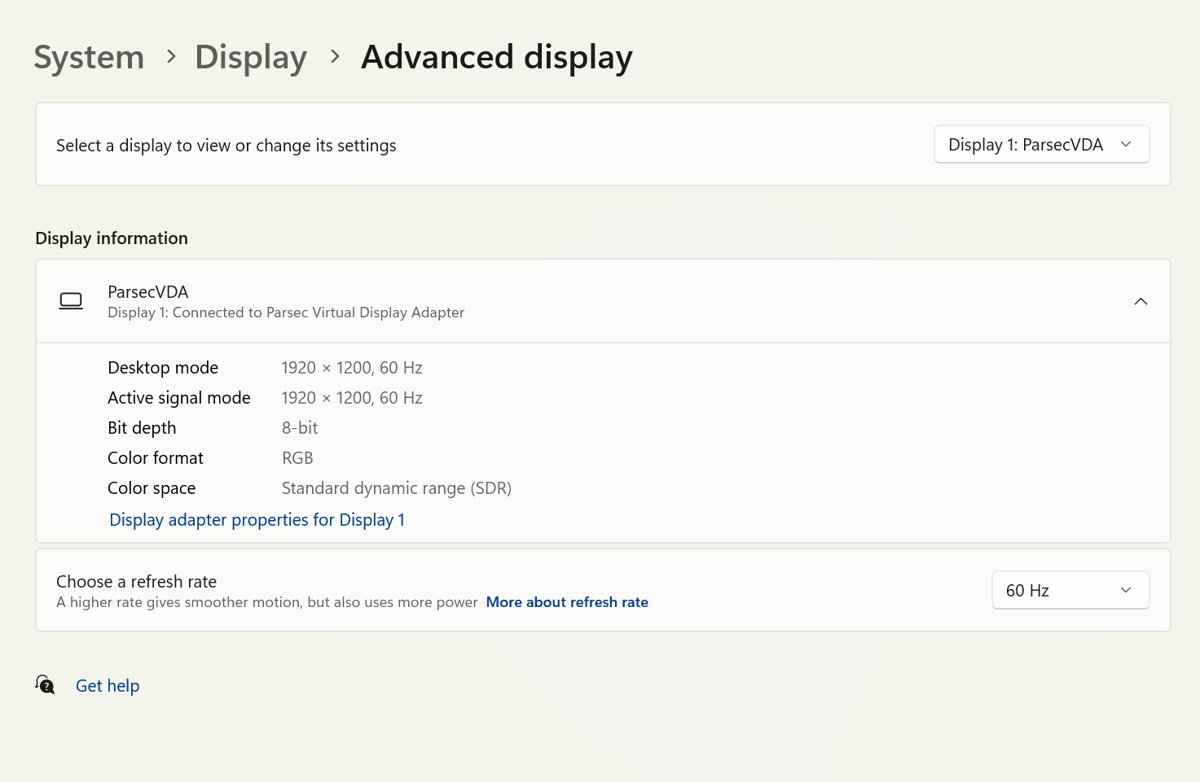
- Read the Display information panel for the current resolution, refresh rate and VRR support.
- Open the list next to Choose a refresh rate to see every rate this monitor supports.
Back on the Display page, the entry marked (Recommended) under Display resolution is the monitor's native resolution as Windows reads it.
Check display details with DxDiag
The DirectX Diagnostic Tool focuses on the graphics side. Use it when you want to know which adapter and driver your monitor runs on, for example before you check your graphics card model in detail.
- Right-click Start and select Run.
- Type
dxdiag.exeand select OK. - Select Yes if asked whether to check that your drivers are digitally signed.
- Select the Display tab.
- Read the adapter name next to Name in the Device section.
- Check each Display tab if there is more than one; each tab is a separate adapter.
- Select Save All Information to keep a text copy of the report.
Find the monitor model on the label or box
This works even when the monitor shows no picture or is not connected to anything.
A quick physical inspection of the monitor, plus its documentation such as the box, manual or receipt, gives you the printed model and serial number.
- Turn the monitor off and unplug the power cable.
- Look at the back panel and the stand for a printed label.
- Note the model number and serial number on the label.
- Check the original box or purchase receipt if the label is missing or worn.
- Enter the model number on the manufacturer's support site to confirm specifications.
How to check what monitor you have on a Mac
To find monitor info on macOS, start from the Apple menu.
- Choose Apple menu > About This Mac.
- Select Display Settings to see the connected displays.
- For full details, choose Apple menu > System Settings > General > About, then select System Report.
- Select the graphics and displays entry under Hardware to see each connected display.
- Hold the Option key and choose Apple menu > System Information as a shortcut to the same report.
What each monitor detail tells you
| Detail | Where to find it | Why it matters |
|---|---|---|
| Model name | PowerShell, Devices and Printers, label | Finds drivers, manuals and specifications |
| Manufacturer code | PowerShell | Three-letter vendor ID from the monitor's EDID |
| Serial number | PowerShell, label | Needed for warranty and support claims |
| Year and week of manufacture | PowerShell | Shows how old the panel is |
| Resolution | Settings > Display | The native resolution gives the sharpest text |
| Refresh rate | Settings > Advanced display | Higher rates make motion smoother |
| VRR support | Settings > Advanced display | Lets games adapt the refresh rate |
| Graphics adapter | Device Manager, DxDiag | Decides how many monitors and what modes you can run |
Confirm the screen size (diagonal)
Monitor sizes are sold by the diagonal of the visible screen in inches. Windows can estimate it from the image width and height the monitor reports in its EDID data.
Open Windows PowerShell, paste the command below and press Enter.
gwmi WmiMonitorBasicDisplayParams -Namespace root\wmi | ForEach-Object { [math]::Round([math]::Sqrt([math]::Pow($_.MaxHorizontalImageSize,2) + [math]::Pow($_.MaxVerticalImageSize,2)) / 2.54, 1) }The WmiMonitorBasicDisplayParams class holds the maximum horizontal and vertical image size in centimeters, rounded to the nearest centimeter. The command works out the diagonal from those two values and divides by 2.54 to convert it to inches.
You should see: One number per monitor, close to the advertised size. Because the source values are rounded to whole centimeters, expect the result to differ from the box by a fraction of an inch.
A result of 0 means the monitor reported no size, which Microsoft notes can happen with projectors. In that case, measure the visible screen area from one corner to the opposite corner with a tape measure.
Check the ports and capabilities at a glance
Once you know the model, a few places in Windows and on the monitor itself confirm what it can do.
| Capability | Where to check | What to look for |
|---|---|---|
| Video ports | Back panel or underside of the monitor | The printed label next to each port, such as HDMI, DisplayPort or USB-C |
| Native resolution | Settings > System > Display | The resolution marked (Recommended) |
| Refresh rate | Settings > System > Display > Advanced display | The current rate under Display information and the options in Choose a refresh rate |
| Variable refresh rate | Settings > System > Display > Advanced display | VRR support listed under Display information |
| HDR | Settings > System > Display > HDR | Supported or Not supported under Display capabilities |
Select the right display at the top of the Display page first when more than one screen is connected.
How to confirm you identified the right monitor
Of the online resources for this check, manufacturer websites are the most reliable. The support page for your model lists the official specifications, manuals and drivers.
- Search the model name from PowerShell on the manufacturer's website.
- Compare the listed native resolution with the (Recommended) resolution in Settings > System > Display.
- Compare the listed maximum refresh rate with the options under Choose a refresh rate in Advanced display.
- Match the serial number from PowerShell with the one on the back label.
Fix monitor information not showing in Windows
PowerShell prints a blank model name
The monitor did not send a friendly name in its EDID, or an adapter or switch in the cable path hides it.
- Connect the monitor directly to the PC without a dock, splitter or adapter.
- Run the command again.
- If it is still blank, read the model from the label.
Windows shows Generic PnP Monitor or the wrong model
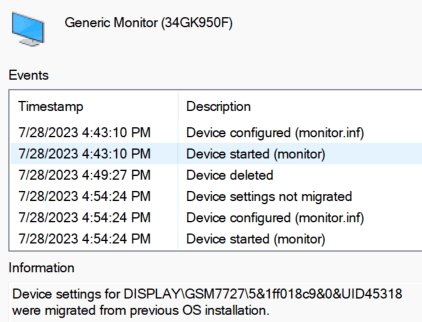
The device name in Device Manager and Devices and Printers can be a generic label rather than the real model. The WmiMonitorID class reads the model from the monitor's own EDID data instead.
- Run the PowerShell command at the top of this guide and read the model name line.
- Compare that name with the model number on the label on the back of the monitor.
- Open Device Manager, expand Display adapters, and check that the graphics adapter is not listed as Microsoft Basic Display Adapter, because that generic graphics driver limits the resolutions and display features Windows can use.
- If the label and PowerShell agree, trust that model even though Device Manager keeps the generic name.
gwmi is not recognized
You opened PowerShell 7, which does not include the gwmi alias.
- Close the window.
- Open Start, type
Windows PowerShell, and open that app instead. - Paste the command again.
The external monitor is missing from every list
Windows has not detected it, or the display mode excludes it.
- Press Windows key + P and make sure Extend is selected.
- Select Start > Settings > System > Display > Multiple displays > Detect.
- Reseat or swap the cable, then try another video port.
You cannot tell which monitor is which
Several screens report similar names.
- Open Settings > System > Display.
- Select Identify to show each display's number on its screen.
- Select that number before you open Advanced display.
DxDiag or Device Manager shows Microsoft Basic Display Adapter
Windows is using its generic graphics driver, which limits resolutions and monitor details.
- Select Start > Settings > Windows Update > Check for updates.
- Install the latest graphics driver from your PC or graphics card maker if Windows Update has none.
- Restart and check the monitor information again.
Special cases: laptops, docks, TVs and identical monitors
| Case | What happens | What to do |
|---|---|---|
| Laptop with an external monitor | PowerShell lists the built-in panel and the external screen as separate blocks | Match each block to a screen by its model name or serial number |
| Monitor behind a dock, splitter, KVM switch or adapter | The device in the cable path can hide the monitor's model name | Connect the monitor straight to the PC and run the command again |
| TV or projector used as a monitor | It may report no image size, so the size command returns 0 | Read the model from the label or the TV's own settings menu |
| Two identical monitors | Both report the same model name | Use the serial number line, or select Identify in Settings > System > Display |
| Generic graphics driver in use | Microsoft Basic Display Adapter limits resolutions and display details | Install the graphics driver from Windows Update or the PC maker |
Monitor information FAQ
Quick answers to common questions about finding your monitor model, serial number and display specs.
How do I find monitor information on Windows 11?
Run the WmiMonitorID PowerShell command to get the model, manufacturer and serial number. For resolution and refresh rate, open Settings > System > Display > Advanced display, where the Display information panel lists them for the selected screen.
How do I find my monitor information on a PC without opening the case?
Nothing needs opening. Windows reads the monitor's details over the video cable, so PowerShell, Device Manager and Devices and Printers all show them. If the PC will not start, read the label on the back of the monitor instead.
How do I get monitor information if there is no label?
Use the PowerShell command in Windows. It reads the model name and serial number stored inside the monitor itself, so it works even when the sticker is missing. The original box and purchase receipt also list the model.
How do I see my monitor's refresh rate?
Open Settings > System > Display > Advanced display. The Display information panel shows the current refresh rate, and the list next to Choose a refresh rate shows every rate the monitor supports at your resolution.
How do I check monitor information when I have two screens?
The PowerShell command prints a block for each monitor. In Settings > System > Display, select Identify to see which number belongs to which screen, then select that display before opening Advanced display.
Can I find my monitor's serial number in Windows?
Yes, if the monitor reports one. The WmiMonitorID PowerShell command prints the serial number stored in the monitor's EDID. Compare it with the label before using it for a warranty claim, because some monitors store a placeholder.
Does DxDiag show what monitor I have?
DxDiag's Display tab is built around the graphics adapter. It shows the adapter name and driver for each display, which helps with driver problems, but PowerShell or Device Manager is the better place to read the monitor model.
Bottom line: the quickest way to identify your monitor
Run the WmiMonitorID command in Windows PowerShell first, and fall back to the label if it returns nothing. The command reads the model, manufacturer and serial number straight from the monitor in seconds and covers every connected screen. Settings then adds the resolution and refresh rate figures the model name alone does not tell you.