Your Mac already has the snipping tools built in, and they do everything Snipping Tool does on Windows. This guide sets them up with the same shortcuts and save behaviour.
Your Mac already has the same tool under a different name. Press Shift + Command + 5 and the Screenshot toolbar opens, with capture modes, a timer, a save location and screen recording. Nothing to download, nothing to pay.
This guide covers the shortcuts that replace each Snipping Tool mode, how to set the Screenshot app up the way Snipping Tool behaves, how to reach the real Snipping Tool from a Mac, what the App Store results named Snipping Tool actually are, and fixes for captures that fail.
Which Snipping Tool download do you need for your Mac?
None of them. Find your case in the first column and act on the second.
| What you are after | What to do | Size |
|---|---|---|
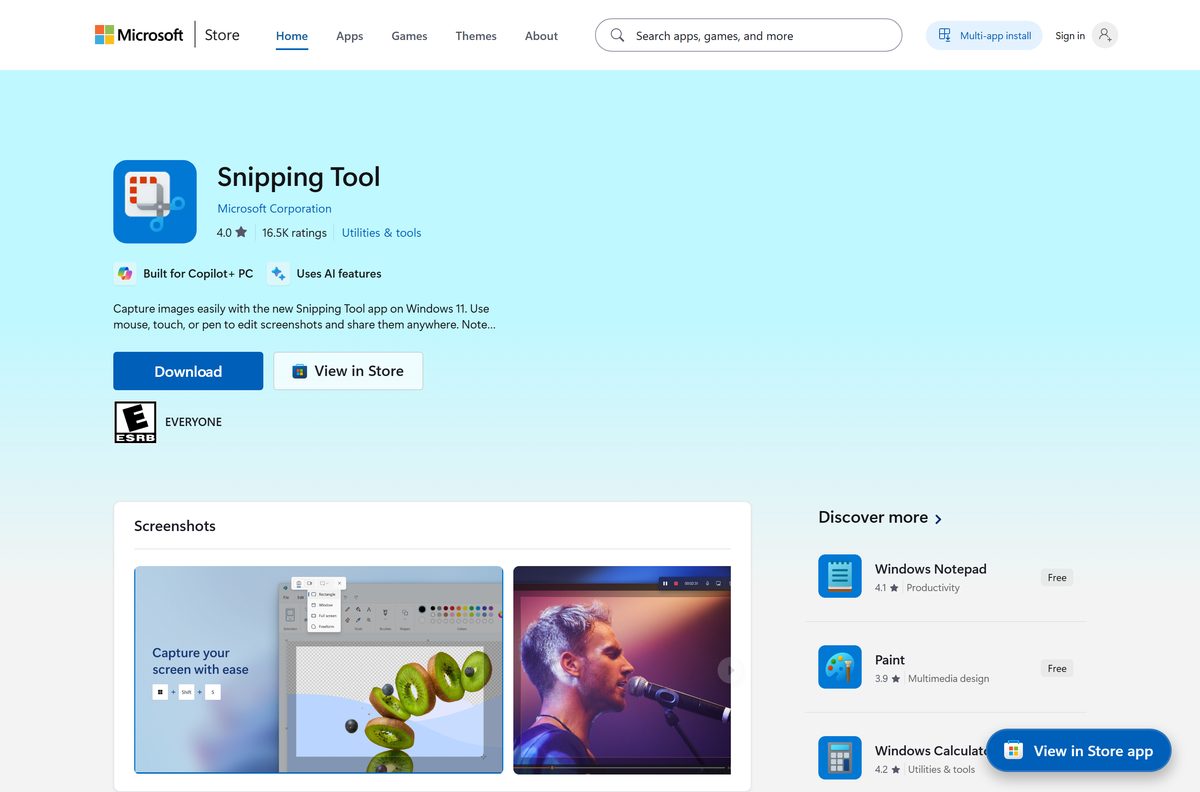
| A Microsoft Snipping Tool for macOS | It does not exist. The Store listing reads available on PC | 0 |
| The same job done natively on a Mac | Press Shift + Command + 5 | 0 |
| A Snipping Tool DMG or PKG | Microsoft publishes neither. Only Windows setup files exist | 0 |
| An app called Snipping Tool in the Mac App Store | Third-party publishers, not Microsoft. Read the developer line first | varies |
| The real Snipping Tool, on a Windows PC you can reach | Windows App, free on the Mac App Store | 90.5 MB |
| Snipping Tool on a Windows PC as well | snippingtool_setup_x64.exe | 254 KB |
Only one row involves an installer, and it runs on Windows. The Windows side is covered in the Snipping Tool download guide for PC.
Check the Snipping Tool specs and macOS requirements
One table, two products: the Windows app people search for, and the Mac tool that replaces it.
| Field | Value |
|---|---|
| Software | Snipping Tool |
| Developer | Microsoft Corporation |
| Latest version | 11.2605.38.0, a Windows build |
| Mac version | None |
| Price | Free, included with Windows |
| Available on | PC, per the Microsoft Store listing |
| Architecture | x86, x64, Arm and Arm64, all Windows |
| Windows setup size | 254 KB x64, 198 KB x86, 238 KB ARM64 |
| Mac download size | 0 bytes, nothing to install |
| macOS equivalent | Screenshot, by Apple |
| Where it lives on a Mac | Applications > Utilities > Screenshot |
| macOS needed | macOS Mojave 10.14 or later; current release is macOS Tahoe 26 |
| Capture output | PNG on the desktop, MOV for recordings |
| Remote option | Windows App 11.4.1, 90.5 MB, macOS 14.0 or later |
| Last verified | 2026-09-10 |
The Screenshot app arrived in macOS Mojave 10.14 and has shipped in every release since, so age is rarely the problem on a working Mac.
Where the official Microsoft and Apple sources are
Six pages cover everything a Mac user needs here. No other site publishes a Microsoft-built Snipping Tool.
- Microsoft Store listing, product 9MZ95KL8MR0L — publisher Microsoft Corporation, available on PC
- Microsoft’s Snipping Tool support page — applies to Windows 11 and Windows 10
- Apple’s screenshot instructions for Mac — the shortcuts and where the Screenshot app lives
- Take a screenshot on Mac, in the macOS User Guide — the Options menu, save locations and file formats
- Windows App on the Mac App Store — 90.5 MB · Microsoft Corporation, free, macOS 14.0 or later
- Windows setup files for Snipping Tool — x64, x86 and ARM64 executables, for Windows PCs
A page offering a Snipping Tool DMG is offering something Microsoft does not make. Microsoft’s own advice is to get apps from official publisher websites or stores.
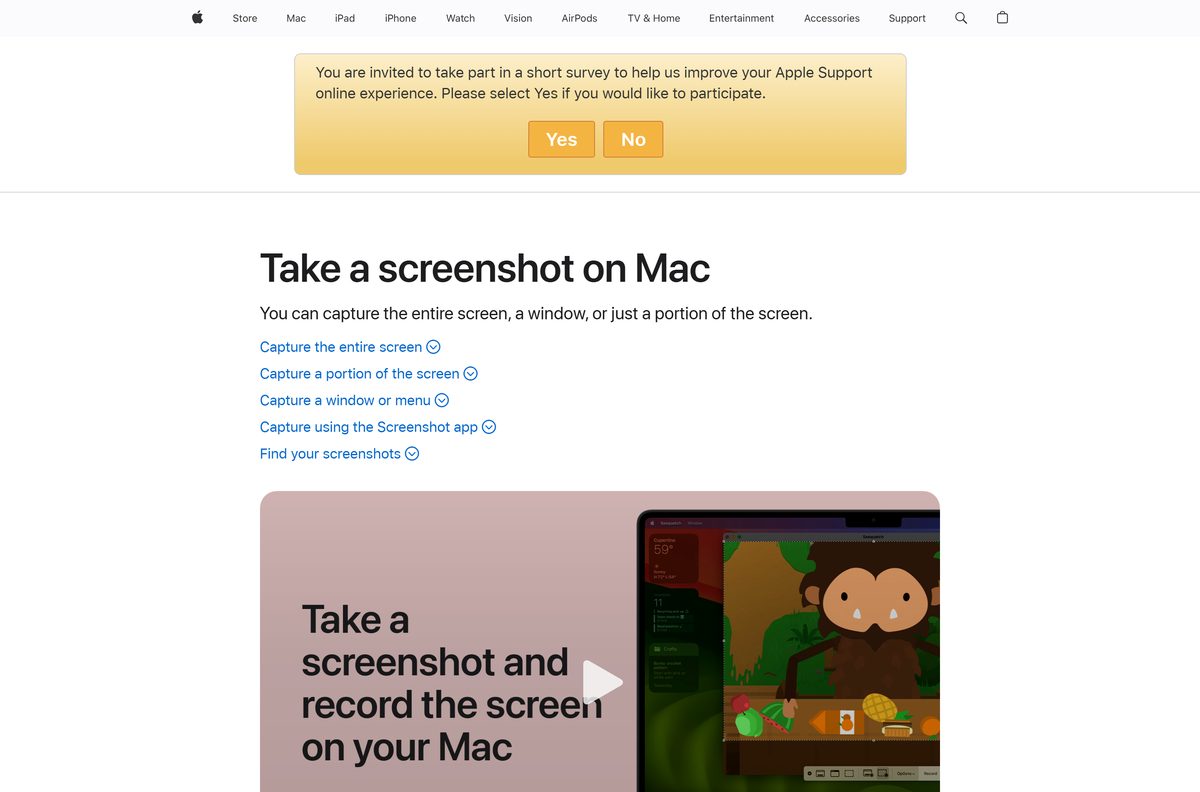
Which macOS screenshot shortcut do you need?
Snipping Tool’s capture modes map onto four Mac shortcuts. Hold Control with any of them to copy to the clipboard instead of writing a file.
| What you want to capture | Press | Where it goes |
|---|---|---|
| The whole screen | Shift + Command + 3 | Desktop, as a PNG |
| A rectangular area | Shift + Command + 4 | Desktop, as a PNG |
| One window or an open menu | Shift + Command + 4, then Space | Desktop, pointer turns into a camera |
| The full toolbar, with options and recording | Shift + Command + 5 | The folder set under Save to |
| The Touch Bar | Shift + Command + 6 | Desktop, as a PNG |
| A copy to paste, with no file left behind | Control + Shift + Command + 3 or 4 | Clipboard only |
Files are named Screenshot plus the date and time. Recordings save as .mov instead of .png.
Each shortcut gets a deeper walkthrough in how to screenshot on a Mac and how to print screen on a Mac.
How to set up macOS screenshots to behave like Snipping Tool
Snipping Tool’s delay, its clipboard-only capture and its save folder all have equivalents on the Mac. They sit behind Options in the Screenshot toolbar.
- Press Shift + Command + 5 to open the Screenshot toolbar.
- Select Options.
- Under Save to, pick Desktop, Documents, Clipboard or Other Location.
- Under Timer, pick 5 Seconds or 10 Seconds to capture a menu that closes when you click.
- Turn off Show Floating Thumbnail to write each capture straight to the folder.
- Turn on Remember Last Selection to reuse the same capture area next time.
- Choose a capture mode in the toolbar, then select Capture.
To change the key combinations themselves, choose Apple menu > System Settings, select Keyboard, select Keyboard Shortcuts, then select Screenshots.
How to reach the real Snipping Tool from a Mac
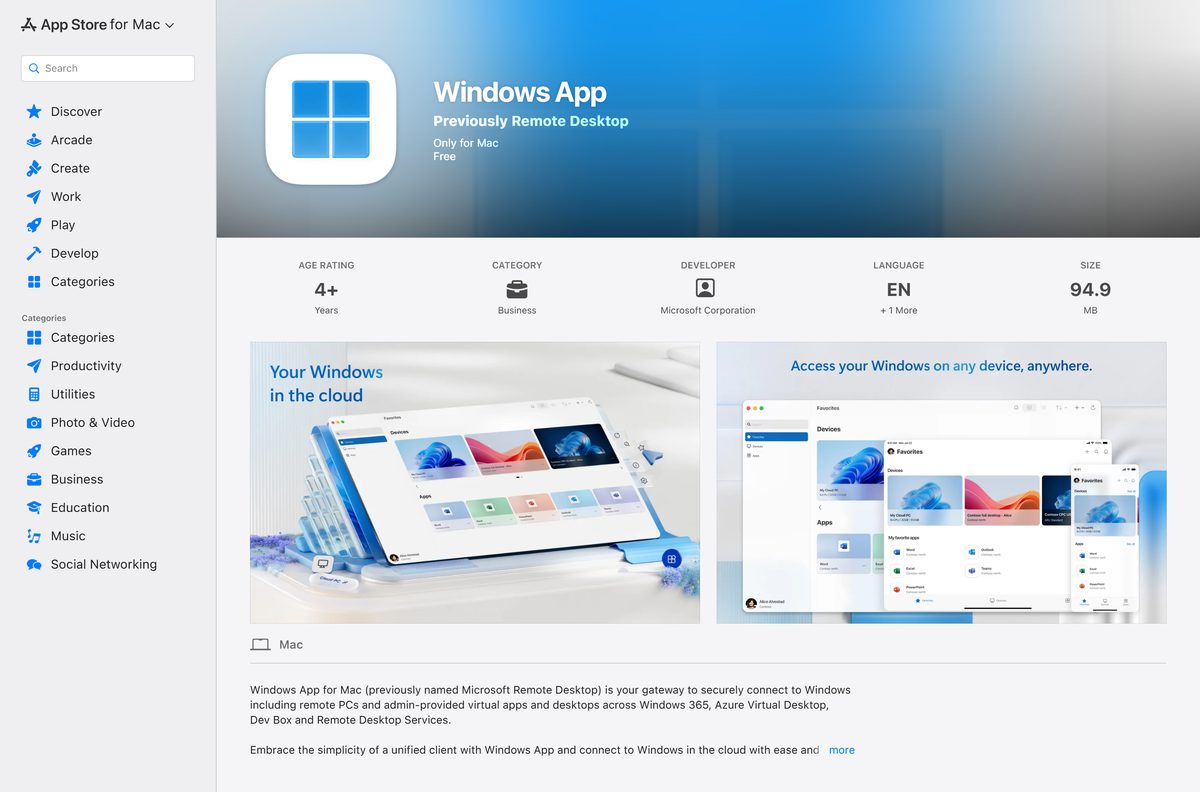
Microsoft’s own client puts a Windows desktop on your Mac screen, and Snipping Tool runs inside it. This needs a Windows PC, a Cloud PC or a work desktop you are entitled to connect to.
- Open the Windows App listing on the Mac App Store and select Get.
- Open Windows App and select Skip or Done on the opening tour.
- Select the plus (+) icon on the Devices tab.
- Select Add Work or School Account for Windows 365 or Azure Virtual Desktop, or Add Workspace for Remote Desktop Services.
- Sign in with the account your organisation issued.
- Double-click the device on the Devices tab to open the Windows session.
- Open Snipping Tool from the Start menu inside that session.
Windows App is version 11.4.1, 90.5 MB, and requires macOS 14.0 or later. Anything you capture belongs to the Windows session, so save it there before you disconnect.
What macOS captures that Snipping Tool does
Feature for feature, the two tools line up closely. One Snipping Tool mode has no Mac equivalent.
| Job | Snipping Tool on Windows | On a Mac | Shortcut |
|---|---|---|---|
| Rectangle | Rectangle mode | Screenshot app | Shift + Command + 4 |
| One window | Window mode | Screenshot app | Shift + Command + 4, then Space |
| Whole screen | Full screen mode | Screenshot app | Shift + Command + 3 |
| Freeform shape | Freeform mode | No equivalent, crop the rectangle afterwards | None |
| Screen recording | Video snip, Windows 11 only | Screenshot app or QuickTime Player | Shift + Command + 5 |
| Delayed capture | Alt + D, 1 to 5 seconds | Options > Timer, 5 or 10 seconds | Shift + Command + 5 |
| Copy without saving | Ctrl + C after the snip | Hold Control with the shortcut | Control + Shift + Command + 4 |
| Annotate the capture | Pen and highlighter in the app | Markup in Quick Look or Preview | Click the floating thumbnail |
Freeform is the gap. Take a rectangle and trim it in Preview’s Markup tools, which also add arrows, text and shapes.
Which screenshot tool do Apple silicon and Intel Macs need?
The same one, because nothing is being installed. Screenshot is part of macOS and behaves identically on M-series and Intel machines, so there is no 64-bit, ARM or universal build to choose between. The chip matters for how long Apple keeps sending you macOS releases: only four Intel models sit on the macOS Tahoe 26 compatibility list, the MacBook Pro (16-inch, 2019), the MacBook Pro (13-inch, 2020, Four Thunderbolt 3 ports), the iMac (Retina 5K, 27-inch, 2020) and the Mac Pro (2019). Windows App asks for macOS 14.0 or later rather than a particular processor.
Is there a free Snipping Tool for Mac?
There is nothing to buy, because there is nothing on sale. Microsoft includes Snipping Tool with Windows at no cost, and Apple includes the Screenshot app with macOS at no cost. Windows App is free on the Mac App Store as well, though the Windows PC or Cloud PC behind it is licensed separately. A site charging for a Snipping Tool Mac download is charging for a product Microsoft does not publish for macOS.
How to check a Mac snipping app before you open it
The safest install here is no install, since macOS already does the work. If you still want a third-party app, spend ten seconds on the publisher.
- Press Shift + Command + 5 first and confirm the built-in Screenshot app already covers what you need.
- Open the App Store listing and read the developer name under the title. No Mac App Store result named Snipping Tool is published by Microsoft Corporation.
- Prefer the Mac App Store, where Apple reviews what gets published.
- For anything downloaded outside the App Store, leave Gatekeeper switched on so macOS checks the Developer ID signature and the notarization.
- Stop at any warning that the developer cannot be verified, and move the file to the Bin instead of opening it.
- Open Applications > Utilities afterwards and confirm nothing else installed itself alongside the app.
Apple’s own explanation of these checks is on safely open apps on your Mac.
Fix Mac screenshots not working, not saving or coming out black
Shift + Command + 5 does nothing
The screenshot shortcuts are switched off in Keyboard settings.
- Choose Apple menu > System Settings.
- Select Keyboard in the sidebar.
- Select Keyboard Shortcuts.
- Select Screenshots in the list.
- Turn on the screenshot entries, including Screenshot and recording options.
- Press Shift + Command + 5 again.
Screenshots stop appearing on the desktop
Save to points at another folder, or at the clipboard.
- Press Shift + Command + 5.
- Select Options and read the tick under Save to.
- Select Desktop.
- Take a new capture and check the desktop.
- Look in Documents and in the Bin for the files taken while the old setting was active.
A capture app you installed records a black screen
The app has no screen recording permission.
- Choose Apple menu > System Settings.
- Select Privacy & Security in the sidebar.
- Select Screen & System Audio Recording.
- Turn the app on in the list.
- Quit the app and open it again, then capture.
The floating thumbnail blocks the next shot
Show Floating Thumbnail is on, and the file is written only once the thumbnail clears.
- Drag the thumbnail to the right to dismiss it and save the file.
- Click it instead to open the capture in Markup.
- To stop it appearing, press Shift + Command + 5, select Options, then turn off Show Floating Thumbnail.
You need a whole scrolling web page, not the visible part
macOS captures what is on the screen, and stops at the window edge.
- Open the page in Microsoft Edge.
- Select Settings and more (…) in the top-right corner.
- Select Web capture.
- Select Capture full page.
- Select Copy, or save the image to a folder.
How to check your macOS version and update it
Screenshot features arrive with macOS releases, so the macOS version is the only version number that matters on a Mac.
- Choose Apple menu > About This Mac and read the macOS name and number.
- Choose Apple menu > System Settings.
- Select General in the sidebar.
- Select Software Update and wait for the check to finish.
- Select Update Now for a minor release, or Upgrade Now for a new macOS name.
- Check your model against Apple’s compatibility list before taking an upgrade.
macOS Tahoe 26 is the current release. An update moves 26 to 26.x; an upgrade moves to a new name, and Apple explains the difference on update macOS on Mac.
What to use instead of Snipping Tool on a Mac
Check what is already installed before installing anything. Four of these six ship with macOS.
| Tool | Where it comes from | Best for |
|---|---|---|
| Screenshot | macOS, built in | Everything Snipping Tool does, apart from freeform |
| Markup | macOS, built in | Arrows, text and shapes straight after a capture |
| Preview | macOS, built in | Cropping and annotating a PNG you already saved |
| QuickTime Player | macOS, built in | Longer screen recordings |
| Web capture in Microsoft Edge | Microsoft, free browser | A full scrolling web page in one image |
| Windows App | Microsoft, Mac App Store | Running Snipping Tool itself on a remote Windows PC |
The recording side has its own guides: how to record the screen on a Mac and how to stop a screen recording.
Frequently asked questions
Is there a Snipping Tool for Mac?
No. Microsoft publishes Snipping Tool for Windows 11 and Windows 10 only, and the Microsoft Store listing shows it as available on PC. macOS has an equivalent built in: press Shift + Command + 5 to open the Screenshot app.
What is the Mac equivalent of the Snipping Tool?
The Screenshot app, which ships with macOS Mojave 10.14 and later. It sits in Applications > Utilities and opens with Shift + Command + 5, offering capture modes, a timer, a save location and screen recording.
Is the Mac snipping tool free?
Yes. The Screenshot app is part of macOS at no cost, with nothing to buy and no subscription. Windows App, Microsoft’s remote desktop client for Mac, is free on the Mac App Store as well.
How do I snip on a Mac keyboard?
Press Shift + Command + 4 and drag over the area you want. Shift + Command + 3 takes the whole screen, and Shift + Command + 4 then Space takes one window. Hold Control to copy rather than save.
Where do Mac screenshots go?
To the desktop by default, as PNG files named Screenshot plus the date and time. Change the destination under Options > Save to in the Screenshot toolbar, which also offers Documents and the clipboard.
Can I download a Snipping Tool DMG for macOS?
No. Microsoft publishes no DMG or PKG for Snipping Tool. The only files it distributes are Windows setup executables of roughly 254 KB, and a Windows executable will not run on macOS.
Is the Snipping Tool in the Mac App Store the real one?
No. App Store results named Snipping Tool come from third-party developers such as Edusoft Limited and Moon Technolabs Private Limited. None is published by Microsoft Corporation, so read the developer line before installing.
Can I run the real Snipping Tool on a Mac?
Yes, remotely. Install Windows App free from the Mac App Store, connect to a Windows PC or a Cloud PC, and run Snipping Tool inside that session. Windows App needs macOS 14.0 or later.
Does the Mac screenshot tool record video?
Yes. Press Shift + Command + 5 and pick Record Entire Screen or Record Selected Portion. Recordings save as .mov files. QuickTime Player records the screen too, and handles longer sessions.
How do I take a screenshot on a MacBook Air or MacBook Pro?
The same way as on any Mac. Shift + Command + 3 captures the screen, Shift + Command + 4 captures a selection, and Shift + Command + 5 opens the full toolbar. No download is involved on either model.
Why is Shift + Command + 5 not working?
The shortcut has been switched off. Choose Apple menu > System Settings, select Keyboard, select Keyboard Shortcuts, then select Screenshots, and turn the screenshot entries back on.
Can I copy a Mac screenshot straight to the clipboard?
Yes. Hold Control with any screenshot shortcut, so Control + Shift + Command + 4 copies a selection without leaving a file. You can also Control-click the floating thumbnail and choose Save to Clipboard.