To install free VMware ESXi, download the VMware vSphere Hypervisor 8 ISO from the Broadcom Support portal, boot a server from it, accept the license, pick a disk, set a root password and press F11.
This guide covers the free edition's limits, the hardware it needs, the download, the installer, network setup in the direct console, the VMware Host Client and your first virtual machine.
Install free ESXi 8 in ten steps
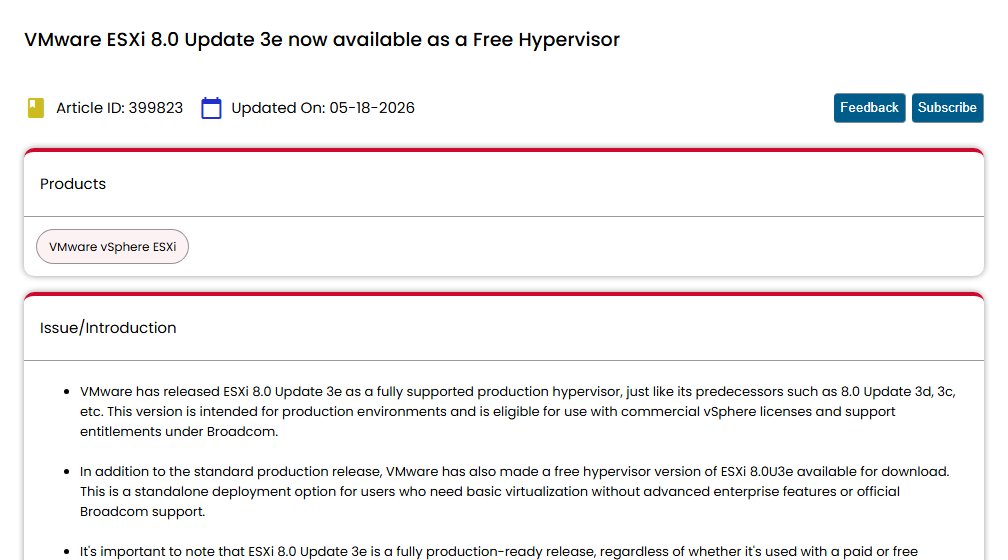
Broadcom offers vSphere Hypervisor version 8 (ESXi 8.0 Update 3e) free of charge again, with the license built into the ISO. No license key is needed after setup.
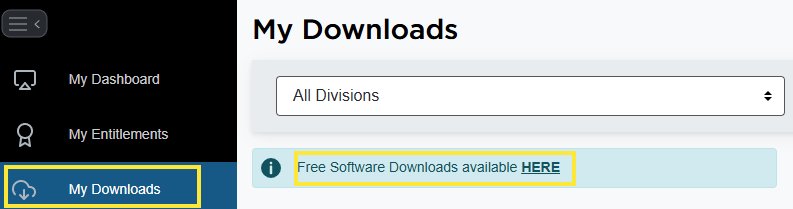
- Sign in at support.broadcom.com and open My Downloads.
- Select Free Software Downloads available HERE and search for VMware vSphere Hypervisor.
- Tick I agree to the Terms and Conditions and download the ISO.
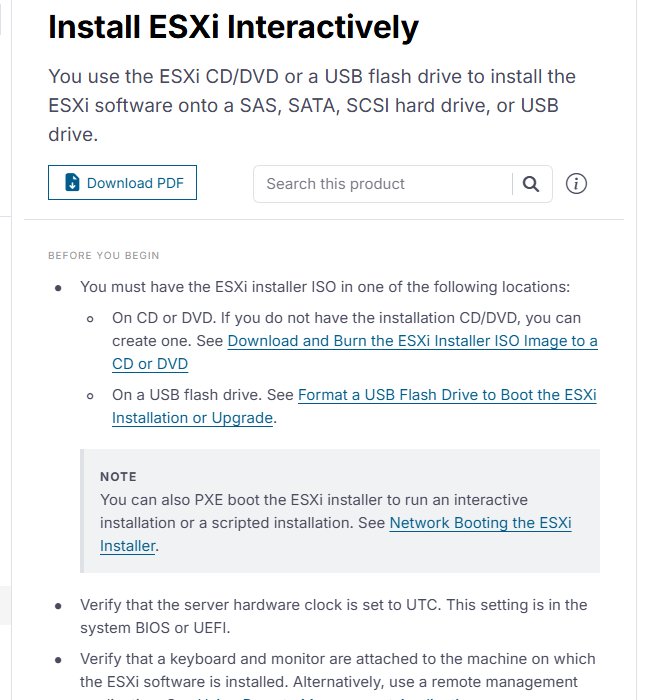
- Write the ISO to a USB flash drive or a DVD and boot the server from it.
- Press Enter on the welcome screen, then Enter again to accept the license agreement.
- Select the target disk, choose a keyboard layout and enter a root password.
- Press F11 on the Confirm Install screen.
- Remove the installation media and press Enter to reboot.
- Note the IP address shown on the host's direct console after it starts.
- Open https://IP-address/ui in a browser and log in as root.
Free VMware hypervisor: Restrictions and limitations
The free edition runs the same ESXi 8 hypervisor as the paid product. The differences are in management, support and VM size.
| Area | Free vSphere Hypervisor 8 | What it means for you |
|---|---|---|
| Price and license | Free download; license embedded in the ISO | No key to enter after installation |
| Support | No Broadcom support | Problems are yours to solve |
| Intended use | Non-production use only | Fits labs, testing and learning |
| vCenter | Cannot connect to vCenter | No central management, clustering or vMotion across hosts |
| Management | VMware Host Client per host | Each host is managed on its own in a browser |
| Virtual CPUs | Maximum 8 vCPUs per virtual machine | Larger VMs need a paid vSphere license |
| Version | ESXi 8.0 Update 3e, released April 10, 2025 | Updates follow Broadcom's free download listing |
If you only need virtual machines on a Windows 11 or Windows 10 PC, the built-in Hyper-V hypervisor avoids a dedicated server.
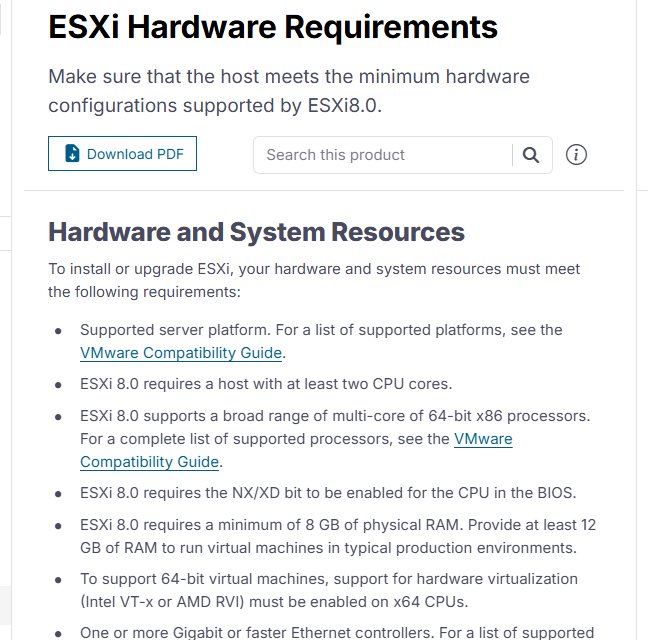
ESXi 8 hardware requirements
| Component | Minimum for ESXi 8.0 | Notes |
|---|---|---|
| CPU | 64-bit x86 with at least two cores | Check the model in the Broadcom Compatibility Guide |
| CPU features | NX/XD bit and Intel VT-x or AMD RVI enabled | Turn both on in BIOS or UEFI setup |
| Memory | 8 GB RAM | Broadcom recommends at least 12 GB to run typical VMs |
| Network | One or more Gigabit or faster Ethernet controllers | The adapter must be on the compatibility list |
| Boot disk | 32 GB of persistent storage (HDD, SSD or NVMe) | A local disk of 128 GB or more is recommended for ESX-OSData |
| USB or SD boot | Supported for boot banks only | OSData then needs a separate persistent disk of 32 GB or more |
| Firmware | UEFI recommended | Legacy BIOS support is limited in vSphere 8.0 |
| Installer media | USB flash drive or CD/DVD | Or PXE boot on larger networks |
Set the server's hardware clock to UTC in BIOS or UEFI before you install. A boot disk must not be shared between ESXi hosts.
How to download VMware vSphere Hypervisor (ESXi)?
The free ISO is only available through the Broadcom Support portal. You need a free Broadcom account to sign in.
- Go to support.broadcom.com and sign in, or register a free account first.
- Open My Downloads from the portal menu.
- Select the box labelled Free Software Downloads available HERE.
- Search for VMware vSphere Hypervisor and open the ESXi 8.0 Update 3e entry.
- Select I agree to the Terms and Conditions.
- Download the ISO image to your PC.
Use the ISO as-is. Broadcom states the license is already embedded, so the vSphere UI does not ask for a key.
How to install VMware vSphere Hypervisor (ESXi)?
The installer erases the disk you choose unless it holds an earlier ESXi installation. Move any data off it first.
Disconnect network storage during installation if you can. Disk discovery is faster, and you cannot pick the wrong LUN.
- Attach the USB drive or insert the DVD holding the ESXi ISO, then restart the server.
- Set BIOS or UEFI to boot from that USB drive or DVD.
- Press Enter on the welcome screen.
- Press Enter to accept the End User License Agreement.
- On Select a Disk to Install or Upgrade ESXi, highlight the target disk and press Enter. Press F1 first to see its details, because the list order is not a reliable guide.
- Review the Confirm Disk Selection page if the disk already holds data, then continue.
- Choose the keyboard layout and enter the root password twice.
- Press F11 on the Confirm Install screen to start copying files.
- When the installation finishes, remove the USB drive or DVD and press Enter to reboot.
If you installed to an SD card or USB stick, the installer asks for a separate disk with at least 32 GB free on the Select a Disk to store ESX OSData screen. After the reboot, set the install disk as the first boot device in firmware.
Set a static IP address on ESXi from the direct console
On first boot ESXi takes its IP address from DHCP and formats blank internal disks as VMFS. A server needs a fixed address, so set one in the direct console user interface (DCUI).
- On the host's direct console, press F2 and log in as root.
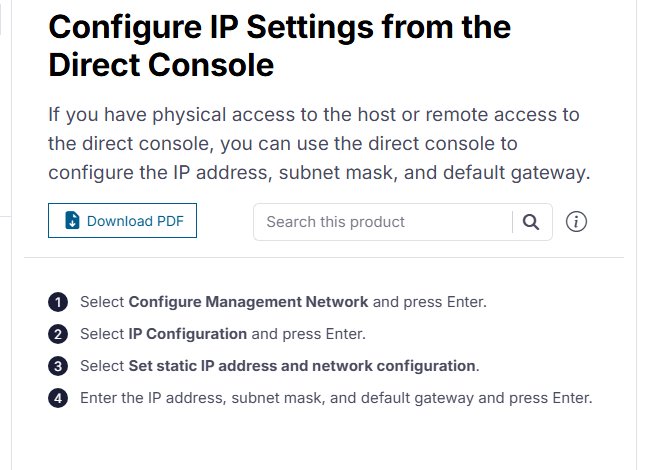
- Select Configure Management Network and press Enter.
- Select Network Adapters and confirm the adapter connected to your LAN is ticked.
- Select IP Configuration, then Set static IP address and network configuration.
- Enter the IP address, subnet mask and default gateway, and press Enter.
- Select DNS Configuration, then Use the following DNS server addresses and hostname, and fill in the DNS servers and host name.
- Press Enter to save, then select Restart Management Network and press F11 to confirm.
Configure VMware ESXi via Host Client web interface
The VMware Host Client is the browser console built into every ESXi host. It works in Chrome 89+, Firefox 80+, Edge 90+ and Safari 9.0+.
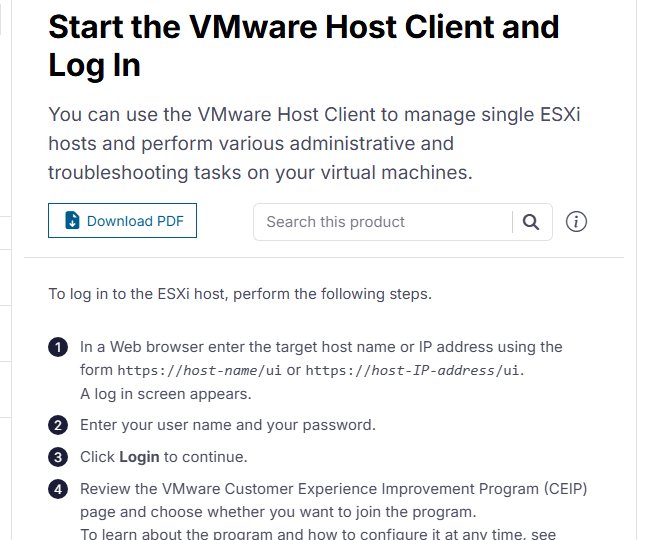
- On a PC on the same network, open https://host-IP-address/ui or https://host-name/ui.
- Enter root and the password you set during installation, then select Login.
- Choose whether to join the Customer Experience Improvement Program and select OK.
- Open Storage > Datastores and confirm a VMFS datastore exists for your virtual machines.
- Open Networking to review the port groups and virtual switches new VMs connect to.
- Select Virtual Machines to see the VM list, which is empty on a new host.
To open a VM console in a desktop window instead of the browser, install VMware Remote Console on your PC.
Upload an ISO file to an ESXi datastore
A new VM installs its operating system from an ISO stored on the host. Upload the guest OS ISO, such as the Windows 11 26H2 ISO or an Ubuntu Server image, before you create the machine.
- In the Host Client, select Storage, then Datastores.
- Select Datastore browser and pick the datastore to hold the file.
- Select Create directory and name a folder, for example ISO.
- Select the new folder and select Upload.
- Choose the ISO on your PC and select Open, then wait for the upload to finish.
- Refresh the file browser to confirm the ISO is listed, then select Close.
Creating a virtual machine in VMware hypervisor
- In the Host Client inventory, right-click Host and select Create/Register VM.
- Select Create a new virtual machine and select Next.
- On Select a name and guest OS, enter a name and choose the compatibility, guest OS family and guest OS version, then select Next.
- On Select storage, choose Standard, pick the datastore and select Next.
- On Customize settings, set CPU, memory and disk size. Keep CPU at 8 or fewer.
- Set the CD/DVD drive to Datastore ISO File, select Browse, pick the uploaded ISO and keep Connect at power on ticked.
- Select Next, review the summary on Ready to complete and select Finish.
- Power on the VM and open its console to start the guest OS installer.
For a Windows guest, the setup then runs as on a physical PC, so you can install Windows 11 for free inside the VM with the same steps.
Verify the ESXi installation and management network
- Confirm the host's direct console shows a management IP address on your network.
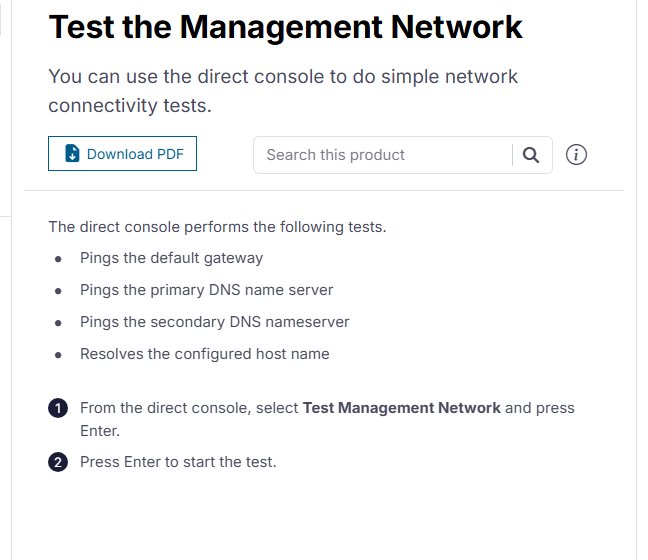
- Press F2, select Test Management Network and press Enter twice.
- Check that the gateway and DNS pings and the host name lookup all report OK.
- Log in to https://host-IP-address/ui and confirm the host summary shows the CPU, memory and storage you expect.
- Power on your first VM and confirm its console reaches the guest OS installer.
ESXi Host Client not loading and other install problems
The Host Client page does not open in the browser
The host has no reachable management address, or the wrong network adapter carries management traffic.
- On the console, press F2 and open Configure Management Network > Network Adapters.
- Tick the adapter that is cabled to your LAN and press Enter.
- Set a static IP address if DHCP gave none or the wrong one.
- Select Restart Management Network and press F11 to confirm.
- Run Test Management Network and retry https://host-IP-address/ui.
The server boots back into the ESXi installer
The installation media is still attached or first in the boot order.
- Remove the USB drive or DVD.
- Open BIOS or UEFI setup and make the ESXi install disk the first boot device.
- Save and restart the server.
The installer shows Operation Failed
The hardware or target disk does not meet ESXi 8.0 requirements.
- Record the error log shown on the screen.
- Confirm NX/XD and Intel VT-x or AMD RVI are enabled in firmware.
- Confirm the server has 8 GB RAM and a persistent boot disk of 32 GB or more.
- Check the CPU, storage controller and network adapter in the Broadcom Compatibility Guide, then rerun the installer.
Creating a VM with more than 8 vCPUs fails
The free vSphere Hypervisor caps each virtual machine at 8 virtual CPUs.
- Right-click the VM and select Edit settings.
- Set CPU to 8 or fewer and select Save.
Free VMware ESXi hypervisor FAQ
Is VMware ESXi still free?
Yes. Broadcom made VMware vSphere Hypervisor version 8 available free again with ESXi 8.0 Update 3e in April 2025. It comes without Broadcom support and is intended for non-production use.
Where do I download the free ESXi ISO?
Sign in to the Broadcom Support portal, open My Downloads, select Free Software Downloads available HERE and search for VMware vSphere Hypervisor. Accept the terms and conditions to download the ISO.
Do I need a license key for free ESXi?
No. Broadcom states the license is embedded in the free vSphere Hypervisor download, so you do not enter a separate license key in the vSphere UI after installation.
Can free ESXi be managed by vCenter?
No. The free vSphere Hypervisor cannot connect to vCenter, so it cannot be centrally managed. Manage each host on its own through the VMware Host Client at https://host-IP-address/ui.
How many CPUs can a VM have on free ESXi?
Each virtual machine on the free vSphere Hypervisor can have at most 8 virtual CPUs. The host itself can still have more physical cores than that.
What are the minimum hardware requirements for ESXi 8?
ESXi 8.0 needs a 64-bit x86 CPU with at least two cores, NX/XD and hardware virtualization enabled, 8 GB of RAM, a Gigabit network adapter and a 32 GB persistent boot disk.
Can I install ESXi on a USB stick?
Only the boot banks. ESXi 8.0 supports SD and USB devices for boot bank partitions, but the ESX-OSData partition needs a separate persistent local disk of at least 32 GB.
What is the default ESXi login?
The user name is root. The password is the one you entered during installation. Use it for both the direct console, opened with F2, and the VMware Host Client.