You control what appears on Windows 11 jump lists from Settings > Personalization > Start, where one toggle decides whether recently opened files show up when you right-click an app on the taskbar or in Start.
This guide also covers pinning files so they stay in the list, clearing recent items, opening a jump list from the keyboard, the item limit, and the Group Policy settings that lock jump lists down.
Enable jump lists on Windows 11 using the Settings app
Recent files in jump lists depend on a single privacy toggle in the Start settings. Turn it on to see your recent files, or off to keep them out of every jump list.
- Press Windows + I to open Settings.
- Select Personalization in the left pane.
- Select Start.
- Find the toggle that mentions Jump Lists, shown as Show recently opened items in Jump Lists on Start or the taskbar.
- Turn it On to show recent files, or Off to hide them.
- Right-click an app icon on the taskbar to see the result.
Newer Windows 11 builds use a longer label for the same toggle, but it still names Jump Lists and sits on the same Start page.
What is a jump list in Windows 11?
A jump list is the menu that opens when you right-click an app's icon on the taskbar or its entry in the Start menu. It works whether the app is running or only pinned.
| Part of the jump list | What it holds | Who controls it |
|---|---|---|
| Pinned | Files, folders or sites you chose to keep in the list | You pin and unpin each item |
| Recent | Files you opened lately with that app | Windows, through the Settings toggle |
| Frequent | Files you open most often, shown by some apps | Windows and the app |
| Custom groups | App-defined lists such as recent projects or history | The app developer |
| Tasks | Shortcut actions such as a new window or new message | The app developer |
| App commands | Launch the app, pin or unpin it from the taskbar, close windows | Always present |
Only sections that have content are shown. A freshly installed app often shows no Recent or Pinned section until you open a file with it.
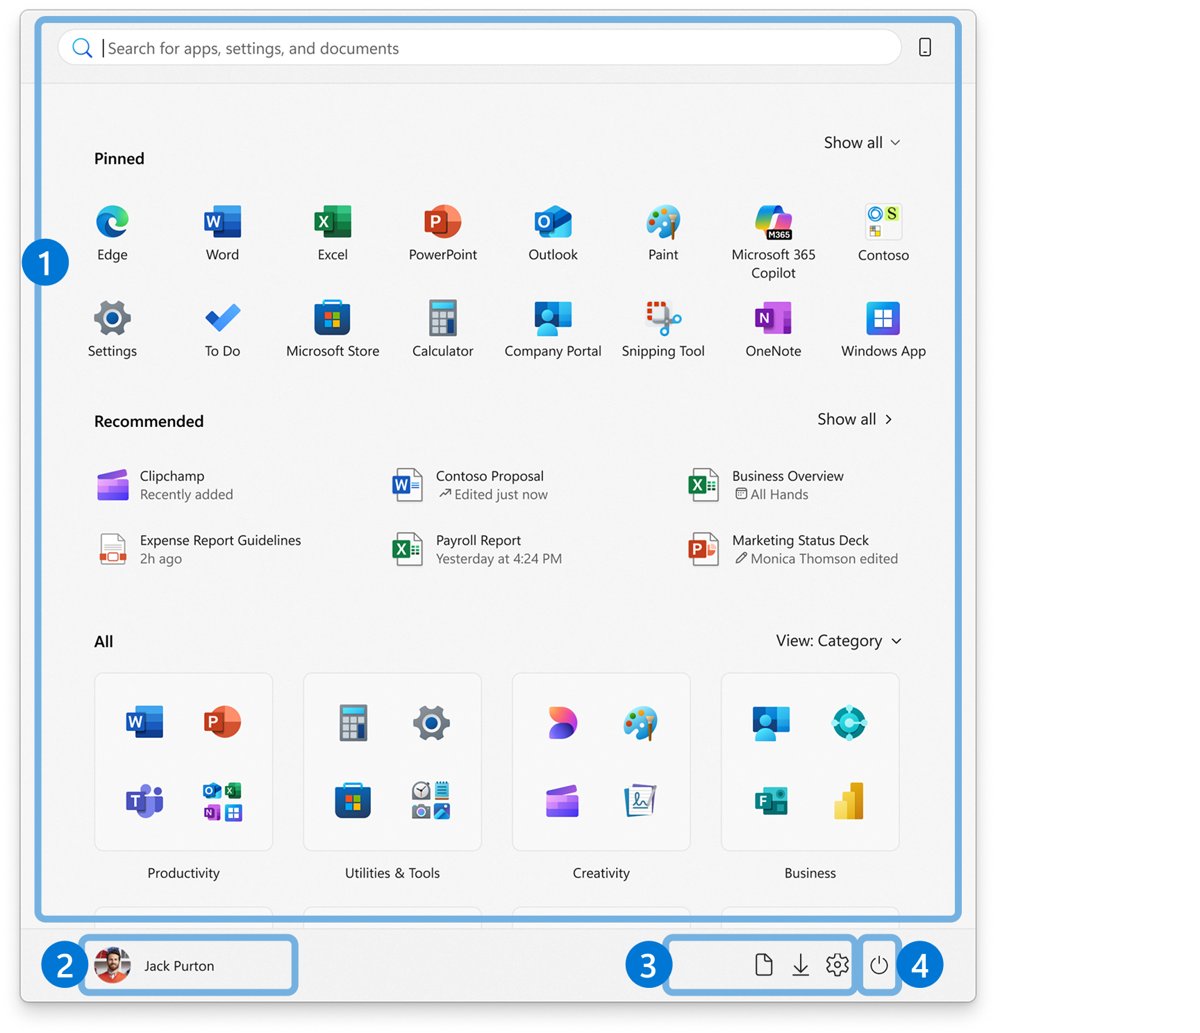
Pin and unpin items in jump lists on the taskbar and the Start menu
Pinning keeps a file in the jump list no matter how many newer files you open. The app itself has to be pinned to the taskbar first, so start there.
- Type the app's name in the taskbar Search box, right-click the result and select Pin to taskbar.
- Open a file with that app so it appears under Recent in the jump list.
- Right-click the app's taskbar icon to open its jump list.
- Right-click the file under Recent and choose the pin command; the file moves to the Pinned section.
- To unpin it later, right-click the file under Pinned and choose the unpin command.
- To drop the whole app from the taskbar, right-click its icon and select Unpin from taskbar.
Each item in a jump list has its own right-click menu, so you can also remove a single recent file without touching the rest of the list.
Clear recent items from Windows 11 jump lists
Switching the jump list toggle off clears the recent items Windows has stored. Turning it back on starts the list fresh, and pinned items are not affected.
- Open Settings > Personalization > Start.
- Turn the Jump Lists toggle Off.
- Wait a few seconds, then turn the toggle back On if you still want recent files.
- Right-click a pinned app on the taskbar and confirm the Recent section is empty.
Open a jump list with the keyboard in Windows 11
Every app pinned to the taskbar has a position number, counted from the left. The keyboard shortcut opens the jump list for that position without the mouse.
- Count the position of the pinned app among the app icons on the taskbar, starting at 1 from the left.
- Press Windows + Alt + the number, for example Windows + Alt + 3 for the third app.
- Use the arrow keys to move to a file or task in the jump list.
- Press Enter to open it, or Esc to close the jump list.
The number keys 1 to 9 map to the first nine positions, and 0 opens the tenth.
Show more items in a jump list using a Registry Editor tweak
Microsoft does not document a registry value that sets how many items a Windows 11 jump list shows. Its developer documentation states that Windows sets the maximum from factors such as display resolution and font size, and trims items from the bottom up when space runs out.
That leaves the documented levers below. Back up the registry before any manual change, and prefer Settings or Group Policy where they exist.
| What you want | Documented way to do it | Effect |
|---|---|---|
| More items visible in each jump list | Lower Scale under Settings > System > Display | More screen space for list rows, so fewer items are trimmed |
| Keep a specific file in view | Pin it to the jump list | Pinned items stay regardless of how many newer files you open |
| Stop pinning or unpinning | Registry value NoPinningToDestinations under HKEY_CURRENT_USER\Software\Policies\Microsoft\Windows\Explorer, set through Group Policy |
Pinned items stay fixed; users cannot add or remove pins |
| Stop network files appearing | Registry value NoRemoteDestinations under the same policy key, set through Group Policy |
Only files opened locally are tracked |
| Clear recent items at sign-out | Registry value ClearRecentDocsOnExit under HKEY_CURRENT_USER\Software\Microsoft\Windows\CurrentVersion\Policies\Explorer, set through Group Policy |
Recent and frequent jump list items are cleared when you sign out |
The registry values in this table are written by the Group Policy settings in the next section. Setting them through the policy editor avoids typing errors in a key path.
Control Windows 11 jump lists with Group Policy
Windows 11 Pro, Enterprise and Education include the Local Group Policy Editor. Windows 11 Home lacks it, although you can enable the Group Policy Editor on Home first. All of these settings sit under User Configuration > Administrative Templates > Start Menu and Taskbar.
| Policy name | What it does when enabled | What it leaves alone |
|---|---|---|
| Do not allow pinning items in Jump Lists | Blocks pinning new files, folders or sites and blocks unpinning existing ones | Items already pinned keep showing |
| Do not display or track items in Jump Lists from remote locations | Tracks and shows only files opened on this PC, not over the network | Remote files that were explicitly pinned |
| Clear history of recently opened documents on exit | Clears recent and frequent jump list items when the user signs out | Pinned items and the app's own tasks |
| Do not allow pinning programs to the Taskbar | Stops users pinning or unpinning taskbar apps | Apps already pinned stay on the taskbar |
To apply one, press Windows + R, type gpedit.msc, press Enter, open the folder above, double-click the policy, select Enabled and select OK. You can force a Group Policy update rather than wait for the next sign-in. Organisations using Intune or another MDM can also deploy the Start policy HideRecentJumplists, which hides recent jump list items and greys out the Settings toggle after a restart.
Check Windows 11 jump list settings took effect
- Pin an app such as Photos to the taskbar and open two or three files with it.
- Right-click the app's taskbar icon.
- With the toggle On, confirm the files appear under Recent.
- With the toggle Off, confirm no Recent section appears.
- If you enabled a policy, restart the PC and confirm the Settings toggle or pin command behaves as the policy describes.
Windows 11 jump lists not showing recent files
The jump list toggle in Settings is greyed out
A policy such as HideRecentJumplists is applied by your organisation or a local policy.
- On a work or school PC, ask your IT admin; the setting is controlled centrally.
- On a personal PC, open
gpedit.mscand set any jump list policy under Start Menu and Taskbar back to Not Configured. - Restart the PC and check the toggle again.
Recent files do not appear in an app's jump list
The Settings toggle is off, or the app does not record recent files.
- Open Settings > Personalization > Start and turn the Jump Lists toggle On.
- Open a file from File Explorer with the app, since files opened there are recorded automatically.
- Right-click the app's taskbar icon again to check the Recent section.
Files from a network share never show in the jump list
The policy that blocks remote locations is enabled.
- Open
gpedit.mscand go to User Configuration > Administrative Templates > Start Menu and Taskbar. - Set Do not display or track items in Jump Lists from remote locations to Not Configured.
- Sign out and back in, then open the network file again.
You cannot pin or unpin items in a jump list
The policy that blocks pinning in jump lists is enabled.
- Open
gpedit.mscand go to Start Menu and Taskbar. - Set Do not allow pinning items in Jump Lists to Not Configured.
- Sign out and back in, then try pinning the file again.
Recent items vanish every time you sign in
The policy that clears recent documents on exit is enabled.
- Open
gpedit.mscand go to Start Menu and Taskbar. - Set Clear history of recently opened documents on exit to Not Configured.
- Pin the files you always need so they survive any future clearing.
Windows 11 jump lists FAQ
How do I turn off jump lists in Windows 11?
Open Settings > Personalization > Start and turn off the toggle that mentions Jump Lists. Recent files then disappear from every jump list on the taskbar and Start. Pinned items and app tasks remain, because they are not part of the recent history.
How do I clear a jump list in Windows 11?
Turn the Jump Lists toggle off in Settings > Personalization > Start, then turn it back on. That clears the recent items Windows stored. To remove only one file, right-click it inside the jump list and use its remove command instead.
How do I pin a file to a jump list in Windows 11?
Pin the app to the taskbar, open the file once so it appears under Recent, then right-click the file in the jump list and choose the pin command. The file moves to the Pinned section and stays there until you unpin it.
Can I increase the number of items in a Windows 11 jump list?
Microsoft documents no setting for the item count. Windows sets the limit from display resolution and font size, and trims items from the bottom when space runs out. Lowering display scale gives the list more room, and pinning keeps key files visible.
What is the keyboard shortcut to open a jump list?
Press Windows + Alt + a number to open the jump list of the app pinned at that taskbar position. Windows + Alt + 1 opens the first pinned app's jump list, and Windows + Alt + 0 opens the tenth.
Why is the jump list setting greyed out in Windows 11?
A policy controls it. The HideRecentJumplists policy hides recent items and disables the Settings toggle. On a work PC your IT admin sets it; on a personal PC, reset the jump list policies in the Local Group Policy Editor to Not Configured.
Do jump lists appear in the Windows 11 Start menu?
Yes. The same jump list opens when you right-click an app's entry in the Start menu or its icon on the taskbar. The Settings toggle and the jump list policies apply to both places at once.
Make Windows 11’s jump lists work the way you want
Keep the Jump Lists toggle on and pin the handful of files you open every day; switch the toggle off only on a shared PC where recent file names should stay private. Pinned items survive clearing and policy changes, while recent items are the part that exposes your activity. Group Policy is worth the effort only when you need to lock jump lists for several users.