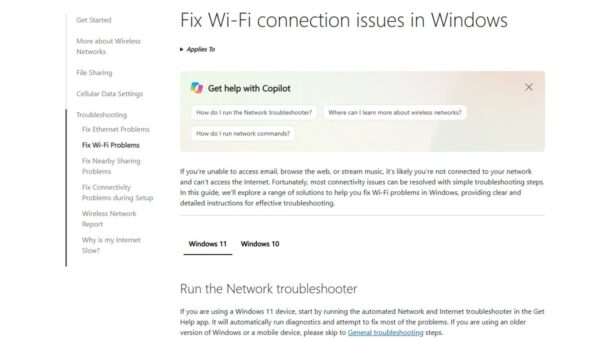
To share files and folders over a network in Windows 11 or 10, set the network to Private, turn on Network discovery and File and printer sharing, then right-click the folder and choose Give access to > Specific people.
This guide covers each of those steps, Advanced Sharing permissions, opening and mapping the share from another PC, lighter alternatives such as Nearby sharing and OneDrive, how to stop sharing, and fixes for the common errors.
The fastest way to share a folder on your home network
Do this on the PC that holds the files. Both PCs must be on the same network.
- Open Settings > Network & internet, select your Wi-Fi network or Ethernet, and under Network profile type select Private network.
- Open Settings, search for manage advanced sharing settings and open it.
- Under Private networks, turn on Network discovery and File and printer sharing.
- In File Explorer, right-click the folder; on Windows 11, select Show more options first.
- Select Give access to > Specific people, choose who gets access, and confirm.
- On the other PC, type
\\computernamein the File Explorer address bar and open the shared folder.
Before you start: what Windows file sharing uses
Windows shares folders with the SMB protocol. HomeGroup, the old home sharing feature, was removed in Windows 10 version 1803, so these settings replace it.
| Requirement | Details |
|---|---|
| Same local network | Both PCs on the same router, by Wi-Fi or Ethernet |
| Private network profile | Windows trusts devices on Private networks and blocks discovery on Public ones |
| Sharing turned on | Network discovery and File and printer sharing on for Private networks |
| An account for access | A user name and password on the sharing PC, unless password-protected sharing is off |
| Discovery services running | Function Discovery Provider Host, Function Discovery Resource Publication, SSDP Discovery, UPnP Device Host |
| Admin rights | Needed to change sharing settings and Advanced Sharing |
Which sharing method should you use?
| Your situation | Use this | Why |
|---|---|---|
| Several PCs at home need the same folder all the time | Give access to, then map a network drive | Always available under This PC |
| You need to control read and change rights | Advanced Sharing with Permissions | Separate share permissions per user or group |
| You drop files for anyone on the network | The Public folder | No per-folder setup |
| You send one file to a nearby PC now and then | Nearby sharing | No folder access granted at all |
| The other person is not on your network | OneDrive link | Works over the internet with a link you control |
| You script setup on several PCs | New-SmbMapping or net use | Repeatable commands |
Step 1: Make sure your network is set to Private
Public is the recommended profile for networks you do not control. Choose Private only on a home or work network you trust.
- Open Settings > Network & internet.
- For Wi-Fi, select Wi-Fi, then the network you are connected to; for a cable, select Ethernet.
- Under Network profile type, select Private network.
- Repeat on every PC that will use the share.
Step 2: Turn on Network Discovery and File and Printer Sharing
On Windows 11, use the Settings search. On Windows 10, the same page sits under Settings > Network & internet > Sharing options.
- Select Start > Settings.
- Type manage advanced sharing settings in the search box and select Manage advanced sharing settings.
- Under Private networks, turn on Network discovery.
- Under Private networks, turn on File and printer sharing.
- On Windows 10 or in Control Panel, select Save changes if the button appears.
Step 3: Choose whether to use password-protected sharing
The password protected sharing switch sits under All networks on the same page. Microsoft's quick setup turns it off, but leaving it on is safer.
| Setting | Who can open the share | When to choose it |
|---|---|---|
| Password protected sharing On | Only people who sign in with an account and password on the sharing PC | Recommended for most homes and any office |
| Password protected sharing Off | Anyone on the network you granted access to, without signing in | Only on a small, fully trusted home network |
With it on, give each person an account on the sharing PC, or create one local account just for sharing and use its name and password from the other PCs.
Step 4: Share a folder using File Explorer
Windows 11 hides the sharing command under the classic menu. Windows 10 shows it directly and also on the ribbon's Share tab.
- Open File Explorer and right-click the folder you want to share.
- On Windows 11, select Show more options.
- Select Give access to > Specific people.
- Pick a user from the list, or Everyone for every network user, and select Add.
- Set the permission level for each person, then select Share.
- Note the network path Windows shows, such as
\\computername\foldername, and select Done.
On Windows 10 you can also select the folder, open the Share tab, and choose Specific people in the Share with section.
Use Advanced Sharing for more control
Advanced Sharing sets share permissions separately from the folder's own NTFS permissions on the Security tab. Windows applies the stricter of the two.
- Right-click the folder and select Properties.
- Open the Sharing tab and select Advanced Sharing.
- Select Share this folder and change the share name if you want.
- Select Permissions, add the users or groups who need access, and tick Allow for Read, Change or Full Control.
- Select OK on the Permissions and Advanced Sharing dialogs.
- On the Security tab, check that the same users have matching NTFS permissions.
How to access a shared folder from another Windows PC
Find the sharing PC's name in Settings > System > About, or its address next to IPv4 address in your network's settings.
- Open File Explorer on the other PC.
- Select Network in the left pane and open the sharing PC, if it appears.
- If it does not appear, click the address bar and type
\\computernameor\\192.168.1.20with the real name or IP address. - Press Enter and sign in with an account from the sharing PC if asked.
- Open the shared folder.
Map a shared folder as a network drive
A mapped drive gives the share its own letter under This PC. Run this in PowerShell on the PC that will use the share.
New-SmbMapping -LocalPath "X:" -RemotePath "\\computername\foldername" -Persistent $true-LocalPath is the drive letter to create, -RemotePath is the share's network path, and -Persistent $true keeps the mapping after a restart. Add -UserName and -Password if the share needs a different account.
You should see: PowerShell lists the mapping with Status OK, and drive X: appears under This PC.
In Command Prompt, net use X: \\computername\foldername maps the same drive. File Explorer also has a Map network drive command under This PC.
Share files using the Public folder
Every Windows PC has a Public folder at C:\Users\Public that all users of the PC can open. Turning on Public folder sharing also opens it to network users.
- Open Manage advanced sharing settings from the Settings search.
- Under All networks, turn on Public folder sharing.
- Copy the files into
C:\Users\Publicor one of its subfolders, such as Public Documents. - On the other PC, open
\\computername\Users\Publicor browse to it under Network.
Share files without giving full folder access
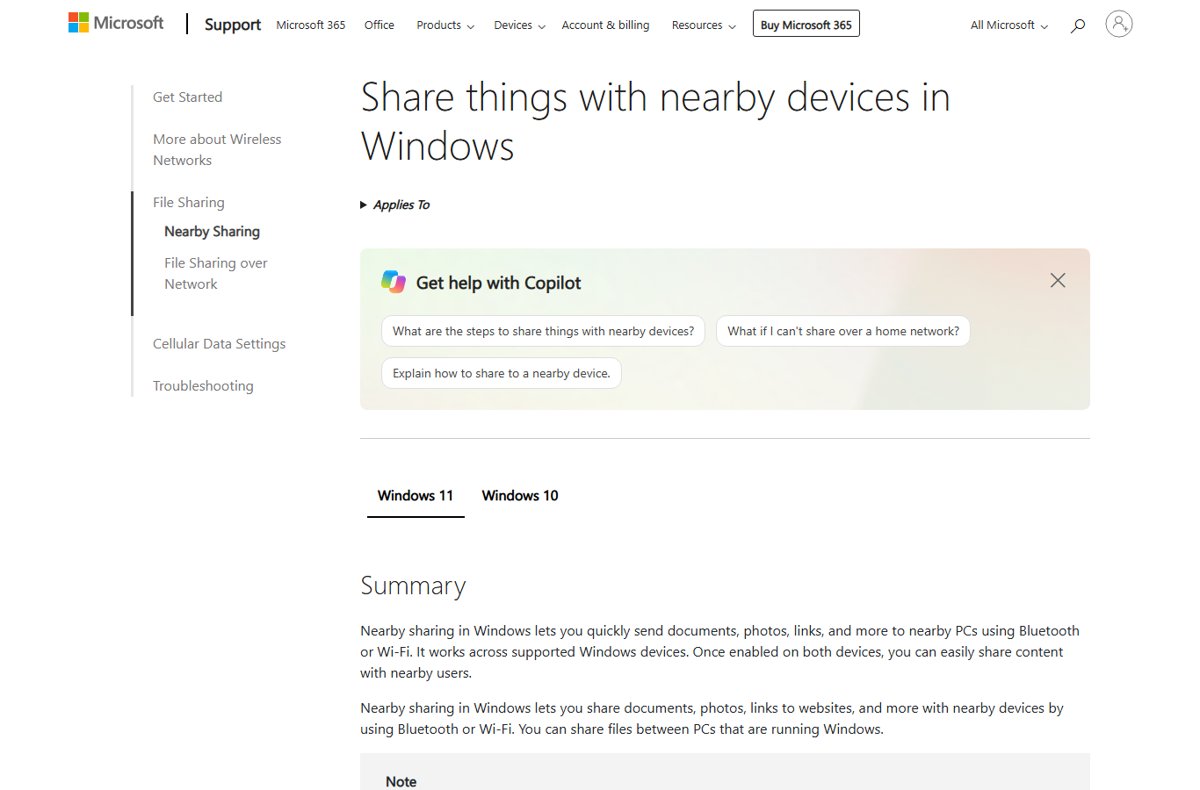
Nearby sharing sends single files to a nearby PC over Bluetooth or Wi-Fi without sharing any folder. For people outside your network, a OneDrive link is the safer route.
- On both PCs, open Settings > System > Nearby sharing and choose My devices only or Everyone nearby.
- In File Explorer, select the file and select Share on the toolbar.
- Choose the other PC's name from the list.
- On the receiving PC, select Save & open or Save.
- For someone elsewhere, upload the file to OneDrive, select Share, choose who the link works for, and send the link.
Nearby sharing uses Wi-Fi only when both PCs run a recent version of Windows and sit on the same private network; otherwise it falls back to Bluetooth.
How to check the share works
- On the sharing PC, type
\\localhostin the File Explorer address bar; the shared folder should be listed. - On the second PC, open
\\computername\foldernameand open a file. - If you granted change rights, create and delete a test file from the second PC.
- Restart the second PC and confirm a mapped drive reconnects under This PC.
How to stop sharing a folder
- Right-click the shared folder; on Windows 11, select Show more options.
- Select Give access to > Remove access.
- Or open Properties > Sharing > Advanced Sharing and clear Share this folder.
- On the other PCs, remove mapped drives with
Remove-SmbMapping -LocalPath "X:"or by right-clicking the drive and selecting Disconnect. - When nothing is shared any more, turn off File and printer sharing in Manage advanced sharing settings.
File Explorer shows Remove access on every folder, shared or not, so its presence does not prove a folder is shared.
Troubleshooting common Windows file sharing problems
The other PC does not appear under Network
Network discovery is off, the network is set to Public, or the discovery services are stopped.
- Set both PCs to Private network.
- Turn on Network discovery in Manage advanced sharing settings.
- Open Services and set Function Discovery Provider Host, Function Discovery Resource Publication, SSDP Discovery and UPnP Device Host to Automatic, then restart.
- Connect directly with
\\computernameor the IP address; it works even when browsing does not.
"You do not have permission to access" or access denied
The share permissions or NTFS permissions do not include your account.
- On the sharing PC, open the folder's Properties > Sharing > Advanced Sharing > Permissions and add your account.
- On the Security tab, select Edit and give the same account the rights it needs.
- Sign in with an account that exists on the sharing PC.
"Your organization's security policies block unauthenticated guest access"
Windows blocks guest logons to shares by default; Windows 11 24H2 also requires SMB signing.
- Turn password protected sharing on, on the sharing PC.
- Create or use a named account with a password on the sharing PC.
- Connect with that user name and password instead of as a guest.
You are asked for a username and password but none works
Windows expects an account from the sharing PC, not from the PC you are on.
- Enter the user name as
computername\username, using the sharing PC's name. - Use that account's password, not your Windows Hello PIN.
- If the account has no password, add one in Settings > Accounts > Sign-in options on the sharing PC.
The connection works by IP address but not by computer name
Name resolution on the network is failing.
- Check the exact name in Settings > System > About.
- Open Services and make sure TCP/IP NetBIOS Helper is running with Automatic startup.
- Use the IP address, or map the drive by IP, until name lookup works.
"System error 53 has occurred. The network path was not found"
The path is wrong, or the TCP/IP NetBIOS Helper service is stopped or running under the wrong account.
- Check the spelling of
\\computername\sharename. - Make sure TCP/IP NetBIOS Helper is running as Local Service.
Windows Firewall is blocking file sharing
The network is set to Public, where the firewall blocks sharing.
- Set the network to Private network.
- Turn File and printer sharing on again for Private networks.
- Leave the firewall on; do not open ports by hand for home sharing.
Shared files open as read-only
The account has only read permission on the share or the folder.
- On the sharing PC, give the account Change in Advanced Sharing Permissions.
- Give it Modify or Write on the Security tab.
- Disconnect and reconnect the share.
Security tips for safer network sharing
Share only on Private networks, keep password protected sharing on, grant named accounts rather than Everyone, and give Read unless someone truly needs to change files. Microsoft warns that guest logons expose PCs to spoofed servers, ransomware and adversary-in-the-middle attacks, and recommends against enabling them or SMB 1.0. Named accounts with passwords keep the share usable while Windows' default protections stay on.
Frequently asked questions
How do I share files and folders in Windows 11?
Set the network to Private, turn on Network discovery and File and printer sharing, then right-click the folder, select Show more options > Give access to > Specific people. Other PCs open it at \\computername\foldername.
How do I share files and folders in Windows 10?
Turn on sharing in Settings > Network & internet > Sharing options, then right-click the folder and select Give access to > Specific people. You can also use the Share tab in File Explorer and choose Specific people.
How do I share file folders between two computers?
Connect both PCs to the same network and set it to Private on both. Share the folder on one PC with Give access to, then on the other PC type \\computername in the File Explorer address bar and sign in with an account from the first PC.
How do I share an entire folder rather than single files?
Share the folder itself with Give access to or Advanced Sharing. Everything inside it, including subfolders, becomes available with the permissions you set, so move private files out before sharing.
How do I share files and folders via OneDrive?
Upload the files or folder to OneDrive, select Share, choose who the link should work for, and copy or email the link. OneDrive sharing works over the internet and does not need network discovery or a Private network.
Do I need HomeGroup to share files?
No. HomeGroup was removed in Windows 10 version 1803. Windows 11 and current Windows 10 versions share folders with Give access to, Advanced Sharing and the network sharing settings instead.
Should I turn off password protected sharing?
Usually not. With it on, only people with an account and password on the sharing PC can connect. Turn it off only on a small, trusted home network, and never on a public one.
Conclusion
Set the network to Private, turn on discovery and file sharing, share the folder with a named account, and map it as a drive on the other PCs. That route keeps Windows' default protections in place and gives every PC a stable drive letter, while Nearby sharing and OneDrive cover one-off transfers without opening a folder to the network.