Select Advanced in the Avatar Editor and enter the Asset ID of each extra hair to wear more than one at a time.
This page covers the browser, mobile and Xbox routes, the 10-item cap, how to prove the look stuck, and what to do when the avatar resets or renders wrong.
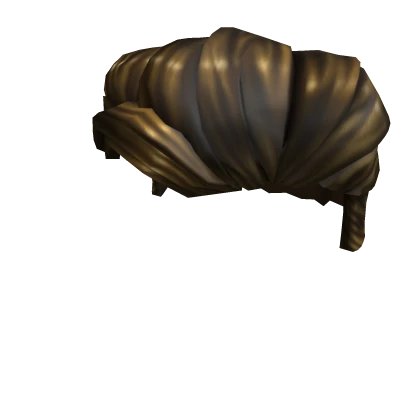
The fastest way to wear two or more hairs
The normal category picker applies a soft limit per item type, such as three hats. The Advanced panel is where extra items go in.
- Open roblox.com and select Avatar on the navigation menu.
- Open the pull-down menu for the category you want and pick the first hair normally.
- Select Advanced in the lower-right corner of the Avatar Editor page.
- Enter the Asset ID of each extra hair. The Asset ID is the number in the item's catalog link, so
https://www.roblox.com/catalog/62234425/Brown-Hairhas the Asset ID62234425. - Keep the list to 10 items, which is the maximum the Advanced panel accepts.
- Select Redraw underneath the avatar picture if the preview does not update.
A reader who stops here is finished. Everything below covers other devices, tidier results and failures.
Understanding the Limitations of Hair in Roblox
Four separate limits shape a multi-hair look. Three are set by Roblox, one by physics of the model.
| Limit | What it does | Your move |
|---|---|---|
| Soft limit per category | The standard picker stops you adding more than a set number of one item type, three hats for example. | Switch to Advanced and add the rest by Asset ID. |
| 10 items in Advanced | The Advanced panel accepts up to 10 items entered as Asset IDs. | Decide which hairs matter and drop the rest. |
| One attachment point per hair | A rigid hair accessory attaches to an attachment point on the character's head, so two hairs meet in the same place. | Adjust each item's position and rotation away from that point. |
| Moderation of the whole look | An avatar configuration that breaks the Community Standards is reset automatically to a default appearance. | Re-equip in the Avatar Editor and read the in-app notice first. |
| Regional item availability | In some regions specific avatar items are unavailable, and Roblox replaces the whole avatar with a grey block. | Equip or unequip any item in the editor to clear the restricted item. |
Standard Methods to Change Hair in Roblox
Use this route for the first hair, and any time you want to swap one out rather than stack another on.
- Select Avatar on the navigation menu.
- Select a category from the available pull-down menus, such as hat, hair or face.
- Scroll down until the hair you own is on screen.
- Select the item icon, which highlights once the item is worn.
- To take a hair off, open Recent or the same category and select the highlighted icon again.
- Select Redraw underneath the avatar picture if an added or removed item is not showing.
How to change hair on mobile, tablet and Xbox
The Avatar tab is being renamed Me and is rolling out by region. If Me is not there yet, look for Avatar — it is the same tab.
- On a phone, open your inventory and select the hair you want to wear or remove.
- Move the Wear This slide bar to Yes to wear it, or to No to take it off.
- On a tablet, tap More at the bottom of the screen, then tap Me, and dress the avatar as you would on the website.
- On Xbox, sign in through the Roblox app, go to the Avatar tab and press the Y button to open the Avatar Editor.
- For the extra hairs themselves, open roblox.com in a browser, because Advanced and the Asset ID list live on the Avatar Editor page.
Which route should you use?
| Where you are | Use this | Why |
|---|---|---|
| On a PC or any browser | Avatar Editor, then Advanced | The only place the Asset ID list is documented |
| On a phone | The Wear This slide bar in your inventory | Wears or removes a single item without the editor |
| On a tablet | More, then Me | Gives the same editor layout as the website |
| On Xbox | Avatar tab, then the Y button | Opens clothing, body, animation and outfit options |
| The look will not stick | Redraw under the avatar picture | Regenerates the avatar thumbnails after a server hiccup |
Exploring Advanced Techniques for Equipping Multiple Hairs
Every extra hair needs its Asset ID, and the ID is already in the link of the item's catalog page.
- Open the catalog page of the second hair on roblox.com.
- Read the number in the address, between
/catalog/and the item name. Inhttps://www.roblox.com/catalog/62234425/Brown-Hairthe Asset ID is62234425. - Go back to Avatar and select Advanced in the lower-right corner.
- Enter that Asset ID to add the hair on top of the one already worn.
- Repeat for a third hair, staying within the 10-item total the panel allows.
- Adjust the position and rotation of each hair so the meshes do not sit on top of each other.
- Select Redraw after the last change so the thumbnails match the editor preview.
The Role of Avatar Layers and Updates in Roblox
Hair is a rigid accessory, not a layered one. That single fact explains why two hairs collide instead of stacking neatly.
| Piece | How it behaves | What it means for two hairs |
|---|---|---|
| Rigid accessory | Attaches to an attachment point on the body and does not deform; hats, props and hair work this way. | Both hairs anchor to the same point on the head. |
| Position and rotation | You can move and rotate a rigid accessory away from its attachment point to suit your body type. | Shift the second hair back or up so both meshes stay visible. |
| Layered accessory | Stretches and wraps over the body using inner and outer cage meshes, so jackets and cardigans sit over clothing. | Layered items are clothing, not another hair slot. |
| Avatar thumbnails | Roblox regenerates the avatar images after a change, and the servers sometimes miss one. | Redraw forces the regeneration by hand. |
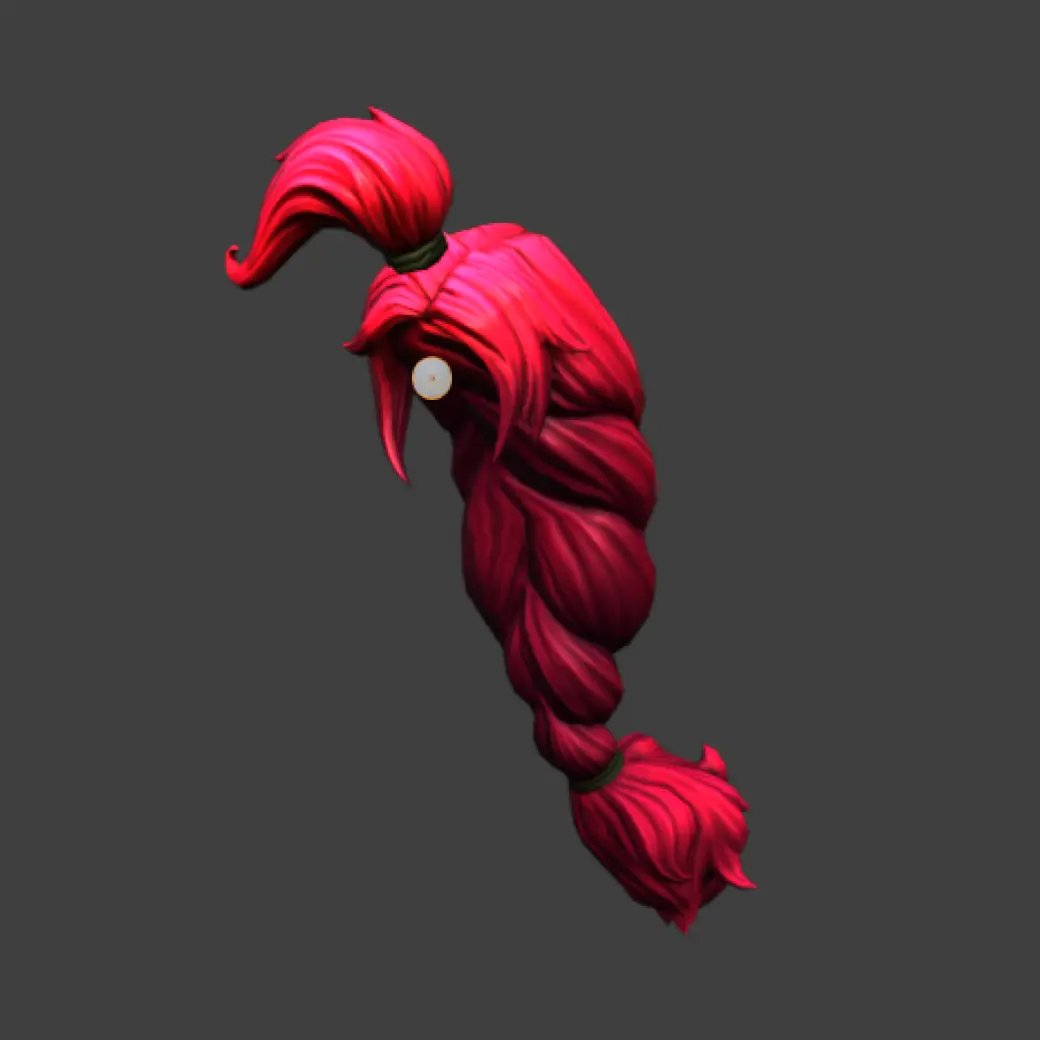
Best Practices for Multi-Hair Looks in Roblox
Add one hair at a time. A five-ID paste gives you no idea which item caused the mess.
- Equip the fullest hair through the normal category picker first.
- Add the second Asset ID in Advanced, then look at the preview before adding a third.
- Move and rotate the newer hair until neither mesh clips through the other.
- Keep the Advanced list inside its 10-item ceiling so nothing is silently left off.
- Select Redraw after each change rather than at the end, so you know which item broke the preview.
- Join any experience and look at the character in third person before you keep the look.
How to check it worked
The editor preview is not proof. The avatar thumbnail and a live experience are.
- Look at the avatar preview in the editor and count the hairs you added.
- Open the hair category and confirm every hair icon you chose is highlighted.
- Select Redraw underneath the avatar picture and wait a few minutes for the image to rebuild.
- Reload your profile page and check the avatar image there matches the editor.
- Join any experience and view the character in third person.
Fix a multi-hair avatar that will not show correctly
The avatar still shows the old hair after a change
The servers did not regenerate the avatar thumbnails after the edit.
- Go to your Avatar section.
- Select the Redraw link underneath the avatar's image.
- Wait a few minutes, then reload the page.
The avatar appears as a gray X
Thumbnail generation failed, or stale browser files are being served.
- Select Redraw underneath the avatar's image first.
- If that does not help, clear your browser's temporary internet files and cookies.
- Sign in again and open the Avatar Editor.
The avatar renders as a grey block
One of the equipped items is unavailable in your region, so Roblox replaces the whole avatar.
- Open the Avatar Editor.
- Equip or unequip any item, which removes the restricted item.
- Check the preview, then re-add the hairs that stayed available.
The avatar was reset to a default look on its own
The avatar configuration was flagged against the Roblox Community Standards and reset automatically.
- Open your Roblox messages and read the notification explaining the reset.
- Review the Community Standards before rebuilding the look.
- Go to the Avatar Editor and re-equip the items you still want.
- Use the Report mistake option in the notification if you believe the reset was an error.
Advanced will not accept the Asset ID
Something other than the ID digits was pasted, usually the whole catalog link.
- Open the item's catalog page on roblox.com.
- Copy only the digits between
/catalog/and the item name. - Paste those digits into Advanced on the Avatar Editor page.
How to Create Multi-layered Hair Effects Legally and Safely
There is one supported way to stack hair, and it is the Advanced panel. Everything else on offer carries a real cost.
Build multi-hair effects only through the Advanced panel in the Avatar Editor, using items in your own inventory. Exploiting or cheating violates the Roblox Terms of Use and leads to deletion of the account. Many exploit downloads are scams carrying a keylogger or other phishing program that steals the passwords stored on your computer. A rejected avatar combination costs you the look; an exploit costs you the account.
Frequently asked questions
Can you equip more than one hair in Roblox?
Yes. The normal picker applies a soft limit per item type, but the Advanced panel in the Avatar Editor takes Asset IDs and accepts up to 10 items, so several hairs can be worn at once.
How do you equip more than one accessory in Roblox?
The same way as extra hair. Select Advanced in the lower-right corner of the Avatar Editor page, then enter the Asset ID of each accessory you want beyond the soft limit, up to 10 items.
How do you equip more than one hair in Roblox on PC?
Open roblox.com in a browser on the PC, select Avatar on the navigation menu, pick one hair from the category list, then select Advanced and enter the Asset ID of each additional hair.
How many items can you equip at once with Advanced?
Up to 10. That is the ceiling Roblox documents for items added by Asset ID in the Advanced panel, so plan which hairs and accessories matter most before filling the list.
How do you find a Roblox Asset ID?
The Asset ID is the number in the item's catalog link. In https://www.roblox.com/catalog/62234425/Brown-Hair the Asset ID is 62234425. Copy only those digits, not the rest of the address.
Can you equip more than one face in Roblox?
Roblox documents the Advanced panel for adding items beyond a category's soft limit, using hats as its example. It does not document stacking faces, so treat one face as the working limit.
How do you remove one of the extra hairs?
Open Recent or the hair category in the Avatar Editor, find the highlighted icon for the hair you no longer want, and select it. The highlight clears and the item comes off the avatar.
Why did my avatar reset after I changed it?
Roblox checks profile avatars for content that breaks its Community Standards and resets a failing configuration to a default look. You keep the items; the rejected part is that specific combination.
Why is my avatar showing as a grey block?
Some avatar items are unavailable in certain regions, and Roblox swaps the whole avatar for a grey block rather than show them. Equip or unequip any item in the editor to clear the restricted item.
How do you equip two pets at once in Adopt Me?
Pet slots are set by the experience's own developer, not by the Roblox Avatar Editor. The Advanced panel changes accessories on your avatar and has no effect on what an experience allows you to carry.
Is it equip or equipt?
Equip is the correct spelling. The past tense and past participle are equipped, and the noun is equipment. Equipt is an archaic form that no current Roblox menu or help page uses.
Does adding hair by Asset ID need Robux?
The Advanced panel itself costs nothing. Whether an individual hair is free or paid depends on that item's listing in the catalog, which is the same as equipping it the ordinary way.
Final Tips
Add one Asset ID at a time in Advanced, adjust the position and rotation of each hair, and select Redraw after every change. Two hairs anchor to the same attachment point on the head, so the difference between a good stack and a clipped mess is the position of the second item. Redrawing after each step shows exactly which hair broke the preview, instead of leaving you with 10 IDs and no idea which one to pull.