Press Windows + R, type msinfo32, press Enter, and read the BIOS Version/Date line in System Summary to check your BIOS version in Windows 11.
You can also read it from Command Prompt, PowerShell or the UEFI menu. The sections below explain the fields, the update route, and the Secure Boot and boot errors tied to firmware.
Check BIOS version in Windows 11
System Information needs no restart and no extra software, so it is the fastest route on any PC brand.
- Press Windows + R to open the Run box.
- Type
msinfo32and press Enter. - Select System Summary in the left pane if it is not already selected.
- Read BIOS Version/Date in the right pane. It shows the maker, the version and the release date.
How to check BIOS version Windows 11 cmd
Microsoft has removed the old wmic tool from Windows 11, version 24H2 and later, so wmic bios get smbiosbiosversion no longer works there. This Command Prompt line calls PowerShell instead and works on current builds.
powershell -Command "Get-CimInstance -ClassName Win32_BIOS | Select-Object -Property SMBIOSBIOSVersion,Manufacturer,ReleaseDate"This reads the Win32_BIOS WMI class and keeps three properties: the version as reported by SMBIOS, the firmware maker and the release date.
You should see: A short table with your BIOS version under SMBIOSBIOSVersion.
How to check BIOS version Windows 11 with PowerShell
Use this when you want the full record for a support ticket or a script. Right-click Start and open Terminal, then run the command.
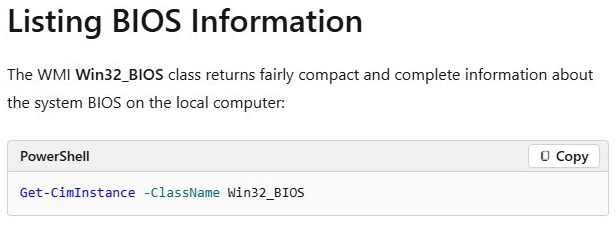
Get-CimInstance -ClassName Win32_BIOSThe Win32_BIOS class returns compact information about the system BIOS on the local computer.
You should see: The maker and the SMBIOSBIOSVersion value, along with the other BIOS details.
Check UEFI (BIOS) version on Windows 11
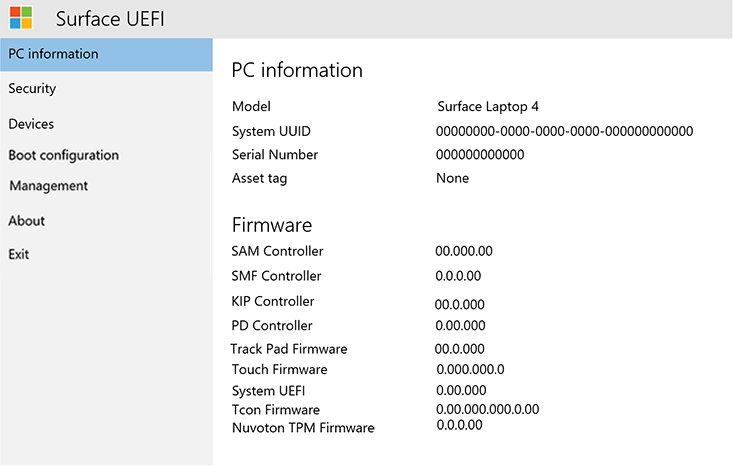
The firmware menu shows the version before Windows loads, which helps when you plan to change a firmware setting anyway. Save your work first, because this restarts the PC.
- Go to Settings > System > Recovery.
- Select Restart now next to Advanced startup.
- On the next screen, select Troubleshoot > Advanced options.
- Select UEFI Firmware Settings, then select Restart.
- Look for the version on the first screen or on a page such as System Information or Overview.
If the option is not on that screen, you can fix missing UEFI Firmware Settings or enter the BIOS with a startup key instead.
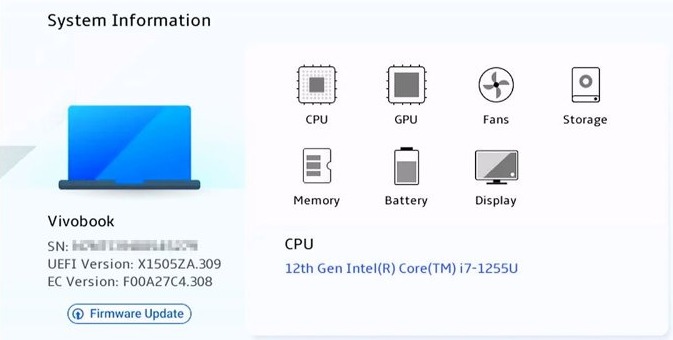
How to check BIOS version Windows 11 on HP, Dell and other PCs
System Information works the same way on every brand. Only the firmware route differs.
| PC | Inside Windows | From the firmware menu |
|---|---|---|
| Dell | msinfo32 > BIOS Version/Date |
Press F2 repeatedly at the Dell logo, then check System Information or Overview |
| HP | msinfo32 > BIOS Version/Date |
Use the HP laptop BIOS key for your model |
| Custom desktop motherboard | msinfo32 > BIOS Version/Date |
Press the key shown on the startup screen |
| Other brands | msinfo32 > BIOS Version/Date |
Common keys are Esc, Delete, F1, F2, F10, F11 or F12 |
| Tablets | msinfo32 > BIOS Version/Date |
Common buttons are Volume up or Volume down |
BIOS version fields in System Information and PowerShell explained
The tools return several similar values. SMBIOSBIOSVersion is the one to compare with your manufacturer's download page.
| Field | Where you see it | What it means |
|---|---|---|
| BIOS Version/Date | System Information | The maker, version and date on one line |
| BIOS Mode | System Information | UEFI or Legacy, the firmware mode Windows started in |
| SMBIOSBIOSVersion | PowerShell | The BIOS version as reported by SMBIOS, for example A04 on a Dell |
| Version | PowerShell | A string created by the BIOS manufacturer, which can look unrelated to the release number |
| ReleaseDate | PowerShell | The release date of the BIOS, in YYYYMMDDHHMMSS format |
| Manufacturer | PowerShell | The BIOS vendor, which can differ from the brand on the case |
The difference between legacy BIOS and UEFI matters if you plan to change BIOS Mode.
Tips for how to check BIOS version Windows 11
| Tip | Why it matters |
|---|---|
| Compare against your exact model | BIOS releases are model-specific, so find your computer's model before you open the download page. |
| Trust the SMBIOS value | Microsoft says some properties can change between legacy and UEFI boot, but values from the SMBIOS structures stay the same. |
Replace old wmic scripts |
wmic is gone from version 24H2 and later, so check your Windows version if a script fails. |
| Record the version before you update | You need the old value to prove that the new firmware installed. |
| Skip the restart | msinfo32 and PowerShell read the value while Windows runs, so open apps stay open. |
Update UEFI (BIOS) version on Windows 11
Firmware comes from your PC or motherboard maker. Check the current version first, then use that maker's own tool or download page.
- Note your current BIOS Version/Date in
msinfo32. - Open your manufacturer's support page for your exact model and compare versions. Dell recommends SupportAssist for most users and also offers updates through Windows Update.
- Plug in the power adapter. Dell says not to run a BIOS update on battery alone, and to charge the laptop to at least 10% first.
- Suspend BitLocker if the drive uses it, because a BIOS or UEFI firmware upgrade can trigger BitLocker recovery.
- Start the update and do not turn off the PC while it runs.
- Let the PC restart on its own, then sign in to Windows.
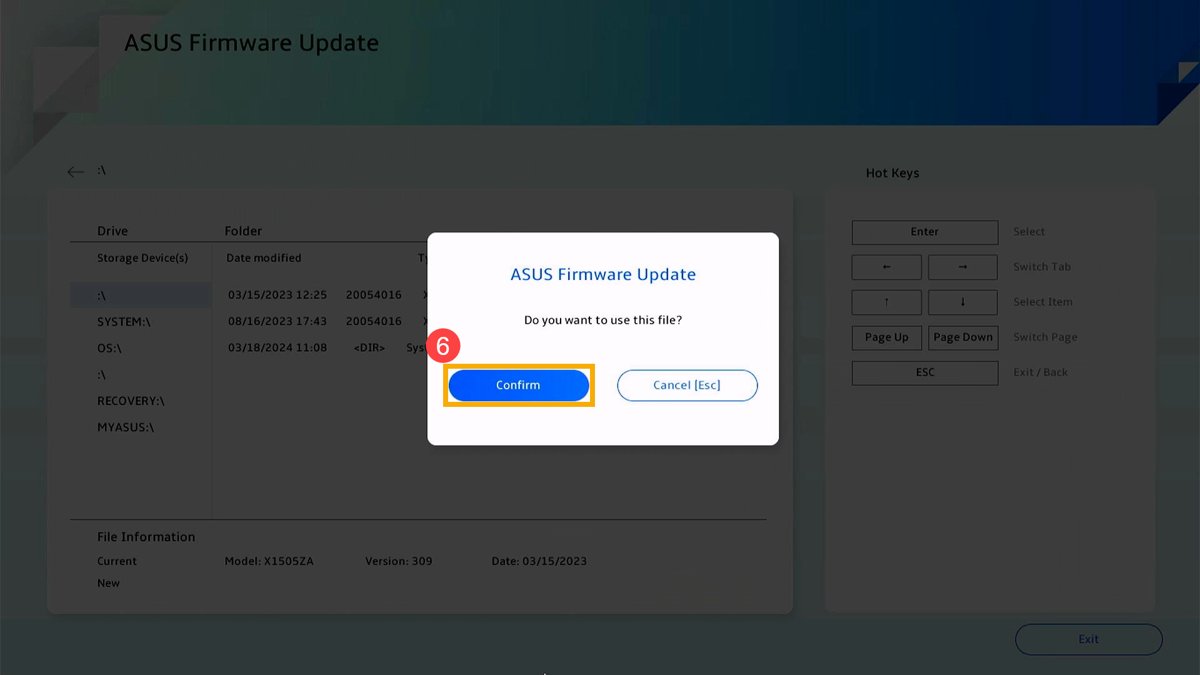
Brand tools differ, so you can update BIOS on a Dell or run the ASUS BIOS update utility on those PCs.
How to tell if a BIOS update installed on Windows 11
- Press Windows + R, type
msinfo32, and press Enter. - Compare BIOS Version/Date with the version you noted before the update.
- Match the new value against the version on your manufacturer's page.
- If you suspended BitLocker, confirm that protection is back. It resumes on its own after a reboot unless a reboot count was set.
Windows Boot Manager has been blocked by the current security policy
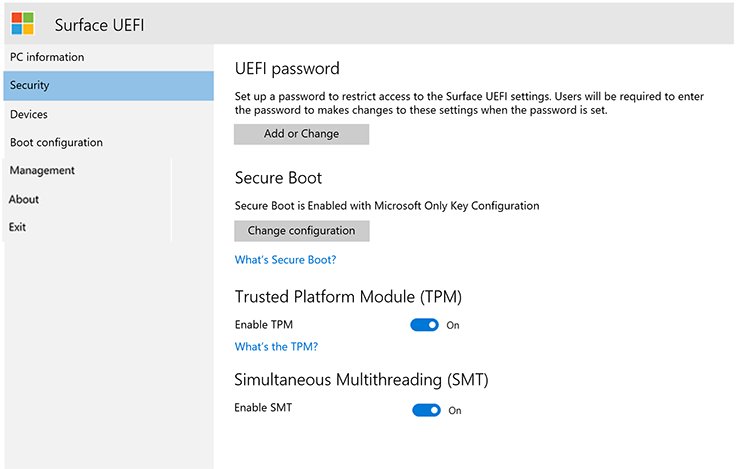
Secure Boot checks the signature of each piece of boot software when the PC starts. If Windows Boot Manager has a problem, the firmware tries a backup copy and then moves to the manufacturer's own remediation.
Expired Secure Boot certificates alone should not cause this. Microsoft says devices without the newer 2023 certificates continue to start and operate normally.
The message appears at startup and Windows will not load
The firmware refused the boot software, so the repair starts in the firmware menus.
- Restart and press your manufacturer's firmware key, such as Esc, Delete, F1, F2, F10, F11 or F12.
- Note the BIOS version and compare it with your model's support page. Install newer firmware if the manufacturer offers it.
- Find the Secure Boot setting, usually on the Security, Boot or Authentication tab. On some PCs, select Custom and load the Secure Boot keys built into the PC.
- If that is not possible, reset the BIOS back to its factory settings, then save changes and exit.
- If the block remains, start from Windows installation media and select Next > Repair your computer > Troubleshoot > Advanced options > Startup Repair.
- If Windows still will not start, contact your PC manufacturer.
A BitLocker recovery screen appears after the firmware change
Changes to the boot manager and firmware upgrades are both listed triggers for BitLocker recovery.
- Find your 48-digit recovery password. On a personal PC signed in with a Microsoft account, it is normally stored in that account.
- Type the recovery password on the recovery screen.
- Let Windows start, then check BIOS Version/Date in
msinfo32.
Accidentally turned off PC during BIOS update on Windows 11
The PC still starts and Windows loads
The update may have stopped before it wrote the new firmware.
- Open
msinfo32and compare BIOS Version/Date with the version you expected. - Plug in the power adapter. For a failed or stalled update, Dell says to charge the battery to at least 50%.
- Run the update again from your manufacturer's tool or support page.
- Leave the PC alone until it restarts, then check the version again.
A Dell PC shows "BIOS Corrupted" or will not finish starting
The firmware image is damaged, and Dell's BIOS Recovery feature can replace it.
- On a laptop, charge the battery to at least 25%, unplug the power cable, hold Ctrl + Esc, then plug the cable back in while you keep holding the keys. Use the built-in keyboard.
- On a desktop or all-in-one, keep the power cable connected, turn the PC on, and hold Ctrl + Esc on a wired USB keyboard straight away.
- Release the keys when the recovery screen appears.
- Select Recover BIOS, then select Continue or press Enter.
- Leave the PC alone. Several restarts are normal.
- If you see "No recovery image found", put the recovery file on a FAT32 USB drive, named
BIOS_IMG.rcv, in the root folder.
Another brand of PC will not start after the interruption
When firmware is not trusted, the PC has to use its manufacturer's own recovery process, which differs by brand.
- Keep the power adapter connected.
- From another device, open your manufacturer's support site and search your model name with "BIOS recovery".
- Follow that page's recovery steps exactly, or contact the manufacturer if it has none.
Secure Boot state off in System Information, but on in BIOS
Microsoft says most modern PCs support Secure Boot, but certain firmware settings can make a device appear as if it is not available. Check the firmware mode first, because it decides which fix applies.
BIOS Mode in System Information says Legacy
The PC is booting in Legacy (CSM) mode, and Secure Boot needs UEFI mode.
- Check the system drive's partition style. A Legacy install on MBR has to convert from MBR to GPT before it can start in UEFI mode.
- Go to Settings > System > Recovery > Restart now, then Troubleshoot > Advanced options > UEFI Firmware Settings > Restart.
- Switch the boot mode from Legacy or CSM to UEFI. If the PC offers both, make UEFI the first or only option.
- Save changes and exit, then check BIOS Mode in
msinfo32again.
BIOS Mode says UEFI and Secure Boot is set to Enabled in firmware
The setting is on, but Secure Boot also requires its keys and signature database to be in place in the firmware.
- Open Terminal (Admin) and run
Confirm-SecureBootUEFI. A result of True means Secure Boot is enabled, and False means it is disabled. - If the result is False, open the firmware menus and go to the Secure Boot setting.
- On some PCs, select Custom, then load the Secure Boot keys built into the PC.
- If that option is missing, reset the BIOS back to its factory settings.
- Save changes and exit, then run
Confirm-SecureBootUEFIagain.
Confirm-SecureBootUEFI says "Cmdlet not supported on this platform"
The PC does not support Secure Boot, or it is running in BIOS (non-UEFI) mode.
- Check BIOS Mode in
msinfo32. - If it says Legacy, follow the Legacy steps above.
- If it says UEFI, check your manufacturer's support page for a firmware update or Secure Boot instructions for your model.
Confirm-SecureBootUEFI says "Unable to set proper privileges. Access was denied"
The cmdlet requires PowerShell in administrator mode.
- Right-click Start and select Terminal (Admin).
- Run
Confirm-SecureBootUEFIagain.
Windows 11 BIOS version FAQ
How do I check my BIOS version using Command Prompt?
Run powershell -Command "Get-CimInstance -ClassName Win32_BIOS | Select-Object -Property SMBIOSBIOSVersion" in Command Prompt. It prints the version as reported by SMBIOS. The older wmic command is removed from Windows 11, version 24H2 and later.
How do I check my BIOS version without restarting my computer?
Press Windows + R, type msinfo32 and press Enter, then read BIOS Version/Date in System Summary. PowerShell's Get-CimInstance -ClassName Win32_BIOS command gives the same information. Neither one restarts the PC or changes any setting.
How do I check BIOS version in Windows 10?
Use the same steps as Windows 11. Open the Run box, type msinfo32, press Enter, and read BIOS Version/Date in System Summary. On Windows 10, the wmic bios get smbiosbiosversion command may still work, because wmic was removed in later versions.
How do I check my motherboard BIOS version in Windows 11?
On a custom desktop, msinfo32 shows the motherboard's firmware under BIOS Version/Date. The BIOS vendor field can name the firmware company rather than the board maker, so compare the version number with the download page for your exact motherboard model.
How do I check BIOS version on an HP PC in Windows 11?
Press Windows + R, type msinfo32 and press Enter, then read BIOS Version/Date in System Summary. This Windows tool works the same way on HP, Dell and other brands, so you do not need an HP utility to read the version.
Is UEFI the same as BIOS?
Windows tools use the names loosely. Firmware is the software that runs before Windows when you turn on your PC, and Microsoft says it is commonly called UEFI and sometimes BIOS. The Check BIOS version steps above work for both.
Why does wmic bios get smbiosbiosversion not work?
Microsoft removed WMIC from Windows 11, version 24H2 and later, and it is no longer available as a Feature on Demand. WMI itself still works, so use Get-CimInstance -ClassName Win32_BIOS in PowerShell to read the same value.