The pfSense CE download is a free installer from pfsense.org that turns a spare PC, a firewall appliance or a virtual machine into a full router and firewall. You grab it on Windows 11, Windows 10 or a Mac, write it to a USB drive, and boot the target machine from it.
pfSense Community Edition is the open source edition of Netgate’s firewall software. The download button on pfsense.org leads to the free Netgate Installer on the Netgate Store, which fetches the current release over the internet during setup.
Below: the right image for your hardware, the checkout steps, checksum checks, USB and Hyper-V installs, CE versus Plus, requirements and fixes for common install failures.
Which pfSense CE download do you need?
Pick the image for the machine that will run the firewall, not for the PC you download with. The installer overwrites the whole target disk, and dual booting is not supported.
| Target machine | Image to select | Console | Get it |
|---|---|---|---|
| Spare 64-bit Intel or AMD PC or mini PC with two network ports | AMD64 Memstick USB | VGA and serial in one image | Netgate Installer |
| Virtual machine in Hyper-V, VMware ESXi or Proxmox VE | AMD64 ISO | Virtual console | Netgate Installer |
| Server with an optical drive or IPMI remote console | AMD64 ISO | VGA or IPMI | Netgate Installer |
| Netgate 1100 or 2100 ARM appliance | AARCH64 Memstick USB | Serial | Netgate Installer |
pfSense CE targets the AMD64 architecture, which covers both Intel and AMD 64-bit processors. 32-bit ARM devices are not supported.
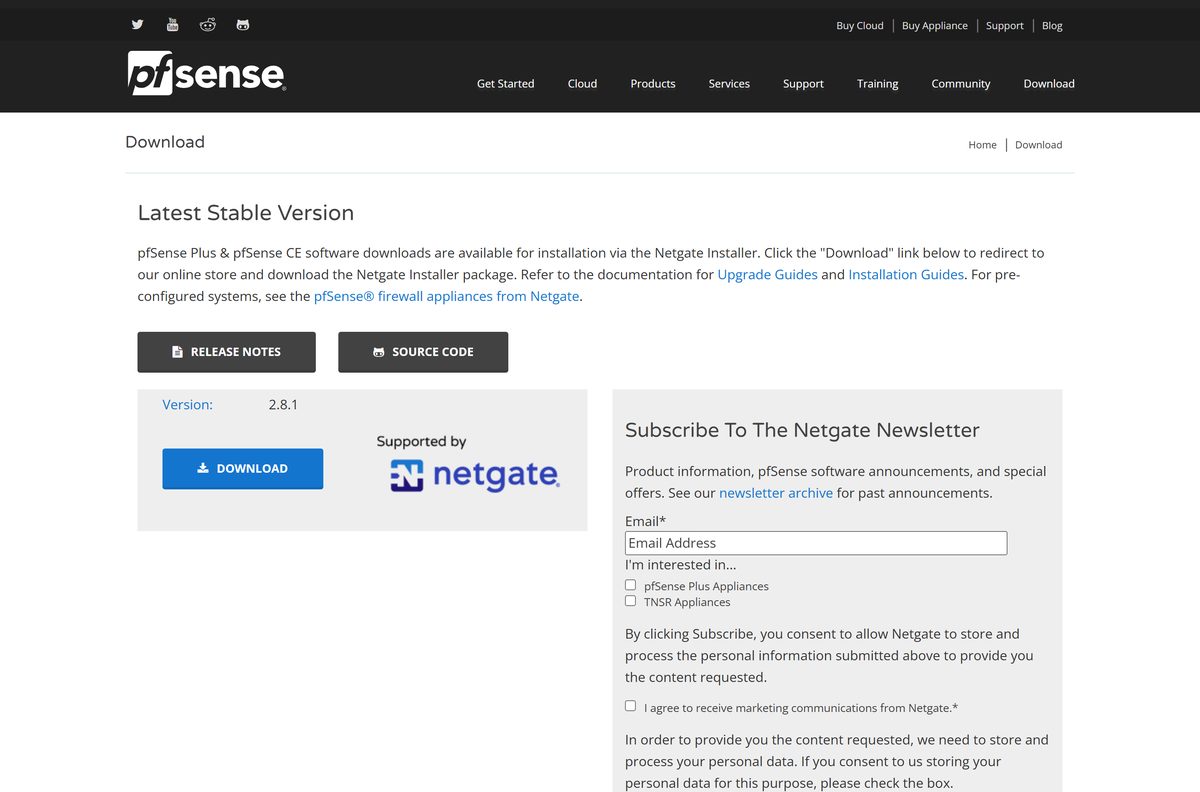
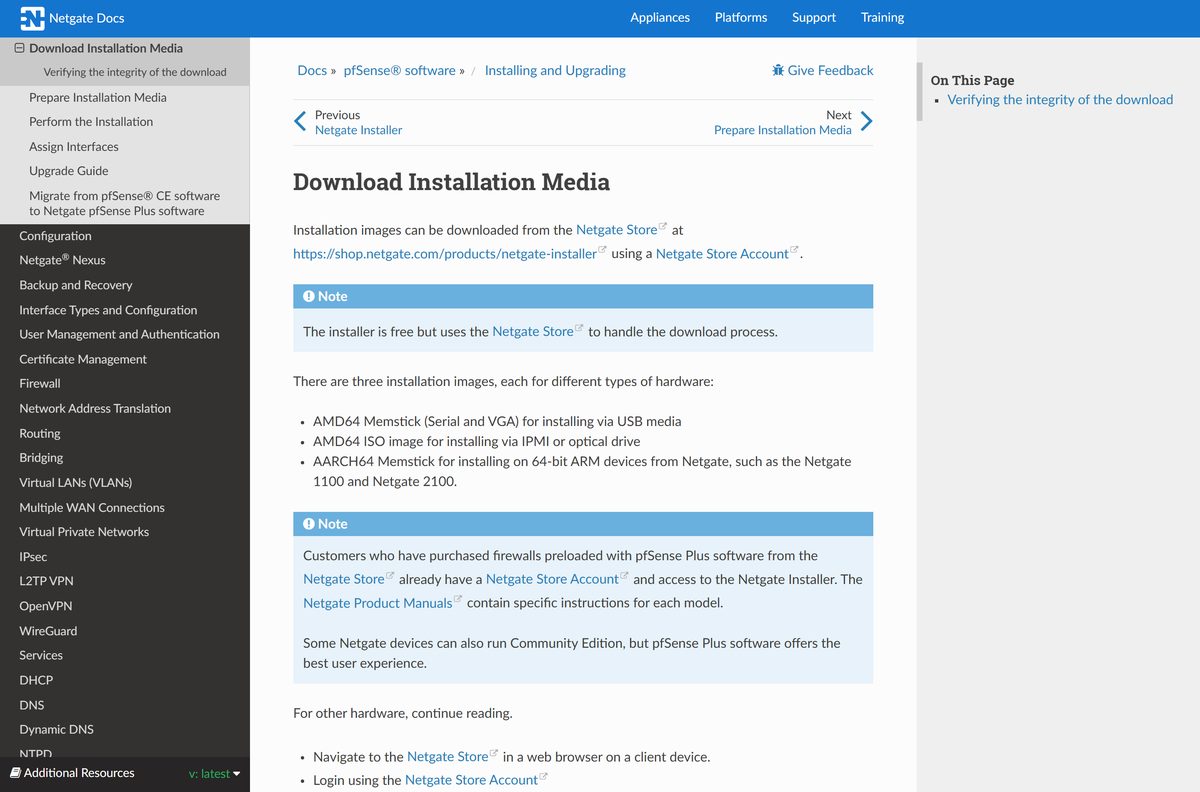
Download pfSense CE from the official Netgate Store
The DOWNLOAD button on pfsense.org sends you to the Netgate Installer product in the Netgate Store. It costs $0.00, but the store delivers it through a normal checkout.
- pfSense CE download page — image guide, release notes and source code links
- Netgate Installer on the Netgate Store — free, needs a Netgate Store account
- Installer SHA-256 checksums — hashes of the compressed .gz files
- pfSense release notes — changes in every CE and Plus release
Log in or create a Netgate Store account, choose an image, select Add to cart and complete the $0.00 checkout. The download link arrives with the order.
The file comes as a compressed .gz archive. Keep it compressed until you have checked its hash.
How to verify the pfSense CE installer checksum
Netgate computes each SHA-256 hash against the compressed file. Compare the hash before you decompress, or it will never match.
- Open the Netgate installer checksum file and find the line for your image.
- On Windows, open PowerShell in your Downloads folder.
- Run Get-FileHash .\
.gz -Algorithm SHA256 with your real file name. - On a Mac, open Terminal and run shasum -a 256 ~/Downloads/
.gz . - Compare the two values character by character.
- If they differ, delete the file and download it again from the Netgate Store.
Safari on macOS decompresses downloads automatically by default, which breaks the hash check. Turn that off in Safari settings or download with another browser.
How to install pfSense CE from a USB drive made on Windows 11 or 10
You need a USB drive you can erase, and a wired internet connection for the target machine. The installer is an online installer that pulls the release from Netgate servers.
- Right-click the downloaded img.gz file and select 7-Zip > Extract Here.
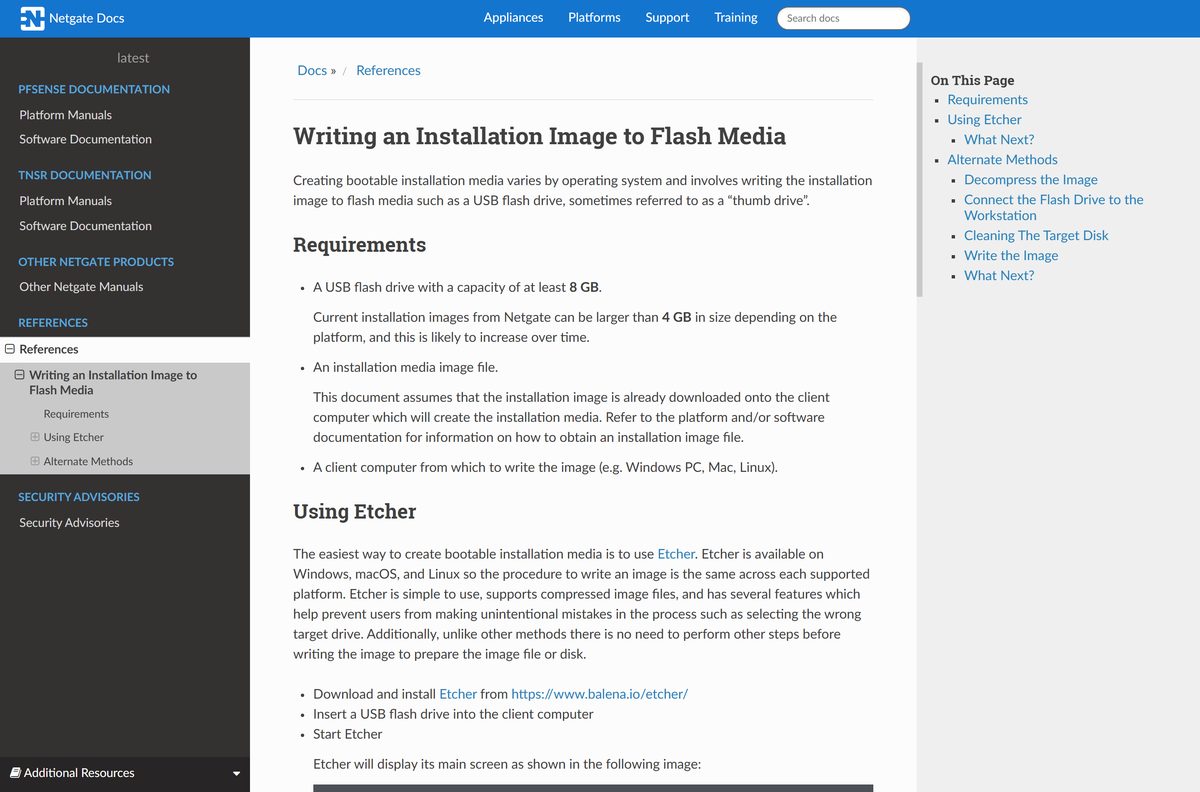
- Open Etcher, select Flash from file, choose the extracted image, pick the USB drive and select Flash!
- Or run Win32 Disk Imager as Administrator, select the image with the folder icon, pick the drive and select Write.
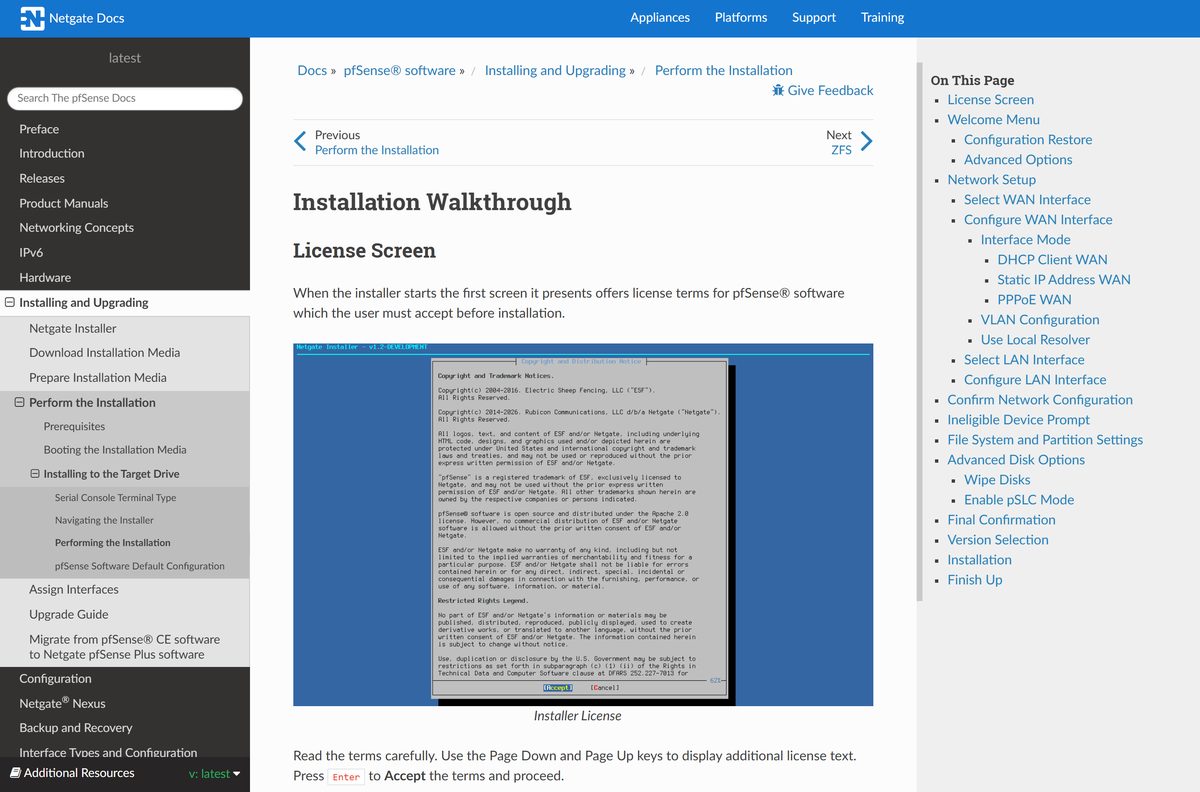
- Boot the target machine from the USB drive, accept the license and select Install.
- Select the WAN port and set it to DHCP Client, Static IP or PPPoE.
- Select the LAN port and keep the default 192.168.1.1/24 with its DHCP range, then select Continue.
- When the eligibility check finishes, select Install CE.
- Choose ZFS and GPT, select the target disk and confirm that everything on it will be destroyed.
- Pick the Current Stable Version, wait for the install, then select Reboot and remove the USB drive.
Windows may offer to format the finished USB drive because it cannot read its partitions. Ignore that prompt, or the drive is wiped.
Run pfSense CE in a Hyper-V virtual machine on Windows
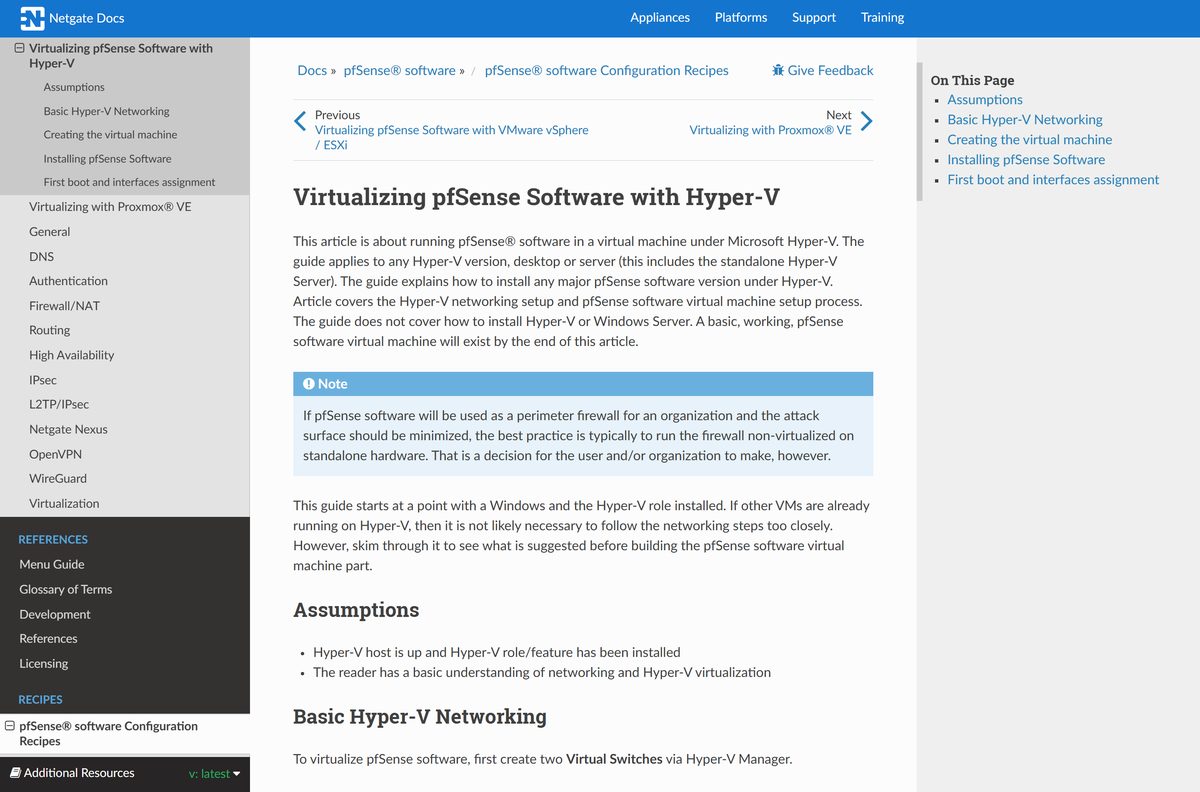
Hyper-V on Windows 11 or Windows 10 runs pfSense CE from the AMD64 ISO. It suits a lab. For a production perimeter firewall, Netgate recommends dedicated hardware.
- Open the Netgate Hyper-V guide, then in Hyper-V Manager create a Private virtual switch for the LAN.
- Create an External virtual switch bound to your upstream network adapter for the WAN.
- Create a Generation 2 VM with at least 1 GB of memory, or 2 GB if you plan to add packages.
- Give it a 10 to 20 GB virtual hard disk and two network adapters, one per switch.
- In the VM settings, uncheck Enable Secure Boot and mount the pfSense ISO.
- Start the VM and run the installer as in the USB steps above.
- After the reboot, make the hard drive first in the firmware boot order and assign hn0 as WAN and hn1 as LAN.
The same ISO also runs under VMware vSphere and ESXi or Proxmox VE, each with its own guide in the Netgate documentation.
Which pfSense CE steps do you need on a Mac?
There is no pfSense app for macOS. The Mac prepares the USB drive and then manages the firewall from a browser.
| You want to | Do this on the Mac | Source |
|---|---|---|
| Decompress the image | Run gunzip /path/to/file after checking the hash |
Writing disk images |
| Free the USB drive | Run diskutil list, then sudo diskutil unmountDisk /dev/diskX |
Writing disk images |
| Write the image | Run sudo dd if= |
Writing disk images |
| Finish | Run sudo diskutil eject /dev/diskX and boot the target machine from it |
Writing disk images |
| Manage the firewall | Connect to the LAN port and open https://192.168.1.1 in Safari |
Installation guide |
Check the disk number twice before running dd. It overwrites the chosen drive without asking.
Is pfSense CE free, and when do you need pfSense Plus?
pfSense CE is open source under an Apache-style license, and you may use, modify and redistribute it. Support comes from the community forum on a best-effort basis.
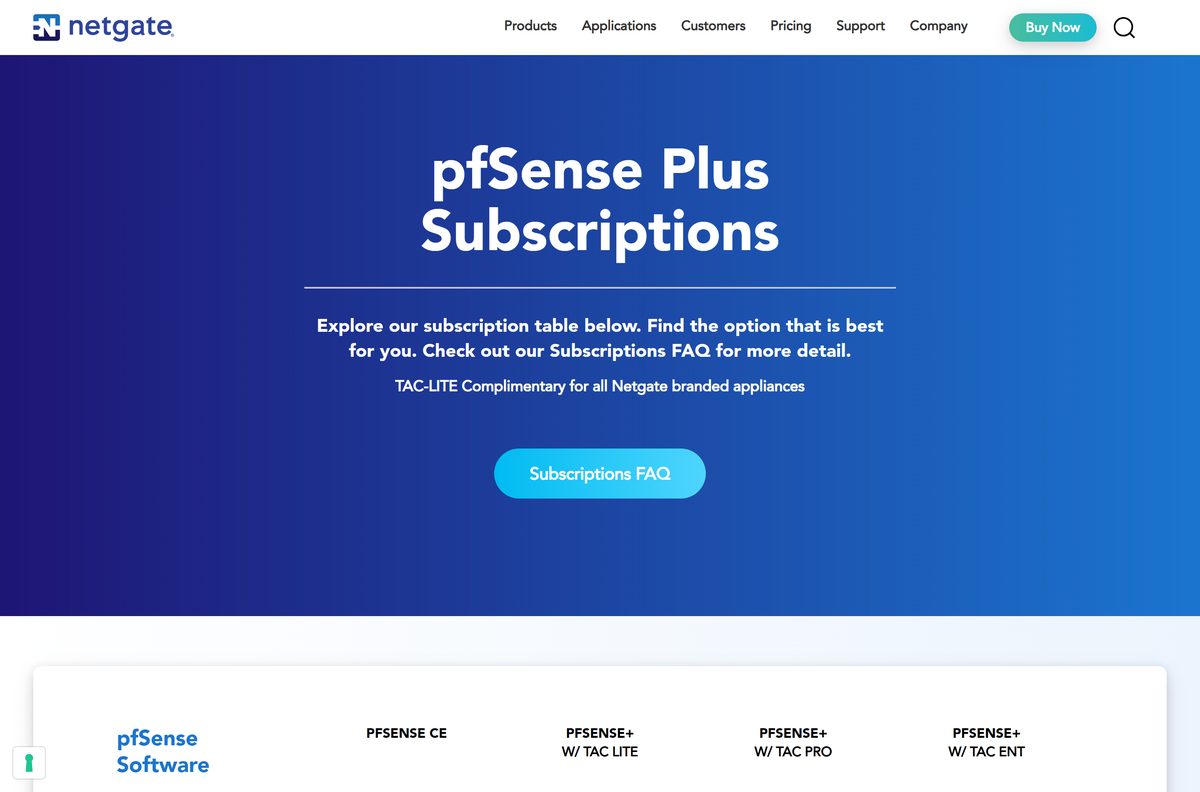
pfSense Plus is Netgate’s commercial edition under an EULA. It needs a TAC subscription per instance: TAC Lite $129 a year, TAC Pro $399 a year or TAC Enterprise $799 a year. TAC Lite is complimentary on Netgate appliances.
Install pfSense CE for a home network, a lab or any setup where forum support is enough. CE costs nothing and the installer is free. Choose pfSense Plus only when you need 24/7 support with a guaranteed response time or you run a Netgate appliance that already includes TAC Lite.
The Netgate Installer shows a $0.00 price. Any site that charges for a pfSense CE download is not an official source.
Choose between pfSense CE 2.9.0 and 2.8.1
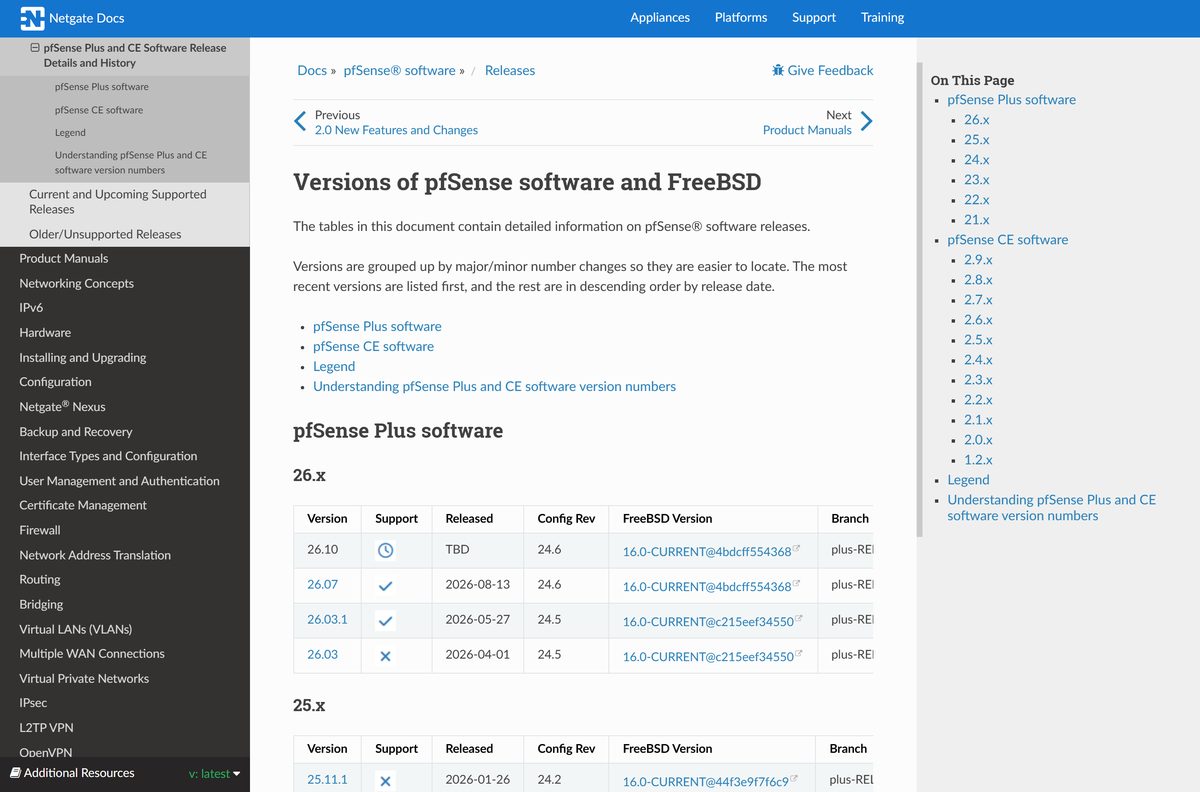
The installer lets you pick a release, and both are listed with active support. Version 2.9.0 arrived on August 20, 2026, on a FreeBSD 16.0-CURRENT base. Version 2.8.1 dates from September 4, 2025.
Install 2.9.0 on any new firewall. It adds OpenSSL 3.5.7, OpenSSH 10.3p1 with post-quantum key exchange, automatic TLS certificate renewal, experimental Port Restricted Cone NAT for games and peer-to-peer apps, and fixes for 21 CVEs. Stay on 2.8.1 only if an old SSH client must still connect, because the newer release drops older SSH algorithms.
The pfsense.org download page still labels 2.8.1 as the latest stable version. The installer’s Current Stable Version label is the one to follow.
How to check your pfSense CE version and update it
Updates install from the web interface, so there is no need to download the installer again.
- Open https://192.168.1.1 from a PC on the LAN and log in.
- Read the installed version in the System Information widget on the dashboard.
- Open System > Update.
- On the Update Settings tab, pick the Branch you want and save.
- Wait for the page to refresh and run a new update check.
- Back on the update tab, start the upgrade and wait for the firewall to reboot.
On ZFS installs, the Boot Environments options on the same tab keep a snapshot you can roll back to if an upgrade fails.
Check the pfSense CE system requirements before you install
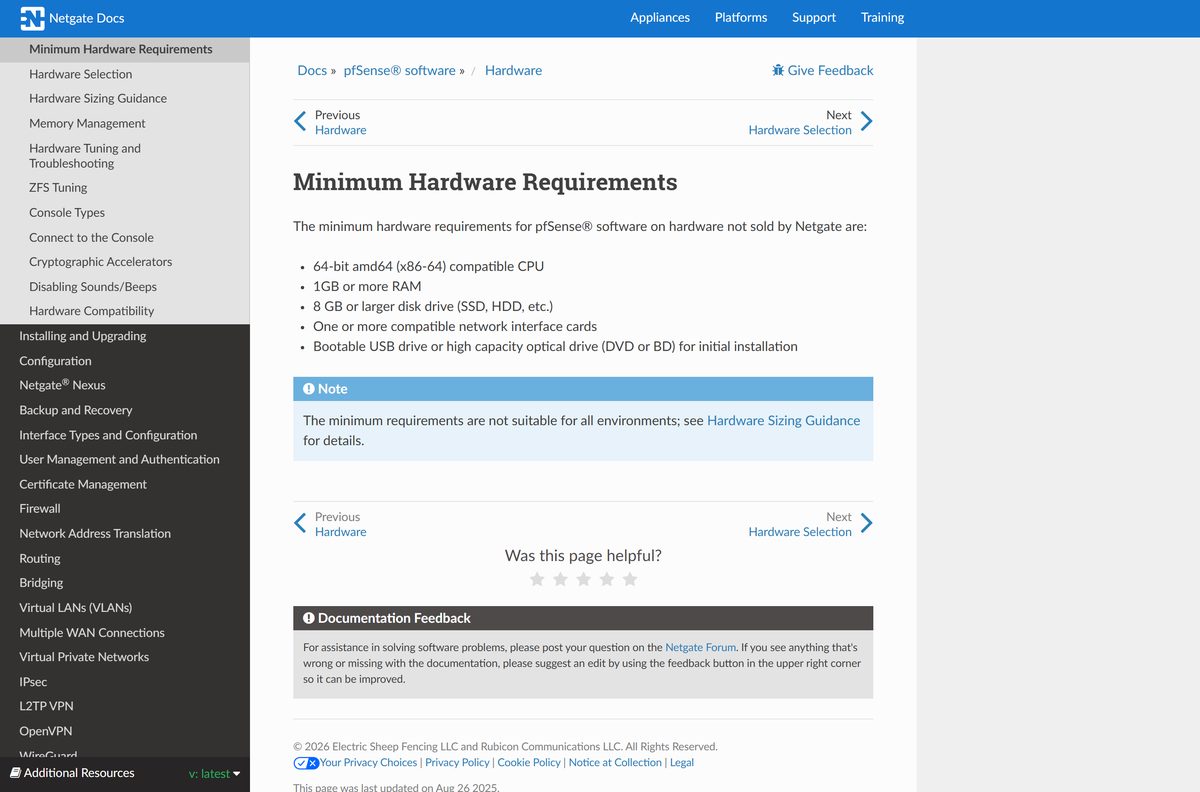
These are minimums. A busy network with packages or VPNs needs more memory and a faster CPU.
| Field | Value |
|---|---|
| Software | pfSense CE (pfSense Community Edition) |
| Developer | Netgate |
| Latest version | 2.9.0 (August 20, 2026) |
| License | Free and open source, Apache-style license |
| Installer | Netgate Installer, online, $0.00 on the Netgate Store |
| CPU | 64-bit amd64 (x86-64) compatible processor |
| Memory | 1 GB or more |
| Storage | 8 GB or larger SSD or HDD |
| Network | One or more compatible network cards; two for a WAN and LAN router |
| Install media | Bootable USB drive, DVD or BD drive |
| Runs on | Dedicated PC, Netgate appliance, or VM in Hyper-V, VMware ESXi or Proxmox VE |
| Managed from | Web browser on Windows 11, Windows 10, macOS or Linux |
| Official download source | pfsense.org |
| Offline installer | No, the installer downloads the release from Netgate servers |
| Last verified | 2026-09-25 |
pfSense CE does not run inside Windows or macOS as an app. It becomes the operating system of the machine you install it on.
How to log in to pfSense CE after the first boot
A fresh install is already a working router. Plug a PC into the LAN port and it gets an address from the firewall.
| Setting | Default value |
|---|---|
| WAN interface | IPv4 and IPv6 DHCP client |
| LAN interface | 192.168.1.1/24 |
| LAN DHCP range | 192.168.1.100 to 192.168.1.150 |
| Web interface | HTTPS on port 443 at https://192.168.1.1 |
| Username | admin |
| Password | pfsense |
| Firewall rules | Inbound WAN traffic blocked, LAN outbound allowed |
| Services | DHCP and DNS enabled on the LAN |
Change the admin password at the first login. Netgate warns against keeping the default even in a lab.
Fix pfSense CE not installing or booting
Match what you see to one fix below.
The installer cannot reach Netgate servers
The WAN settings are wrong or the upstream network blocks the connection.
- Check that the WAN cable goes to your modem or upstream router.
- Recheck the WAN mode, IP, gateway and DNS, then run the installer again.
- If it still fails, connect the WAN port to a different network.
The machine will not boot from the USB drive
The USB port, drive or BIOS is not cooperating.
- Try another USB drive and a USB 2.0 port.
- Update the BIOS to the latest version.
- Disconnect peripherals you do not need and boot again.
The Hyper-V VM does not boot the installer
Secure Boot is on, which pfSense does not support.
- Shut down the VM and open its Settings.
- Uncheck Enable Secure Boot under Security.
- Start the VM again.
The install finishes but the disk will not boot
The BIOS or SATA mode does not match the partition layout.
- Update the BIOS and set SATA to AHCI.
- Reinstall and choose the other partition scheme, MBR instead of GPT.
No network link is detected on a port
A loose cable, a dead port or an unrecognised interface.
- Check the cable and the link lights on both ends.
- Assign the interfaces by hand at the console if detection still fails.
The installer reports an error part-way
A disk, network or hardware fault stopped the install.
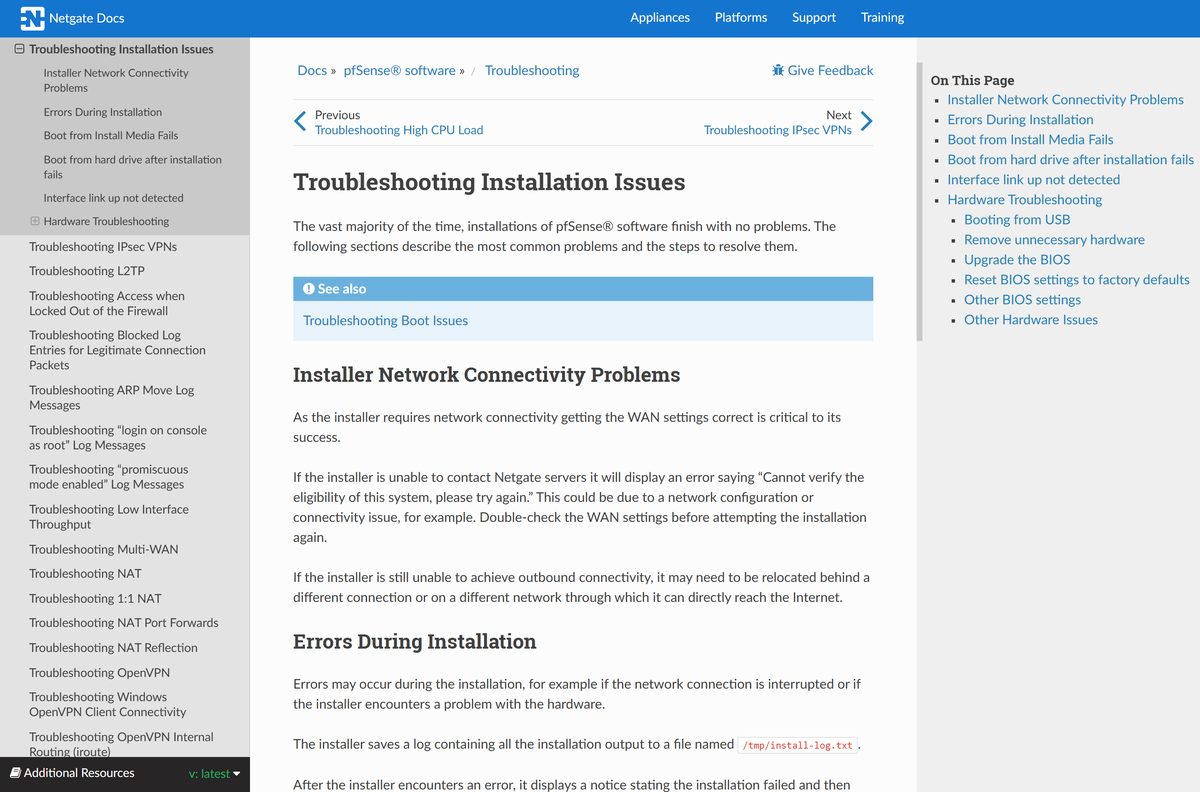
- Open the Rescue Shell and read /tmp/install-log.txt .
- Fix the cause it names, then run Install again.
Frequently asked questions
Is pfSense CE free to download?
Yes. pfSense CE is free and open source under an Apache-style license. The Netgate Installer costs $0.00 on the Netgate Store, and you only need a free store account to check out. Paid TAC subscriptions apply to pfSense Plus, not CE.
What is the official pfSense CE download page?
The official page is pfsense.org/download. Its DOWNLOAD button leads to the Netgate Installer at shop.netgate.com, which delivers the AMD64 memstick, the AMD64 ISO and the AARCH64 memstick images through a free checkout.
Can I install pfSense CE on Windows 11?
Not as a Windows app. pfSense CE installs as its own operating system on a dedicated PC or in a virtual machine. On Windows 11 you can run it in a Hyper-V Generation 2 VM with Secure Boot turned off, or use the PC to write a USB installer.
How big is the pfSense CE download?
Netgate does not publish a size for the Netgate Installer images. The installer is small because it downloads the chosen pfSense release from Netgate servers during setup. Plan for at least an 8 GB disk on the target machine.
Is there a pfSense CE offline installer?
No. The Netgate Installer is an online installer and needs internet access through the WAN port to fetch the release from Netgate servers. The WAN can use DHCP, a static IP or PPPoE during installation.
Is there a pfSense CE app for Mac?
No. On a Mac you decompress the image with gunzip, write it to USB with dd, and manage the firewall in Safari at https://192.168.1.1. pfSense CE itself runs on a separate x86-64 PC, appliance or virtual machine.
Does pfSense CE support ARM64?
pfSense CE targets AMD64, which covers 64-bit Intel and AMD processors. The Netgate Installer also offers an AARCH64 memstick for Netgate 1100 and 2100 ARM appliances. 32-bit ARM devices are not supported by the installer.
Is the pfSense CE installer safe?
The installer from the Netgate Store is safe. Netgate publishes SHA-256 hashes for the compressed .gz files, so check yours with Get-FileHash on Windows or shasum -a 256 on a Mac before you decompress and write it.
What is the latest version of pfSense CE?
pfSense CE 2.9.0 is the latest release, published on August 20, 2026, on a FreeBSD 16.0-CURRENT base. It adds OpenSSL 3.5.7, OpenSSH 10.3p1 and automatic TLS certificate renewal. Version 2.8.1 remains under active support.
What is the default pfSense CE login?
The default web interface login is username admin with password pfsense. Open https://192.168.1.1 from a PC on the LAN port, sign in, and change the password straight away, as Netgate advises even for lab setups.
What is the difference between pfSense CE and pfSense Plus?
pfSense CE is free, open source and supported by the community. pfSense Plus is Netgate’s commercial edition under an EULA, with TAC subscriptions from $129 a year that add professional support with guaranteed response times.
Why won’t pfSense CE install?
The usual causes are a WAN port with no internet access, a USB drive the BIOS will not boot, or Secure Boot left on in a Hyper-V VM. Recheck the WAN settings, try another USB drive and port, or turn off Secure Boot.