To reset Open with settings in Windows 10, right-click a file of the affected type, select Open with > Choose another app, pick the app you want, tick Always use this app to open, and select OK.
Microsoft documents this per-type reassignment, plus Settings > Apps > Default apps, as the way back; its Change Default Apps article describes no one-click reset. This guide covers both routes, the Windows 11 differences, how to check the result, and fixes when the wrong app keeps opening.
Reset one file type's Open with choice in Windows 10
Each file extension, such as .pdf or .jpg, has its own default app. Resetting it means pointing that extension back at the app you want, and this route starts from the file you already have open in File Explorer.
- Open File Explorer and find a file of the type that opens in the wrong app.
- Right-click the file and select Open with > Choose another app.
- Select the app you want. If it is not shown, select More apps to see the full list.
- Tick the Always use this app to open checkbox, which ends with the file's extension, for example Always use this app to open .msg files.
- Select OK.
- Double-click another file of the same type and confirm it opens in the app you picked.
Leaving the checkbox clear opens the file once without changing the default. That is the most common reason a reset does not stick.
Which reset route fits your problem
People reset Open with settings for a few recurring reasons: a newly installed app took over a file type, the wrong box was ticked once, an older app version reclaimed its files after an update, or a work PC keeps putting defaults back. Match your case to a row.
| Your situation | Use this route | Why |
|---|---|---|
| One file type opens in the wrong app | Open with > Choose another app > tick Always use this app to open | Changes only that extension, in about five clicks |
| Several file types belong back with one app, such as a photo viewer | Settings > Apps > Default apps > Set defaults by app > the app > Manage | Lists every type the app can open on one page |
| Email links open the wrong app | Settings > Apps > Default apps > Email > the current app > Choose an app | Email has its own entry on the Windows 10 page |
| You have no file of that type to right-click | Set defaults by app > the app > Manage | No sample file is needed |
| Windows 11 PC | Open with > Choose another app > Always, or search the type in Default apps | Windows 11 replaces the checkbox with an Always button |
| Defaults change back at every sign-in on a work or school PC | Ask the IT administrator | An organization policy reapplies its associations file at sign-in |
| You want every Windows setting, not just defaults, back to new | Reset this PC | Reinstalls Windows and removes apps; far larger than an Open with reset |
A registry edit, a PowerShell script or a third-party association tool is not needed for any row. Microsoft documents no registry key for resetting one account's Open with choices, so this guide does not use one.
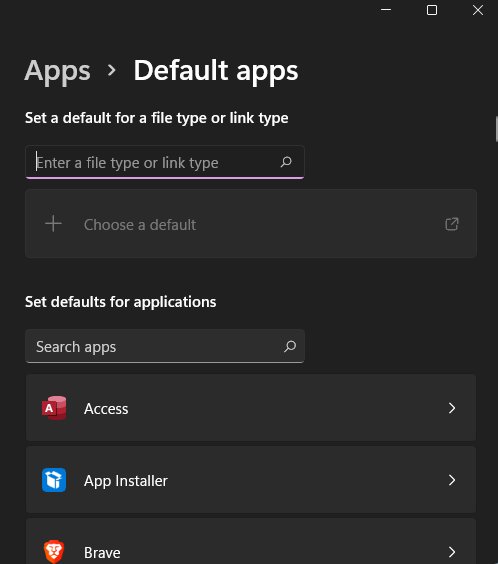
What Open with settings control in Windows 10
Understanding what each control changes explains why a reset has to happen per file type. Windows maps each file type and link type, such as .jpg or HTTP, to the app that opens it by default.
| Setting | Where you see it | What it controls |
|---|---|---|
| Open with list | Right-click a file > Open with | The apps offered for that file; picking one without the checkbox opens the file once |
| Always use this app to open | The Choose another app dialog | Makes the picked app the default for that extension from now on |
| File type defaults | Settings > Apps > Default apps | The same per-extension choice, set by file type or by app |
| Link type defaults | Default apps, such as the Email entry | Which app opens links such as mailto |
| Available apps | The Open with list and Choose an app | Installed apps that can open that file type |
| Organization associations | Not shown in Settings | A Set a default associations configuration file policy on Pro, Enterprise and Education editions, applied at sign-in |
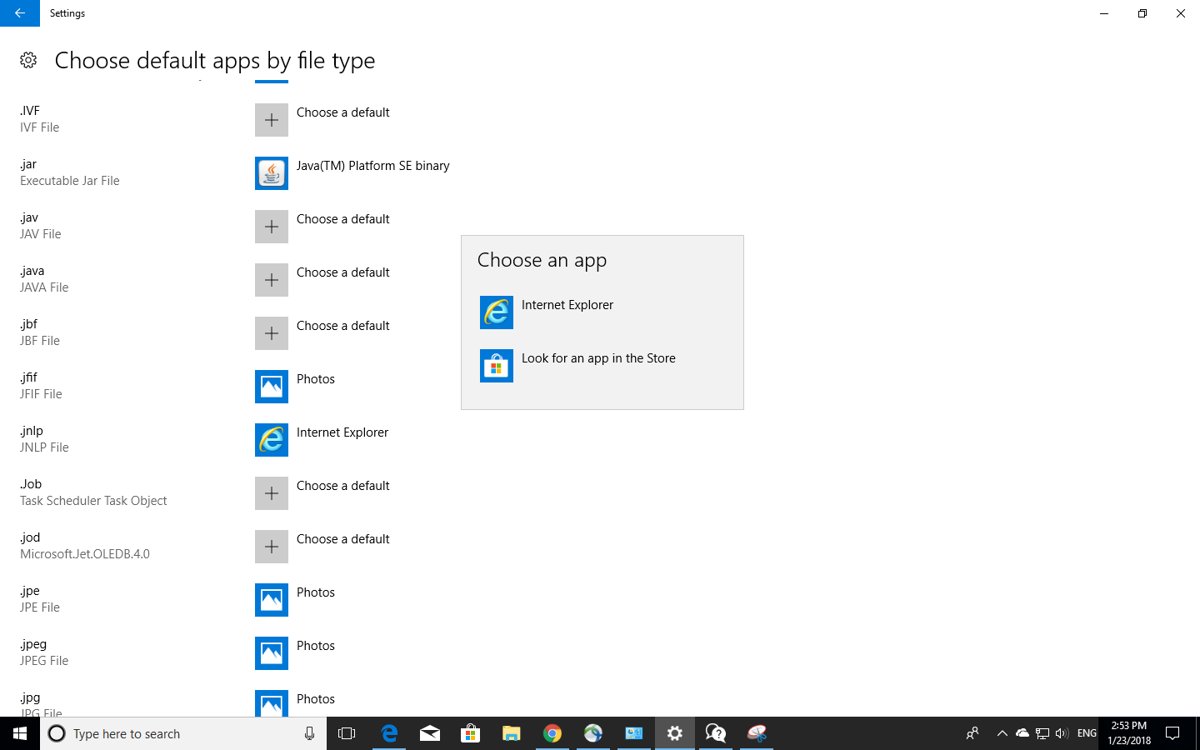
Reset every file type for one app with Set defaults by app
Use this when an app you removed or replaced left several extensions pointing at it, or when you want a Microsoft app such as Photos to own its file types again.
- Select Start > Settings > Apps > Default apps.
- Scroll down and select Set defaults by app.
- Select the app that should open the files, then select Manage.
- Find each file type listed with a different app beside it.
- Select the app beside that file type and choose the app you want from the list.
- Repeat for the remaining file types, then close Settings.
To reset the email default instead, select the app under Email on the Default apps page and pick the one you want under Choose an app.
Reset the Open with default in Windows 11
Windows 11 keeps the same idea with different labels. Its Open with flow uses an Always button instead of a checkbox, and its Default apps page has a search box for file extensions.
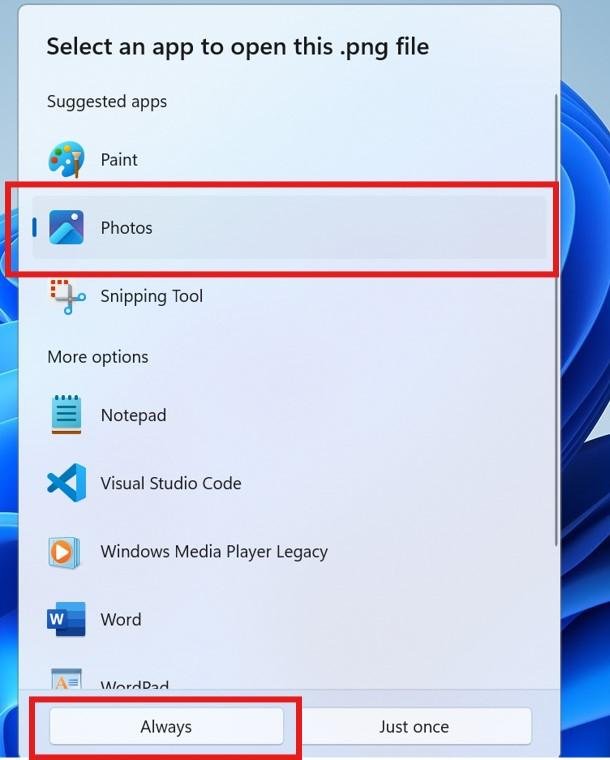
- Right-click a file of the affected type and select Open with > Choose another app.
- Select the app you want, then select Always. Just once opens only this file.
- For a type you have no file for, open Settings > Apps > Default apps.
- Type the extension, such as
.pdf, in the Set a default for a file type or link type search box. - Select the matching result and choose the app you want.
- To reset several types for one app, select the app under Set defaults for applications, then select each file type or link type, choose the app and select Set default.
List current associations with DISM before or after a reset
DISM and SFC appear in many reset guides, so it helps to know what each one really does. DISM lists and exports the explicit default associations; SFC scans protected system files and replaces incorrect versions, and Microsoft does not describe it as a file association tool.
Dism /Online /Get-DefaultAppAssociationsRun it from a Command Prompt opened as administrator. It displays the default app associations that have been set, one entry per file extension or link type with the app assigned to it. Dism /Online /Export-DefaultAppAssociations:"F:\AppAssociations.xml" saves the same list to an XML file.
You should see: A list of associations, each showing an Identifier such as .pdf, a ProgId and an ApplicationName.
Note that /Import-DefaultAppAssociations and /Remove-DefaultAppAssociations are image-servicing options. Microsoft says imported associations apply to each user at first logon, so they are not a documented way to reset an account that already exists.
How to check the reset worked
- Double-click a file of the type you reset; it should open in the chosen app without asking.
- Double-click a second file of the same extension from a different folder to rule out a one-off open.
- Open Settings > Apps > Default apps > Set defaults by app, select the app and select Manage; the file type should list that app.
- Sign out and back in, then open the file again. A change that reverts points to the troubleshooting section below.
Best practices after resetting Open with settings
A reset lasts longer when you can see the real extension and when related extensions match.
- Show extensions in File Explorer: select the View tab and tick File name extensions in the Show/hide group. In Windows 11, select View > Show > File name extensions.
- Reset related extensions together, such as .jpg and .jpeg, or .doc and .docx, because each one is a separate setting.
- Tick Always use this app to open only when you mean it; open one-off files without the checkbox.
- Recheck your main file types after each Windows feature update, since an upgrade can reassign some types to built-in apps.
- Keep the DISM export from the command section if you manage several PCs, and refresh it after each major Windows version.
Troubleshooting common issues after a reset
Match what you see to a symptom below.
The wrong app still opens after resetting the file open setting
The checkbox was left clear, or the file's real extension differs from the one you reset.
- Turn on File name extensions in File Explorer and read the file's full name.
- Right-click that file, select Open with > Choose another app and pick the app.
- Tick Always use this app to open before selecting OK.
- Repeat for any related extension that still opens in the old app.
The app you want is missing from the Open with option list
The app is not installed for your account, or it never registered that file type.
- Select More apps in the Choose another app dialog to expand the list.
- Confirm the app is installed under Settings > Apps.
- Open the app once, close it, then try Open with again.
- Check the app vendor's documentation to confirm it supports that file format.
Defaults reset themselves or Windows shows "An app default was reset"
An upgrade reassigned some types to built-in apps, or an organization associations file is out of date or missing entries.
- Note the file types the notification names.
- Set each one back with Open with or Set defaults by app > Manage.
- Sign out and back in, then test again.
- If the types revert at every sign-in on a work or school PC, tell your IT administrator; the Set a default associations configuration file policy reapplies its file at sign-in.
Settings will not open, so Default apps is out of reach
The Open with route runs from File Explorer and does not need the Settings app.
- Open File Explorer and right-click a file of the affected type.
- Select Open with > Choose another app, pick the app and tick Always use this app to open.
- Select OK and repeat for each affected type.
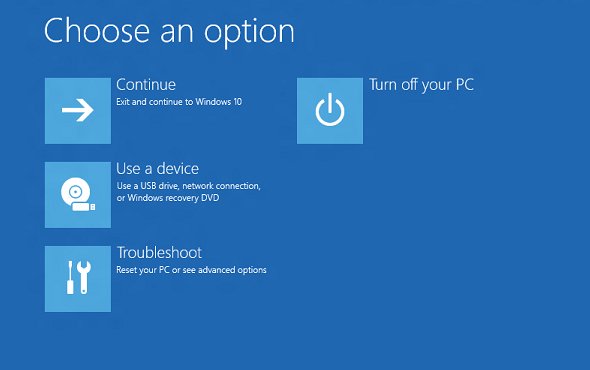
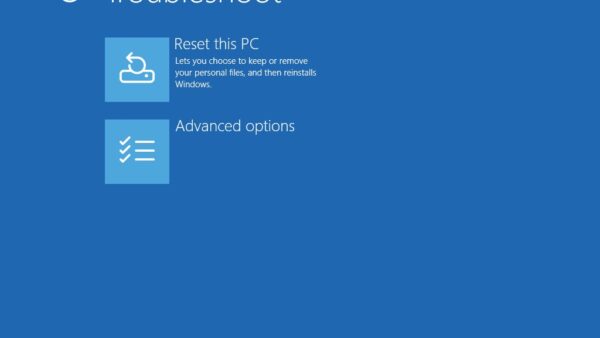
- If you need to reset the whole PC without opening Settings, select the power button on the sign-in screen, then hold Shift while selecting Restart, then choose Troubleshoot > Reset this PC.
Final notes before you try a bigger reset
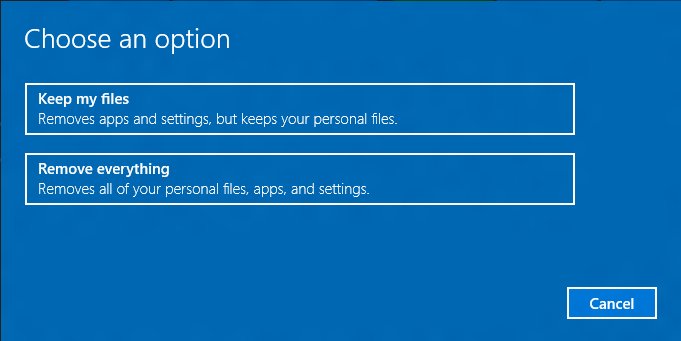
Reset Open with settings one file type at a time, and skip registry edits, association cleaner tools and Reset this PC for this job. Microsoft documents per-type reassignment in Open with and Default apps as the way to change these defaults, and documents no registry key for undoing them. Reset this PC reinstalls Windows and removes apps and settings: Keep my files preserves your personal files and accounts, and Remove everything removes all accounts, data and apps.
Frequently asked questions
How do I reset Open with settings?
Right-click a file of the affected type, select Open with > Choose another app, pick the correct app, tick Always use this app to open and select OK. In Windows 11, pick the app and select Always. Repeat for each file type that opens in the wrong app.
How do I reset file open settings for many file types at once?
In Windows 10, open Settings > Apps > Default apps > Set defaults by app, select the app, select Manage, and assign each listed file type to it. In Windows 11, select the app under Set defaults for applications and set each file type to it.
How do I reset the Open with option if I ticked Always by mistake?
Run Open with again on the same file type. Select Choose another app, pick the app you actually want, tick Always use this app to open, and select OK. The new choice replaces the one you made by mistake for that extension.
What does resetting your settings do?
Resetting an Open with setting changes only which app opens that file type. Resetting the whole PC is different: Reset this PC reinstalls Windows and removes apps and settings. Keep my files keeps your personal files, while Remove everything also removes accounts and data.
How do I reset Windows settings to original settings?
Use Reset this PC. In Windows 10, select Start > Settings > Update & security > Recovery. Choose Keep my files to preserve personal data or Remove everything to prepare the PC for a new owner. Back up your files before starting either option.
How do I reset my PC without opening Settings?
On the sign-in screen, select the power button, then hold Shift while selecting Restart. Windows opens the Advanced startup menu, where you select Troubleshoot and then Reset this PC. On Windows 10 you may need the name and password of a local administrator account.


![Clear or refresh cache in Google Chrome [Windows 11]](https://techdows.com/wp-content/uploads/2026/10/Google-Chrome-Help-page-listing-steps-to-delete-browsing-data-on-a-computer-600x338.jpg)
Manage Java Settings in Windows 11/10 - Techdows
[…] to run a desktop app without an extra console window. If a .jar opens in an archive tool instead, reset the Open With settings and set the association […]
How to Open a .CRDOWNLOAD File on Windows 11/10 - Techdows
[…] For a full reset of file associations, follow how to reset Open With settings. […]
How to reset Windows 10 to factory settings: a step-by-step guide - Techdows
[…] only file associations are wrong, a full reset is overkill: reset the Open With settings […]