To make a kite, tie two light sticks into a cross, run a string around their ends, cover the frame with a paper or plastic sail, then add a bridle, a flying line and a tail.
This guide walks through a classic diamond kite in 14 steps, a no-stick paper sled kite for young children, and fixes for a homemade kite that spins, dives or will not lift.
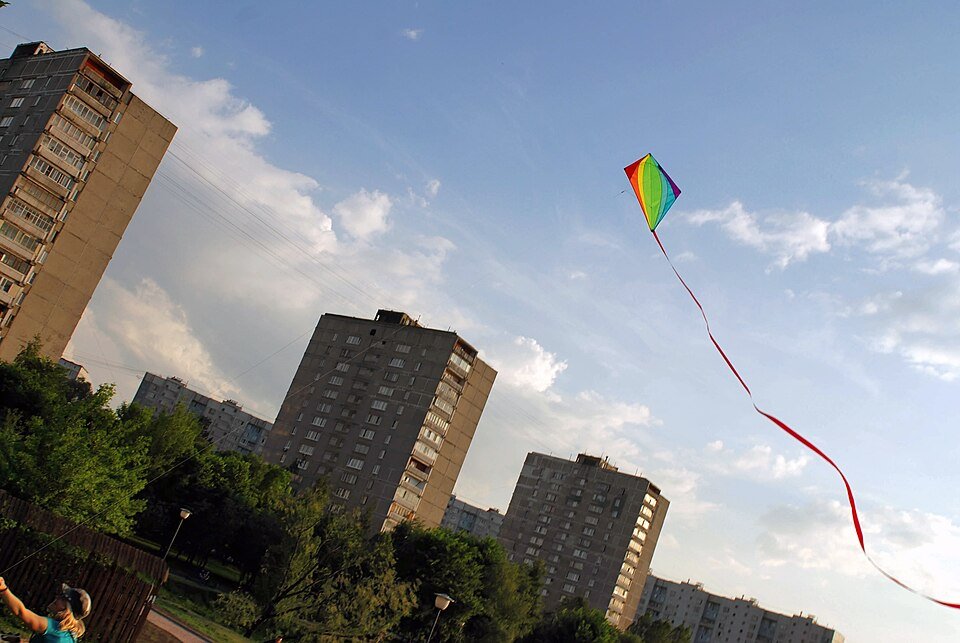
How to make a diamond kite at home in 14 steps
The diamond, also called the Eddy or two-stick kite, is the standard beginner design: it is simple to assemble and flies steadily in light to moderate wind. These are the 14 steps; each group is explained in detail in the sections below.
- Cut two straight sticks of equal length from light wooden dowel or split bamboo, one for the spine and one for the cross spar, keeping the kite under 1 metre (3 ft) tall.
- Mark the spine slightly above its midpoint and mark the centre of the cross spar.
- Lay the spar across the spine at the marks and lash them together with string and a dab of glue.
- Cut a shallow notch across the end of each stick.
- Run one string through all four notches to form a taut diamond outline, and tie it off.
- Measure both sides of the frame and slide the spar until the left and right halves match.
- Lay the frame on the sail material and cut around it, leaving a margin so the sail is slightly larger than the frame.
- Fold the margin over the outline string and glue or tape it down all the way round.
- Reinforce the four corners and the sail where the sticks cross with extra tape.
- Tie a bridle string from the stick crossing to the bottom end of the spine, leaving it slightly slack.
- Tie a small loop in the bridle just below the crossing to make the tow point.
- Tie the flying line to the tow point loop and wind the rest onto a handle.
- Tie a long tail of cloth or plastic strips to the bottom corner of the kite.
- Hold the kite by the tow point to check its balance, then launch it with your back to the wind.
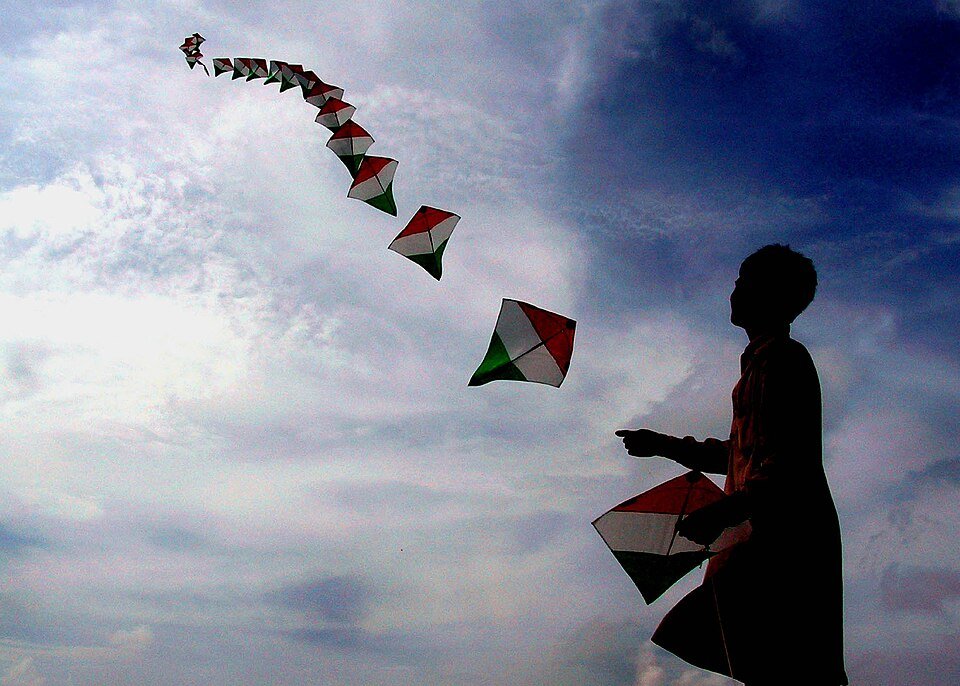
Easy kite designs for kids and beginners compared
Pick the design by who is building it and what you have in the house. All four are single-line kites flown on cotton twine.
| Your situation | Make this kite | Why it suits you |
|---|---|---|
| First kite, older child or adult, sticks available | Flat diamond (two-stick) kite | The 14-step plan below; stable with a tail and forgiving of small errors |
| Young children, no sticks or knife | Paper sled kite | Only vertical spars such as straws or skewers; the wind curves the sheet into shape |
| Want to skip the tail | Bowed diamond (Eddy) kite | A string bow in the cross spar set high on the spine lets it fly with little or no tail |
| Only a plastic bag to hand | Bag kite or diamond with a bag sail | Bag kites are made from paper or plastic bags, and plastic is a common modern sail material |
Gather your kite-making materials
Everything here is a household or craft-shop item. Light and stiff matters more than strong for the sticks; a heavy frame needs more wind to lift.
| Item | What to use | Notes |
|---|---|---|
| Two sticks (basic) | Light wooden dowels, split bamboo or straight garden canes | Two of equal length; most diamond kites are under 1 metre (3 ft) tall |
| Sail (basic) | Large plastic bag, bin liner, kite paper, butcher paper or newspaper | Paper is the traditional sail material; most modern diamond kites use plastic, nylon or polyester |
| String (basic) | Strong thin string or cotton twine | For the outline string and the bridle |
| Flying line (basic) | Cotton twine on a handle or a wound-up cardboard tube | Soft cotton is the usual line for children's kites because it is less likely to cut or burn hands |
| Glue and tape (basic) | White craft glue, wood glue or clear packing tape | Tape alone works for a plastic sail |
| Tail (basic) | Strips of fabric, crepe paper, ribbon or the leftover plastic | Lengths are joined end to end in step 13 |
| Tools (basic) | Scissors, ruler or tape measure, pencil or marker | A craft knife for notching the sticks, used by an adult |
| Helpful extras | Gloves, a reel, markers or paint, a helper | Gloves protect hands when the wind picks up; a high-contrast sail pattern is easier to see in the sky |
Do not use fishing line or any metal wire for the flying line. Monofilament stretches and snaps unpredictably, and wire conducts electricity.
Build the kite frame
These are steps 1 to 6. The cross spar sits above the spine's midpoint; the closer it is to the top, the more traditional the diamond shape.
- Lay out the spine and cross spar: cut both sticks to the same length, then sand off any splinters.
- Mark the spine slightly above its midpoint, and mark the cross spar at its exact centre.
- Tie the sticks together: place the spar's centre mark over the spine's mark at a right angle, then wrap string diagonally across the joint in both directions to make an X lashing.
- Knot the lashing tightly and add a drop of glue so the sticks cannot twist or slide.
- Notch the ends of the sticks: cut a shallow groove across each of the four ends, running in the same plane as the kite.
- Add the outer frame string: tie the string into the top notch, run it through the side, bottom and other side notches, and back to the top, keeping it taut without bending the sticks.
- Wrap the string twice around the top end and knot it so the outline cannot slip out of the notches.
- Check the frame for symmetry: measure from the top of the spine to each spar end, and from each spar end to the bottom. Slide the spar until both sides match, then let the glue set.
A lopsided frame makes the kite pull to one side in the air, so time spent on step 6 saves tuning later.
Cut and attach the kite sail
These are steps 7 to 9. The sail is cut slightly larger than the frame so it can wrap around the outline string.
- Spread the sail material flat on the floor, and smooth out a plastic bag so it lies without creases.
- Lay the frame on top and trace around the outline string, adding a small margin on every side so the sail ends up slightly larger than the frame.
- Cut along the outer line, then snip off each corner at an angle so the folds lie flat.
- Fold the margin over the outline string and glue or tape it down, working around one side at a time.
- Leave the sail very slightly loose rather than drum-tight, so it can billow a little in the wind.
- Make the sail stronger: put an extra square of tape over each corner, over each stick end and on the back of the sail where the sticks cross.
- Decorate the front with markers or paint if you like; a bold, high-contrast pattern is easiest to follow in flight.
On a paper sail, let the glue dry fully before you go further. Wet glue makes the sail sag and tear at the corners.
Add the bridle and flying line to a kite
These are steps 10 to 12. The bridle sets the angle at which the kite meets the wind, and the tow point is where the flying line pulls on it.
- Turn the kite face down so the sticks point up at you.
- Make two small holes in the sail beside the spine, one at the stick crossing and one near the bottom end, and reinforce both with tape.
- Thread a string through the holes, leaving enough slack for it to stand clear of the sail, and tie one end to the crossing and the other end to the lower corner of the kite.
- Set the tow point: lift the bridle off the kite and tie a small loop in it just below the level of the crossing.
- Attach the flying line: tie the end of the cotton twine to the tow point loop with a secure knot.
- Wind the rest of the line neatly onto a handle, a stick or a cardboard tube so it pays out without tangling.
This two-point bridle, tied at the stick crossing and the lower corner with the flying line attached just below the crossing, is what gives a diamond kite a stable flying angle.
Make and attach the kite tail
This is step 13. A flat diamond kite needs a tail to keep its nose pointing into the wind; without one it spins.
- Cut the tail material into narrow strips.
- Join the strips into one long tail by tying or taping them end to end.
- Tie short bows of ribbon or paper along a length of string instead, if you prefer the traditional bow tail.
- Attach the tail to the bottom of the kite by tying it around the bottom end of the spine, below the outline string.
- Check the balance before flying: hold the kite up by the tow point and confirm the tail hangs straight down the centre line.
Start with a long tail. Trimming it at the field is easy; adding length there is not. A kite with a bowed cross spar needs less tail than a flat one.
How to make a paper sled kite for kids
A sled kite has only vertical spars, so there is nothing to lash or notch. The wind curves the single sheet between the spars, and two wingtip bridle points set its angle. This plan uses a sheet of printer paper and two drinking straws or bamboo skewers.
- Fold a sheet of paper in half from top to bottom and draw a sled outline: a straight spine edge on the fold, a pointed wing out to each side and a straight bottom.
- Cut along the outline, then unfold the sheet so the fold runs down the centre.
- Tape a straw or skewer down the paper on each side of the centre, running from top to bottom, parallel to the fold.
- Put a square of tape on each wingtip and punch a hole through the tape.
- Tie a string from one wingtip hole to the other, long enough to hang well clear of the kite, to make the bridle.
- Tie the flying line to the middle of the bridle string.
- Tape a crepe paper or ribbon tail to the bottom edge if the kite wobbles in the air.
Small, light kites like this need a steady breeze, because their lift is small for their weight. A park or beach on a breezy day works best.
Test, adjust, and fly your kite
This is step 14. Pick an open field or beach well away from trees, roads, buildings and overhead power lines, on a day with a steady light breeze.
- Hold the kite by the tow point at arm's length and check that it hangs level, not leaning left or right.
- Launch the kite: stand with your back to the wind and let out a short length of line.
- Ask a helper to hold the kite up facing you at the end of the line, then release it as you pull the line in hand over hand.
- Let out line slowly as the kite climbs, and stop when it holds a steady position high in the sky.
- Watch the kite for a minute: a working kite hovers with its nose up and the tail streaming straight below it.
- Fix common flying problems on the spot using the symptom list below, then relaunch.
With no helper, walk backwards into the wind holding the line while the kite rests nose-up on the ground, then give a short pull to lift it.
Homemade kite will not fly: fixes for spinning, diving and no lift
The kite will not lift off the ground
Too little wind, or a kite that is heavy for its size; small kites have a low lift-to-weight ratio and need stronger wind.
- Wait for a steadier breeze, or move to open ground where trees and buildings do not block it.
- Cut weight where you can: trim surplus tail and replace a heavy sail or thick sticks with lighter material.
The kite spins, loops or dives nose first
Not enough tail on a flat kite; the tail is what keeps a single-line kite's nose pointing into the wind.
- Add a few more strips to the tail.
- Bow the cross spar by tying a string across its ends so it flexes away from the flying line; a bowed spar needs less tail.
- Check that the bridle is still tied at the crossing and the lower corner.
The kite leans and dives to one side
The frame is not symmetrical about the spine, or the tail is off centre.
- Measure both halves of the frame again and slide the spar back to centre.
- Check that the tail is tied to the exact bottom tip of the spine, then test again.
The sail tears or pulls away from the frame
Unreinforced corners or glue that was still wet at launch.
- Bring the kite down and patch the tear on both sides with tape.
- Re-glue the margin over the outline string and let it dry fully before flying again.
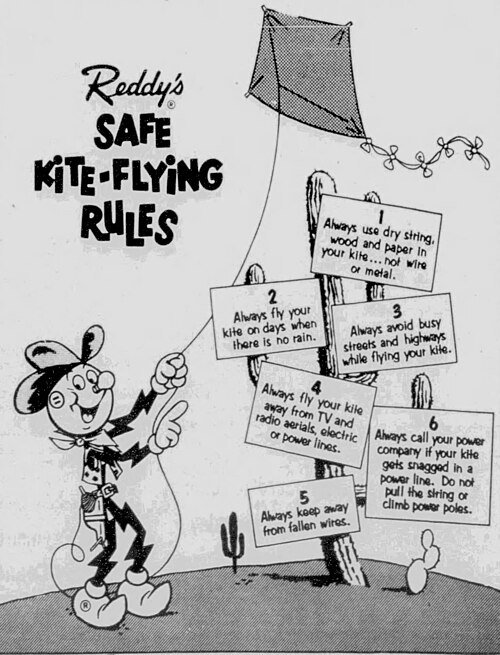
Kite flying safety rules for power lines and storms
| Hazard | What can happen | What to do |
|---|---|---|
| Overhead power lines | The line tangles on the wires, causing blackouts and a risk of electrocution | Fly only where no power lines are near; if a kite catches on one, let go and call the electricity company |
| Rain, storms and lightning | Wet line or wire can conduct static electricity and lightning | Bring the kite down when rain or a storm approaches; keep the line dry |
| Metal wire or tinsel line | Conducts electricity | Use cotton or synthetic twine only |
| Taut line on skin | A tensed or moving line can burn or cut hands | Use soft cotton line for children and wear gloves in stronger wind |
| Aircraft | Kites at height can enter the airspace of helicopters and light aircraft | Keep away from airfields and helipads and keep the kite at a modest height |
| Roads and crowds | A falling kite or loose line can trip or distract people | Fly in open space with room downwind of you |
How to make a kite FAQ
What is the easiest kite design for a beginner to make?
The flat diamond, or two-stick, kite is the easiest stick kite for a beginner. It needs only two sticks, string, a sail and a tail. For young children with no sticks, a paper sled kite with two straws as spars is even simpler.
How do you make a kite easy for kids?
Make a paper sled kite: fold and cut a sheet of paper into a sled shape, tape two straws down it, add a string bridle between the wingtips and tie on cotton twine. There is no knife work or lashing, and an adult only needs to help punch the holes.
How do you make a kite out of paper?
Build a stick frame, lay it on kite paper, butcher paper or newspaper, cut it slightly larger than the frame and glue the margin over the outline string. Reinforce the corners with tape and let the glue dry. Paper is the traditional sail material; most modern diamond kites use plastic, nylon or polyester instead.
What materials can I use for the kite sail if I do not have kite paper?
A large plastic bag or bin liner is the easiest substitute, and plastic is what most modern diamond kites use. Butcher paper, wrapping paper and newspaper also work. Old fabric such as a thin cotton sheet works on a stronger frame but adds weight.
How long should the tail be on a homemade kite?
There is no fixed length that suits every kite, so start long and adjust at the field. The tail keeps the nose pointing into the wind, so if the kite spins or loops, add length. A kite with a bowed cross spar needs less tail, and one bowed enough and set high can fly without a tail.
Where should I attach the bridle on a diamond kite?
Tie the bridle to the spine at the point where the two sticks cross and again near the bottom end of the spine. Tie the flying line to a loop in the bridle just below the crossing, which gives the kite a stable flying angle.
What should I do if my kite will not fly?
First check the wind; a small, light kite has little lift for its weight and needs a steady breeze in open ground. Then cut any surplus weight and check that the frame is symmetrical. A kite that spins needs a longer tail or a bowed cross spar.
How long does it take to make a kite?
Most of the time goes on waiting for glue to dry. A paper sled kite held together with tape can be ready to fly almost immediately, while a glued paper diamond kite needs the glue on the lashing and sail margin to dry fully before launch.
What makes a kite a kite?
A kite is a tethered craft that is heavier than air and flies because wind moving over its surface creates lift. Its parts are a wing or sail, a line and an anchor, usually the flier. In geometry, a kite is a four-sided shape with two pairs of equal adjacent sides.
How do you make a kite diagram?
Draw a vertical line for the spine, then a shorter horizontal line crossing it above the middle for the spar. Join the four ends to form the diamond outline. The diagonals cross at right angles and the shape is symmetrical about the spine, which matches the geometric definition of a kite.
How do you make a kite at home without sticks?
Use drinking straws or bamboo skewers taped to the sail, as in the paper sled kite. A sled needs only vertical spars because the wind curves the sheet between them. Rolled-up newspaper tubes can also serve as light spars for a bigger kite.
Bottom line: which homemade kite should you make first?
Build the two-stick diamond kite with a plastic bag sail and a long tail for a first kite, and make the paper sled kite with young children. The diamond is stable, tolerant of small building errors and easy to steady by lengthening the tail or bowing the cross spar, while the sled needs no sticks or knife work and flies in a steady breeze.


![How to quick access OneDrive settings [beginner’s guide]](https://techdows.com/wp-content/uploads/2026/10/Start-search-results-for-onedrive-with-the-OneDrive-app-and-Open-highlighted.jpg)