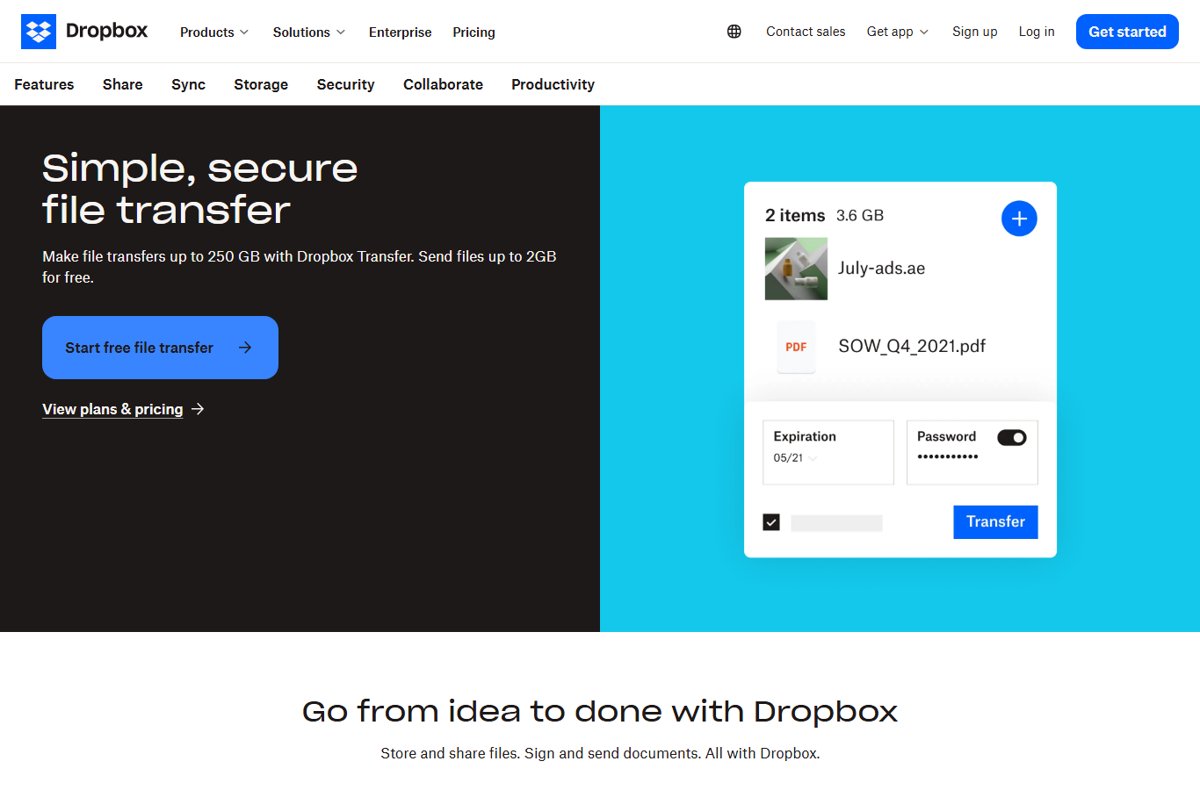
To use Dropbox Transfer, open Transfer on dropbox.com, click Create transfer, add your files, then click Copy link or Send email so the recipient can download them.
This guide covers the web, desktop, iPhone and Android routes, the size and expiry limits for each plan, passwords and branding, tracking downloads, and fixes for transfers that fail or expire.
The fastest way to send files with Dropbox Transfer
The web version works on any computer with a browser, and the recipient does not need a Dropbox account to download the files.
- Log in to dropbox.com.
- Click the grid icon in the left sidebar, then click Transfer.
- Click Create transfer.
- Drag your files into the window, or click Upload files.
- Click Create transfer again to upload and generate the link.
- Click Copy link and paste it into a message, or click Send email to have Dropbox email it.
The recipient opens the link and downloads the files. The link stops working when the transfer expires.
Which device should you send the transfer from?
| Your situation | Use this | Why |
|---|---|---|
| Files are on a computer but not in Dropbox | dropbox.com | Upload files or whole folders straight from your drive, with every setting in one screen |
| Files already sit in your synced Dropbox folder | Desktop app (Transfer a Copy) | Right-click the file in File Explorer or Finder, no browser needed |
| Files are on your iPhone or iPad | Dropbox iOS app | Tap Transfer a copy from the add menu |
| Files are on an Android phone | Dropbox Android app | Same Transfer a copy flow, and you can add a password from the phone on eligible plans |
| You need people to edit the file with you | A shared link or folder, not Transfer | Transfer sends a copy; changes you make later do not reach the recipient |
Sending files between your own devices in Edge instead? The browser has its own tool, covered in How to use Microsoft Edge’s Drop feature to send files and notes.
Prerequisites for Using Dropbox Transfer
Transfer is included on every Dropbox plan, including the free Basic plan. Your plan decides how large a transfer can be and how long it stays live.
| Plan | Max transfer size | Default expiry | Password and custom expiry |
|---|---|---|---|
| Basic (free) | 2 GB | 7 days | No |
| Plus | 50 GB | 7 days | No |
| Family | 50 GB | 7 days | No |
| Standard, Professional, Education, Essentials, Advanced, Business | 100 GB | 30 days, or a custom date up to a year | Yes |
| Business Plus, Enterprise | 250 GB | 30 days, or a custom date up to a year | Yes |
| Any plan with the Dropbox Replay Add-On | 250 GB | As per your base plan | As per your base plan |
You also need a Dropbox account to send a transfer. To send from File Explorer or Finder, the Dropbox desktop app must be installed; see where Dropbox installs on Windows if you cannot find it.
How to Access Dropbox Transfer
Transfer does not appear in the main file list. It sits behind the app grid in the dropbox.com sidebar.
- Log in to dropbox.com in any browser.
- Click the grid icon at the top of the left sidebar.
- Click Transfer in the menu that opens.
- Use the Sent, Received and Expired tabs to find existing transfers, or click Create transfer to start a new one.
On the desktop app and phone apps, the same feature is labelled Transfer a copy instead of Transfer.
Step-by-Step Guide to Using Dropbox Transfer
This is the full dropbox.com flow, including naming the transfer and its settings. Files can come from your computer or from your Dropbox account.
- On the Transfer page, click Create transfer.
- Add files by dragging them in, or click Upload files. To add folders, click the dropdown next to Upload files and select Upload folders.
- To include files already stored in Dropbox, click the dropdown next to Upload files and select Add from Dropbox.
- Click the edit (pencil) icon and type a name the recipient will recognise.
- Click the settings (gear) icon in the bottom-left corner to set an expiration date, add a password, or turn on download notifications.
- Click Create transfer and wait for the upload to finish.
- Click Send email to have Dropbox deliver the link, or Copy link to paste it yourself.
Password and expiry options only appear on Standard, Professional, Education, Essentials, Business, Advanced, Business Plus and Enterprise. On Basic, Plus and Family the transfer expires after 7 days.
Send a transfer from the Dropbox desktop app
- Open your Dropbox folder in File Explorer (Windows) or Finder (Mac).
- Right-click the file or folder you want to send.
- Under Quick Actions, click Share….
- Click Transfer a Copy.
- Click the edit icon to name the transfer, and the settings icon to set expiry, a password or download notifications.
- Click Create transfer.
- Click Preview transfer to see what the recipient will get.
- Click Copy link or Send email.
Send a transfer from an iPhone or iPad
- Open the Dropbox app.
- Tap the + (add) button.
- Tap Transfer a copy.
- Tap Add files or Add folders and select the items to send.
- Tap Continue.
- Rename the transfer, toggle download notifications and set an expiration date if your plan allows it.
- Tap Continue, then tap Share link and paste the link wherever you want to send it.
Send a transfer from an Android phone
- Open the Dropbox app.
- Tap the + (add) button, then tap Transfer a copy.
- Tap Continue.
- Check the box next to each file or folder you want to send.
- Tap Transfer [x] file(s), then tap Continue.
- Rename the transfer, toggle download notifications, set an expiry, and tap Add password if your plan offers it.
- Tap Copy link and paste it into a message, then tap Share or Done.
How to check the recipient got your files
Dropbox counts every view and download, so you can confirm delivery without asking.
- Go to dropbox.com, click the grid icon, then click Transfer.
- Open the Sent tab.
- Check the Views and Downloads numbers next to the transfer. A download count above zero means the files reached someone with the link.
- For an email each time someone downloads, click the transfer, toggle Download notifications to On, and click Save.
Download notifications are off by default, so turn them on per transfer if you want the emails.
What is Dropbox Transfer?
Dropbox Transfer sends a download-only copy of files through a link. Dropbox positions it for finished work, such as a signed contract or a long video, rather than files you edit together.
| Question | Dropbox Transfer | Regular Dropbox sharing |
|---|---|---|
| What the recipient gets | A link to download a copy | Access to the original file or folder |
| Recipient needs a Dropbox account | No | Yes, to view or edit shared content (a view-only link works without one) |
| Later edits reach the recipient | No, it is a snapshot | Yes |
| Link expires | Yes, after 7 or 30 days by default | No, unless you set it |
| View and download counts | Yes, on the Sent tab | Not part of the sharing dialog |
| Branding | Logo and background on eligible plans | No |
Advanced Features and Tips
Eligible plans can brand every transfer with a logo and background. The design you save applies to all transfers until you change it again.
- On dropbox.com, click the grid icon, then click Transfer.
- Click Customize design.
- On Professional, type your Brand name, and optionally a website link and social media links.
- Click Upload a logo (Professional) or the dropdown next to Choose logo (other plans) to add your logo.
- Click Choose a background to pick a colour or upload an image.
- Click Save changes (Professional) or Save (other plans).
Logos and backgrounds are limited to 5 MB each, and Dropbox resizes logos automatically. Clicking the logo on a Professional transfer opens the website you linked.
Teams on Standard, Business, Advanced, Business Plus and Enterprise get admin controls too. In the Admin console, go to Settings, then Sharing, and use the Sharing files using Transfer toggle. Admins can also open Members, pick a user, and see sent, viewed, downloaded and deleted transfer activity.
How to change, delete or reactivate a transfer
- On dropbox.com, click the grid icon, then click Transfer, and open the Sent tab.
- To rename, click the transfer, click the edit icon, type the new name and click Save.
- To change the expiry on an eligible plan, click the date next to the transfer and pick a new one.
- To stop anyone downloading, click the more options (…) icon next to the transfer and click Delete. Deleted transfers cannot be recovered.
- To revive an old link, open the Expired tab, click the transfer and click Reactivate transfer.
Expired transfers stay on the Expired tab for 30 days on Basic, Plus and Family, and 180 days on other plans, before Dropbox deletes them.
Best Practices for Using Dropbox Transfer
| Practice | How to do it | Why it matters |
|---|---|---|
| Name every transfer | Click the edit icon before Create transfer | Recipients see the name, and it is how you find the transfer later on the Sent tab |
| Password-protect sensitive files | Settings (gear) icon, then add a password | Anyone who gets the forwarded link still needs the password; send it through a separate channel |
| Match expiry to the job | Set a custom date on eligible plans | A short window limits exposure; a longer one saves resending to slow recipients |
| Turn on download notifications | Toggle Download notifications on the transfer | You get an email instead of checking the counts |
| Delete when the job is done | More options (…), then Delete | Deletion is immediate and permanent, so the link cannot be reused |
| Use a shared folder for ongoing work | Share the file or folder instead | A transfer is a snapshot and will not update |
Troubleshooting common Dropbox Transfer issues
The recipient says the transfer link has expired
Transfers expire after 7 days on Basic, Plus and Family, and after 30 days or a custom date on other plans.
- Open Transfer on dropbox.com and click the Expired tab.
- Click the transfer and click Reactivate transfer.
- Send the link again. If the transfer is no longer listed, it has been deleted and you need to create a new one.
The files are too large to send
Each plan caps a single transfer: 2 GB on Basic, 50 GB on Plus and Family, 100 GB or 250 GB on business plans.
- Check your plan against the size table above.
- Split the files across two or more transfers under your limit.
- For a single file larger than your cap, move to a plan with a higher transfer limit.
There is no option to add a password or change the expiry
Passwords and custom expiry dates are limited to Standard, Professional, Education, Essentials and business plans.
- On an eligible plan, click the settings (gear) icon on the transfer screen, not the file list.
- For a transfer already sent, click it on the Sent tab to add a password or click its date to change expiry.
Transfer is missing on a work account, or old transfer links stopped working
A team admin can turn off Sharing files using Transfer, which also blocks every existing transfer link.
- Ask your team admin whether Transfer is turned off in the Admin console under Settings and Sharing.
- If the admin turns it back on, create a new transfer and resend the link.
- If you left the team, your transfers were deleted, so send the files again from your current account.
Transfer a Copy does not appear when you right-click a file
The option comes from the Dropbox desktop app and only works on items inside the Dropbox folder.
- Make sure the Dropbox desktop app is installed and running.
- Move or copy the file into your Dropbox folder.
- Right-click it, click Share… under Quick Actions, then click Transfer a Copy.
- If it still does not appear, use dropbox.com and click Upload files instead.
Frequently Asked Questions
What is Dropbox Transfer?
Dropbox Transfer is a feature that sends a copy of files through a download link. It suits finished files you do not need to edit together, such as contracts or large videos. It is available on every Dropbox plan, including the free Basic plan.
How does Dropbox Transfer work?
You upload files to a transfer, and Dropbox creates a link you copy or email. The recipient opens the link and downloads the files without needing a Dropbox account. The link expires after 7 or 30 days by default, depending on your plan.
What is Transfer a Copy in Dropbox?
Transfer a Copy is the name Dropbox uses for Transfer in the desktop app and the iPhone and Android apps. It sends a snapshot of the file, so edits you make afterwards do not reach the recipient. Use a shared link or folder when you need live updates.
How do I get to Dropbox Transfer?
Log in to dropbox.com, click the grid icon in the left sidebar, then click Transfer. The page lists your Sent, Received and Expired transfers and has a Create transfer button. In the apps, look for Transfer a copy instead.
How do I transfer Dropbox files to my computer from a transfer I received?
Open the transfer link and download the files, or go to Transfer on dropbox.com and open the Received tab. Click the more options icon next to the transfer and click Download. You can also preview files first with the eye icon.
How do I transfer files from a received transfer into my own Dropbox?
Go to Transfer on dropbox.com and open the Received tab. Click the transfer to open it, then click Save to Dropbox on the page that opens. The files are copied into your account, so they stay after the transfer expires.
Can files in Dropbox be transferred to someone without a Dropbox account?
Yes. A Dropbox Transfer link works for anyone, and the recipient does not need an account to view or download the files. Regular sharing is different: people need an account to open shared content unless you send a view-only link.
How big a file can I send with Dropbox Transfer?
The limit is 2 GB on Basic, 50 GB on Plus and Family, and 100 GB on Standard, Professional, Essentials, Education, Advanced and Business. Business Plus, Enterprise and accounts with the Replay Add-On can send up to 250 GB per transfer.
Can I password-protect a Dropbox Transfer?
Yes, on Standard, Professional, Education, Essentials and business plans. Click the settings icon when creating the transfer, or click a sent transfer on the Sent tab and type a password. The recipient must enter it before opening the transfer.