To record your Windows desktop with NVIDIA ShadowPlay, install the NVIDIA app, press Alt+F9 to start recording and press Alt+F9 again to stop.
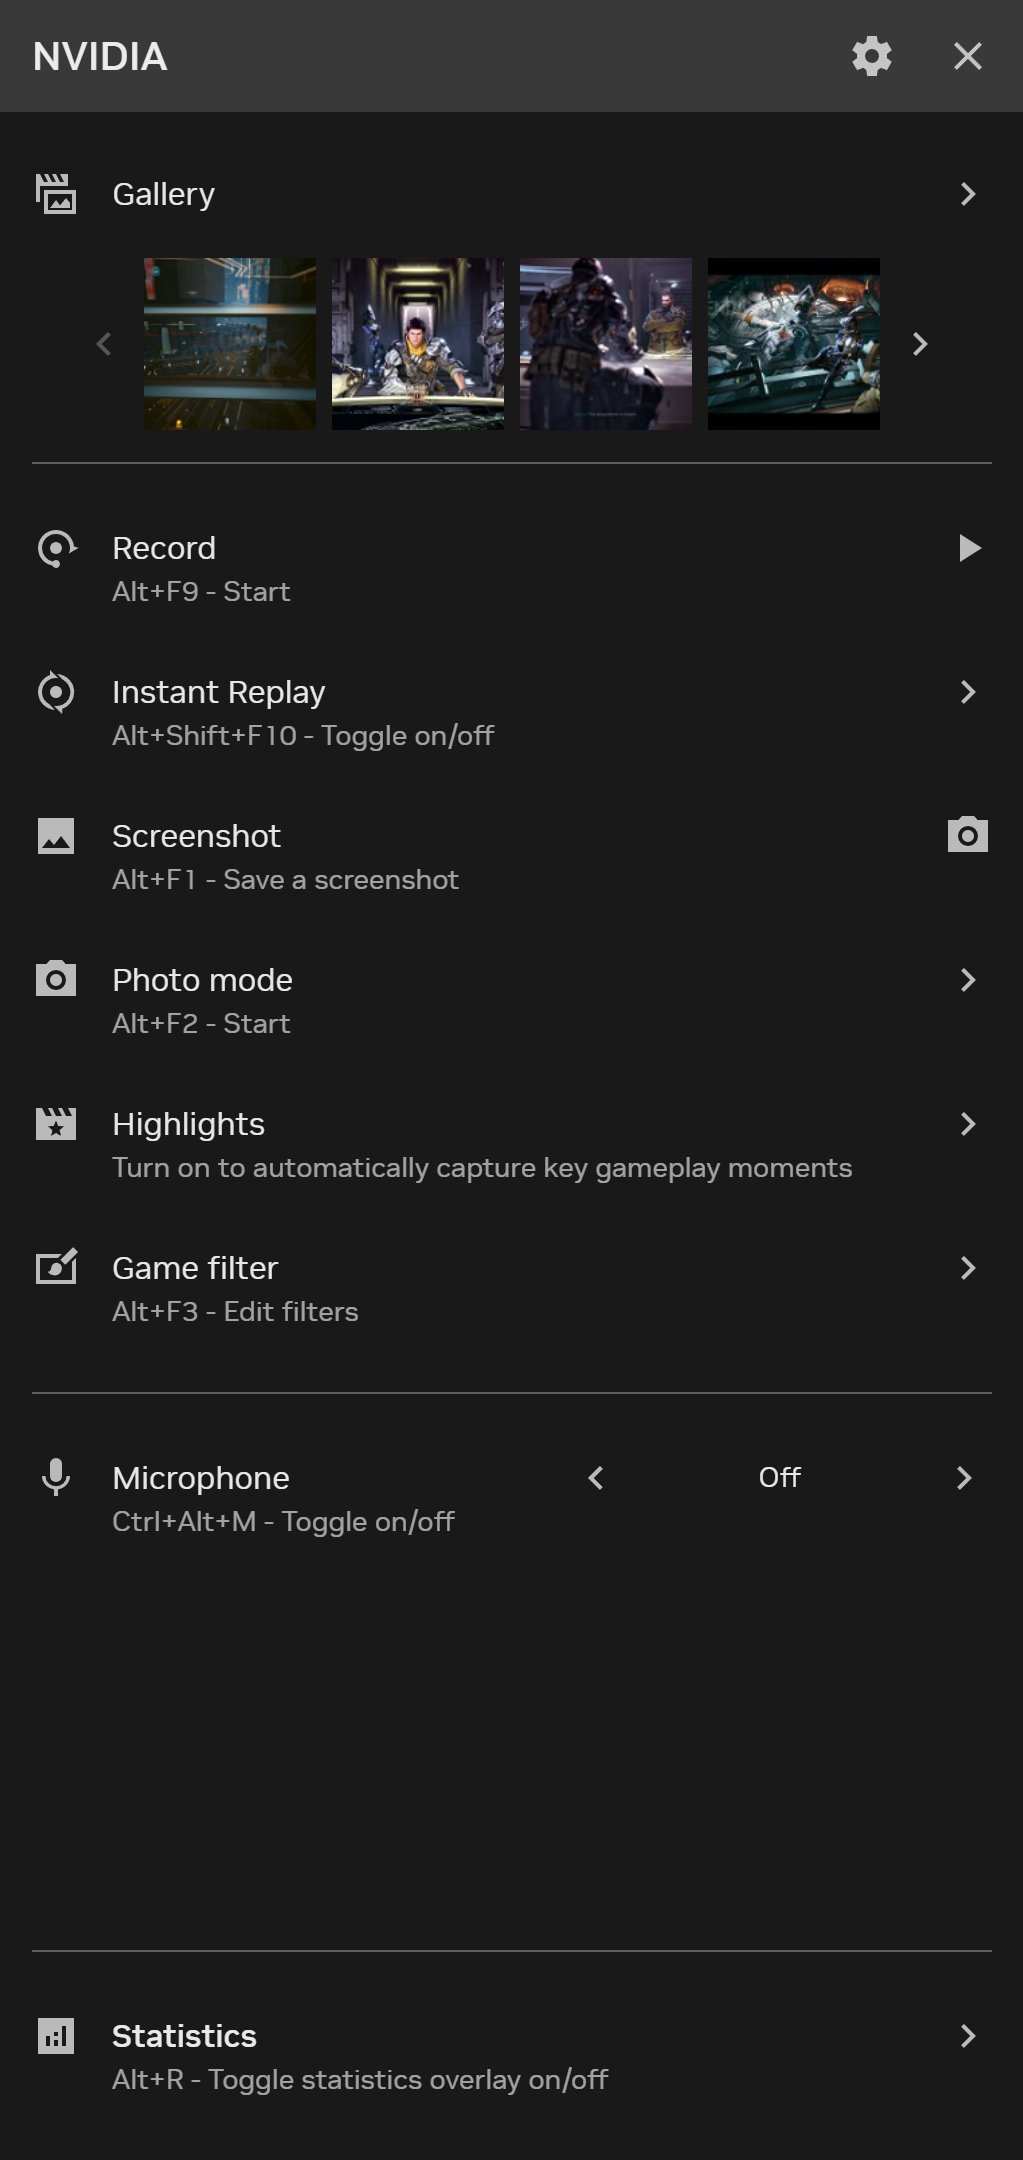
The Share overlay from GeForce Experience now lives in the NVIDIA app as the NVIDIA Overlay, so every step below uses the current app, its Alt+Z panel and its settings.
The fastest way to record your desktop with ShadowPlay
NVIDIA states that Record captures your game, an app or the desktop, and keeps going until you press the hotkey again.
- Install the NVIDIA app from nvidia.com if it is not already on your PC.
- Go to the desktop or open the app window you want to capture.
- Press Alt+F9 to start recording.
- Do the task you want on video.
- Press Alt+F9 again to stop and save the file.
- Press Alt+Z and open Gallery to watch the clip.
Introduction to Nvidia Share (ShadowPlay)
ShadowPlay is NVIDIA's recording feature, and Share was the name older GeForce Experience guides used for its overlay. NVIDIA has since moved every GeForce Experience feature it kept into the NVIDIA app, and the GeForce Experience page on nvidia.com now redirects there.
| Feature in the NVIDIA Overlay | What it does | Default hotkey |
|---|---|---|
| Overlay panel | Opens every capture, filter and statistics tool in one place | Alt+Z |
| Record | Captures a game, an app or the desktop until you stop it | Alt+F9 |
| Instant Replay | Keeps a rolling buffer and saves the recent moments as a clip | Alt+Shift+F10 to save |
| Screenshot | Saves SDR and HDR screenshots of the game in front of you | Alt+F1 |
| Photo Mode | Advanced screenshot tools in compatible games | Alt+F2 |
| Highlights | Automatically saves key moments in compatible games | Automatic |
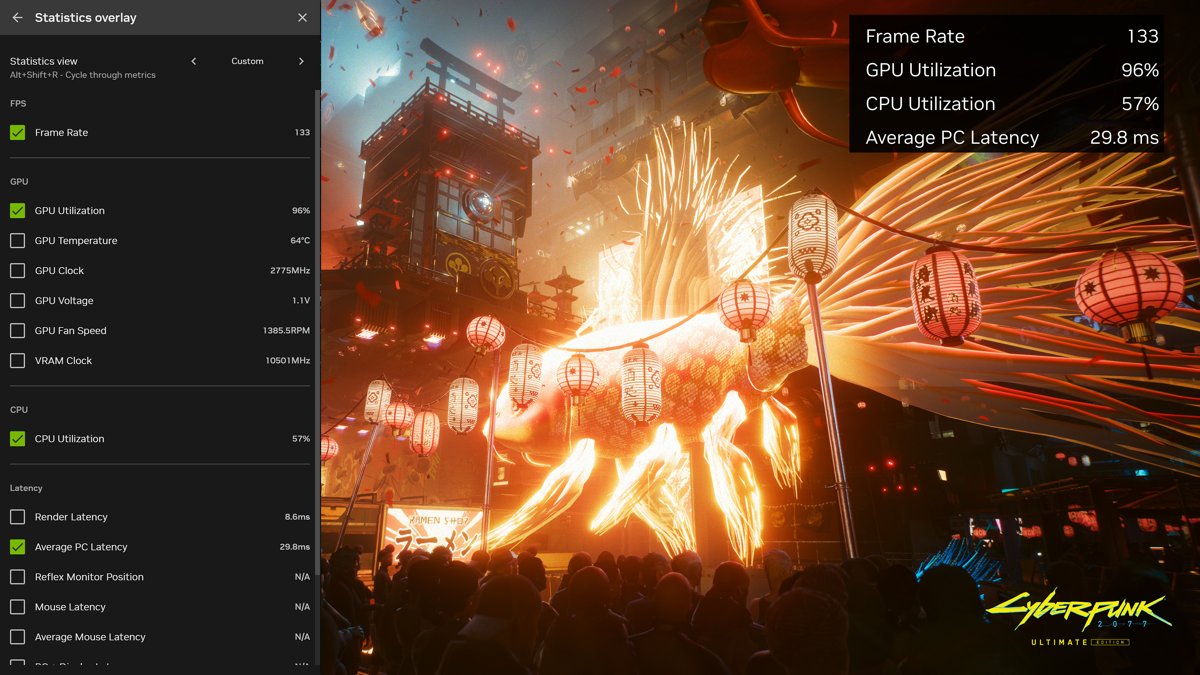
| Statistics | Shows FPS, GPU and CPU usage and latency on screen | Alt+R |
| Gallery | Lists your videos and screenshots, sorted per game | Inside Alt+Z |
NVIDIA dropped a few GeForce Experience features in the move: broadcasting to Twitch and YouTube, direct sharing of images and video to Facebook and YouTube, and Photo Mode 360 and Stereo captures.
System Requirements
ShadowPlay uses the NVENC encoder on an NVIDIA GeForce GPU, so it needs both the NVIDIA app and a supported graphics card.
| Requirement | What NVIDIA lists |
|---|---|
| Operating system | Windows 10 or Windows 11 |
| System memory | 2 GB RAM |
| Disk space for the app | 600 MB, plus space for your recordings |
| Graphics driver | GeForce driver 551.52 or later |
| Processor | Intel Pentium G Series, Core i3, i5, i7 or higher; AMD FX, Ryzen 3, 5, 7, 9, Threadripper or higher |
| Graphics card (requirements page) | GeForce RTX 20, 30, 40 and 50 Series |
| Graphics card (NVIDIA app FAQ) | Also lists GeForce GTX 800, 900, 1000 and 1600 Series, and MX100, MX200, MX300, 800M and 900M laptop GPUs |
| AV1 recording | GeForce RTX 40 Series GPU |
| 240 FPS recording | GeForce RTX 50 or 40 Series GPU |
NVIDIA also notes that the latest GeForce Game Ready Driver is required for the best image quality and performance with ShadowPlay.
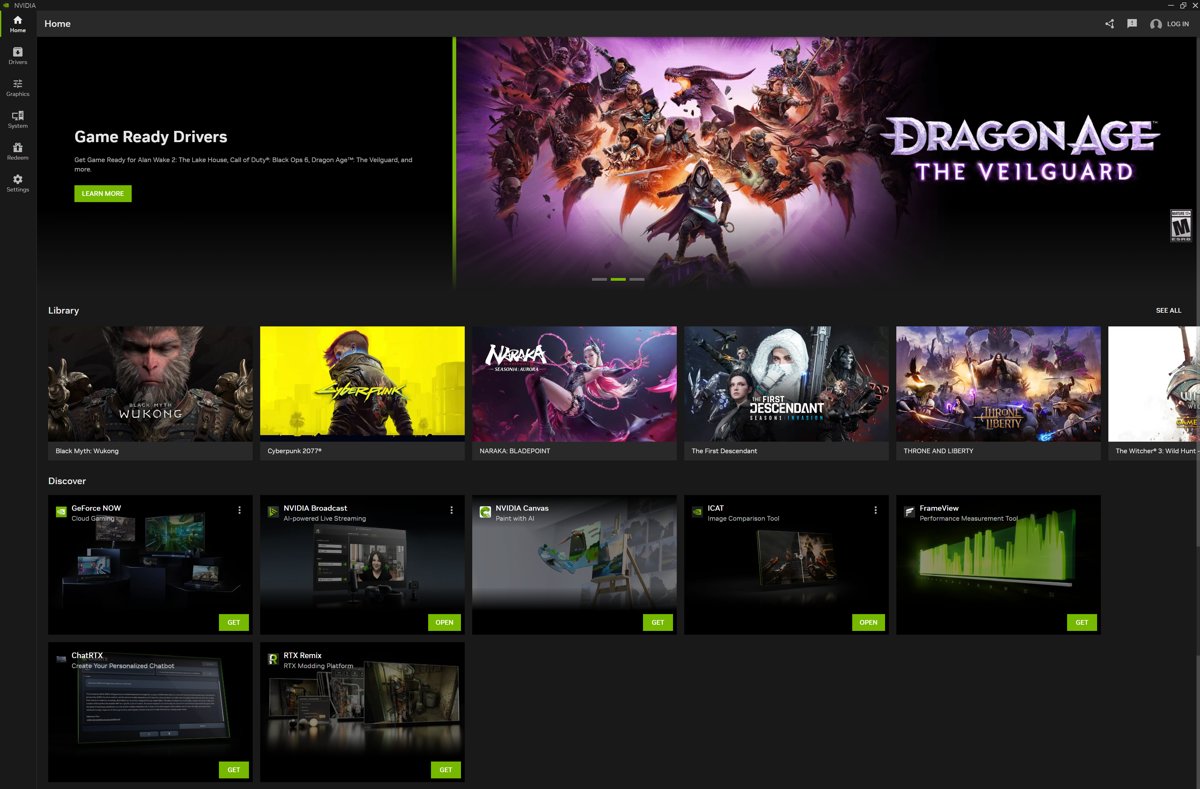
Installing the NVIDIA App (Replaces GeForce Experience)
Older guides tell you to install GeForce Experience. That app has been replaced, and NVIDIA says the NVIDIA app installs in half the time with a UI that is 50% more responsive.
- Open nvidia.com/en-us/software/nvidia-app/ in your browser.
- Select Download Now and save the installer.
- Run the installer and follow the prompts to finish setup.
- Open the NVIDIA app from the Start menu.
- Go to the Drivers page and install the latest GeForce Game Ready Driver if one is offered.
- Press Alt+Z to confirm the NVIDIA Overlay opens.
Signing in to an NVIDIA account is optional. NVIDIA says the login is only needed to redeem bundles and rewards, so recording works without it.
Configuring Nvidia Share Settings
All recording options sit behind the Settings cog at the top of the Alt+Z panel. From there you can change hotkeys, notifications, sound sources, video quality, the disk space limit and the save location.
- Press Alt+Z to open the NVIDIA Overlay.
- Select the Settings cog at the top of the panel.
- Open Video Capture and choose the resolution, frame rate, bitrate and Codec you want.
- Open the audio options to pick sound sources, and turn on multi-track audio if you want your microphone on a separate track.
- Set the folder where recordings are saved and the disk space limit for captured files.
- Open the shortcuts options if you want to change Alt+F9 or any other hotkey.
- Close the panel by clicking outside it.
Back on the main Alt+Z panel, the Microphone control toggles your voice in recordings or sets a push-to-talk key.
Recording Your Desktop with Nvidia Share
Use this route when you want to check the settings first or prefer to click rather than use the hotkey. The same Record control captures the desktop, a single app or a game.
- Close any video player showing protected content, because the overlay blocks recording while it is on screen.
- Press Alt+Z to open the NVIDIA Overlay on the desktop.
- Check the Microphone control and turn your mic on or off for this recording.
- Select Record to start, or press Alt+F9.
- Click outside the panel to dismiss it and work normally.
- Press Alt+F9 again, or reopen Alt+Z and stop Record, when you are done.
- Wait for the on-screen notice that the recording was saved.
NVIDIA suggests Record for tutorials, walkthroughs and in-progress creative work that you can later speed up into a timelapse.
Save what just happened with Instant Replay
Instant Replay keeps a rolling recording while you work or play. It suits moments you did not plan to capture, such as a bug that appears once.
- Press Alt+Z and turn on Instant Replay.
- Select the Settings cog to set how long the replay buffer should be.
- Keep working until something worth keeping happens.
- Press Alt+Shift+F10 to save the recent moments as a clip.
- Turn Instant Replay off from the Alt+Z panel when you no longer need the buffer.
How to check the recording saved
- Press Alt+Z to open the NVIDIA Overlay.
- Select Gallery, which appears after your first capture.
- Filter to videos only and find the newest clip.
- Click the clip to play it and confirm the desktop and audio were captured.
- Use the option to open the file on disk if you need the exact folder.
If the Gallery is empty after a recording, check the troubleshooting section below for protected content and save-folder problems.
Tips for Best Recording Quality
NVIDIA now sets default bitrates from your resolution, frame rate and codec. Change them only when the output does not suit what you are making.
| Your goal | Setting to change | Why |
|---|---|---|
| Smaller files at the same quality | Video Capture > Codec > AV1 on an RTX 40 Series GPU | NVIDIA cites up to 40% better compression than H.264 |
| Smooth motion in fast games | Frame rate of 120 FPS, or 240 FPS on RTX 50 or 40 Series | Higher frame rates keep fast movement clean |
| Highest detail for editing | Resolution up to 4K at 120 FPS or 8K at 60 FPS with AV1 | More source detail survives cropping and zooming |
| HDR desktop or game | Record with HDR on and use HEVC or AV1 | NVIDIA supports HDR capture up to 8K 30 FPS and 4K 120 FPS |
| Stutter while recording a game | Switch the codec to AV1 if your GPU supports it | NVIDIA says smaller AV1 files ease input/output stutter when footage saves to the game's drive |
| Clean voice-over for editing | Turn on multi-track audio | Your mic lands on its own track so you can adjust it later |
| Disk filling up | Lower the disk space limit in Settings | Stops captures from taking over the drive |
Install the latest Game Ready Driver before a long recording session. NVIDIA lists it as required for the best ShadowPlay image quality and performance.
Troubleshooting Common Issues
Alt+Z or Alt+F9 does nothing
The overlay is switched off, the NVIDIA app is not running, or the driver is older than the app needs.
- Open the NVIDIA app from the Start menu.
- Select Settings > Features > Overlay and make sure the overlay is turned on.
- Open Drivers and install the latest Game Ready Driver (551.52 or later is required).
- Press the button at the top right of the NVIDIA app window to open the overlay without the hotkey.
- Check the shortcuts options under the overlay Settings cog in case the hotkey was changed.
The overlay says recording is restricted
Protected content, such as a DRM streaming video, is on screen, and ShadowPlay will not record it.
- Close or minimise the window showing protected video.
- Press Alt+F9 again to start recording.
- Record a different window if the protected player must stay open.
Your voice is missing from the recording
The microphone is toggled off in the overlay, or a different input device is selected.
- Press Alt+Z and check the Microphone control is on.
- Select the Settings cog and pick the correct microphone as a sound source.
- Record a short test with Alt+F9 and play it back in Gallery.
- Update the NVIDIA app from its own update prompt, since NVIDIA has fixed microphone selection bugs in recent releases.
Recordings are not in the folder you chose
Earlier NVIDIA app builds had bugs that ignored the chosen save folder; NVIDIA fixed them in later releases.
- Update the NVIDIA app to the latest version.
- Press Alt+Z, select the Settings cog and set the save folder again.
- Make a short test recording and open it from Gallery to see where it landed.
Can you use ShadowPlay with an AMD graphics card?
ShadowPlay runs through the NVIDIA app, which supports GeForce GPUs only.
- Check the GPU list in the System Requirements table above.
- Use a different screen recorder if your PC has no GeForce GPU, since the NVIDIA app will not offer ShadowPlay.
NVIDIA Share keeps running in the background
The overlay stays loaded so hotkeys such as Alt+F9 and Instant Replay can respond at any time.
- Leave it running if you use ShadowPlay hotkeys.
- Otherwise, follow the steps in the next section to turn the overlay off.
How to turn off Nvidia Share
Turning the overlay off stops all capture hotkeys, including Record and Instant Replay. The rest of the NVIDIA app, such as driver updates, keeps working.
- Open the NVIDIA app from the Start menu.
- Select Settings.
- Open Features and then Overlay.
- Switch the overlay off.
- Press Alt+Z to confirm the panel no longer opens.
Turn the same switch back on whenever you want to record again.
Frequently Asked Questions
How do I use NVIDIA Share?
Install the NVIDIA app, then press Alt+Z to open the NVIDIA Overlay, which replaced the GeForce Experience Share overlay. From the panel you can start Record, turn on Instant Replay, take screenshots, apply game filters and open the Gallery. Alt+F9 starts and stops a recording without opening the panel.
How do I use NVIDIA ShadowPlay?
Press Alt+F9 to start a ShadowPlay recording of your game, an app or the desktop, and press Alt+F9 again to stop. For Instant Replay, turn it on in the Alt+Z panel and press Alt+Shift+F10 to save recent moments. Change quality under the Settings cog in Video Capture.
What is NVIDIA Share?
NVIDIA Share is the older name for the in-game overlay in GeForce Experience that held ShadowPlay recording, screenshots and sharing. In the NVIDIA app it is called the NVIDIA Overlay and still opens with Alt+Z. Direct uploads to Facebook and YouTube were removed in the move.
What does NVIDIA Share do?
It records video of games, apps and the desktop, keeps an Instant Replay buffer, saves screenshots and Highlights, and shows performance statistics. It also applies Freestyle game filters and keeps your captures in a Gallery sorted per game. All of it runs on your NVIDIA GPU.
Why is NVIDIA Share running on my PC?
The overlay stays loaded in the background so capture hotkeys like Alt+F9 and Alt+Shift+F10 work instantly in any game or app. It installs with the NVIDIA app. If you never record, turn the overlay off in the NVIDIA app under Settings, Features, Overlay.
How do I turn off or stop NVIDIA Share?
Open the NVIDIA app, select Settings, then Features and Overlay, and switch the overlay off. That stops the Alt+Z panel and all recording hotkeys. Driver updates and graphics settings in the NVIDIA app keep working, and you can switch the overlay back on at any time.
How do I share NVIDIA clips?
Press Alt+Z, open Gallery, select the clip and use the option to open the file on disk. Then upload that video file to the site or chat app you want. The NVIDIA app no longer posts directly to Facebook or YouTube, so sharing happens from the saved file.
Can I use NVIDIA ShadowPlay with AMD?
No. ShadowPlay runs inside the NVIDIA app, and NVIDIA lists only GeForce graphics cards as supported. An AMD processor is fine, because NVIDIA's requirements include AMD FX, Ryzen and Threadripper CPUs, but the graphics card must be a supported NVIDIA GeForce model.
How do I use NVIDIA Freestyle?
Press Alt+Z and open Game Filters to apply Freestyle filters in a supported game. NVIDIA says Freestyle works with over 1,200 games. If the option is missing, turn on Game Filters and Photo Mode under Settings, Features, Overlay in the NVIDIA app, because it now defaults to off.
Conclusion
Install the NVIDIA app, not GeForce Experience, and use Alt+F9 for planned desktop recordings and Instant Replay for moments you did not plan. The NVIDIA app is where NVIDIA now ships ShadowPlay, including AV1, 120 and 240 FPS capture and the Gallery, and GeForce Experience no longer receives these features.