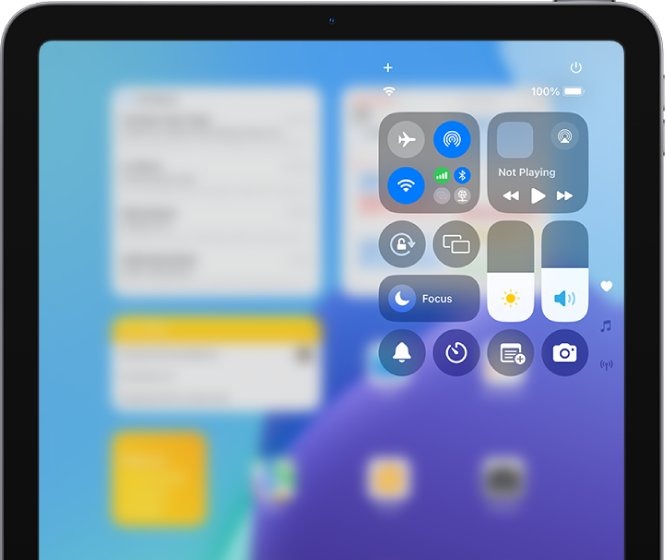
To do screen recording on iPad, swipe down from the top-right corner to open Control Center, tap the gray Record button, wait for the 3-second countdown, then swipe up to close Control Center.
The steps below also cover adding the button, recording your voice, finding and trimming the video, and what to do when recording will not start.
How to do screen recording on iPad
Screen recording is built into iPadOS, so nothing needs to be installed. These steps match current iPadOS and start in Control Center.
- Swipe down from the top-right corner of the screen to open Control Center.
- Tap the gray Record button. If it is missing, add it with the steps in the next section.
- Wait for the 3-second countdown to finish.
- Swipe up to dismiss Control Center.
- Do whatever you want to capture on the screen.
- Tap the red button at the top of the screen, then tap Stop.
The video saves to the Photos app on its own. To capture a still image instead, take a screenshot on iPad.
How to add screen recording on iPad
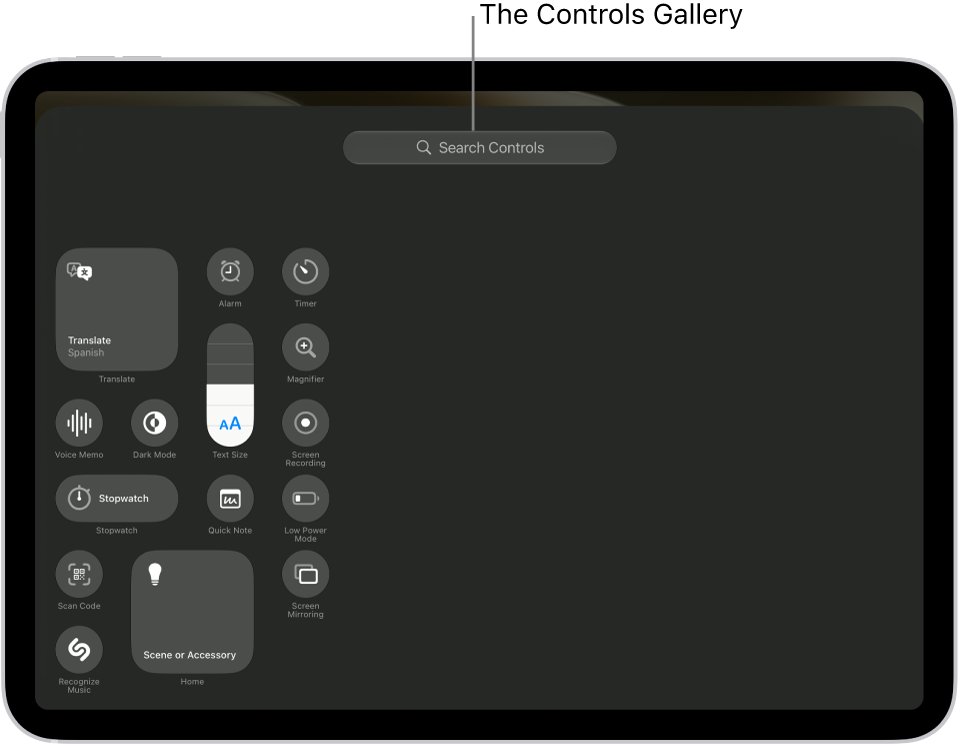
The Record button only appears after the Screen Recording control is in Control Center. You only need to add it once.
- Swipe down from the top-right corner to open Control Center.
- Tap the edit button at the top left of Control Center.
- Tap Add a Control to open the controls gallery.
- Type
Screen Recordingin the search field at the top if you do not see the control. - Tap Screen Recording to add it.
- Swipe up from the bottom center of the screen to close Control Center.
On iPadOS 18, you can also touch and hold the background of the screen while Control Center is open, then tap Add a Control. On iPadOS 17 and earlier, go to Settings > Control Center and tap the add button next to Screen Recording.
How to do screen recording on iPad with sound
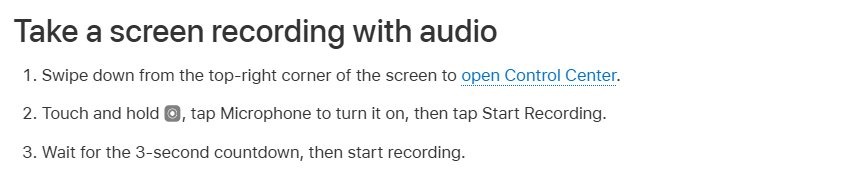
A long press on the button opens the microphone option. Turn it on when you want your voice in the recording.
- Swipe down from the top-right corner of the screen to open Control Center.
- Touch and hold the Record button.
- Tap Microphone to turn it on.
- Tap Start Recording.
- Wait for the 3-second countdown, then swipe up and start talking.
Some apps might not allow their audio or video to be recorded, so play back a short test before you record a long session.
How to stop screen recording on iPad
Either route ends the recording and saves the video to your photo library.
| Where you are | What to tap |
|---|---|
| Anywhere on iPad | The red button at the top of the screen, then Stop |
| In Control Center | The red Record button |
Where are screen recordings saved on iPad?
Screen recordings save automatically to your photo library, and Photos groups them in one place that works like a screen recordings folder.
- Open the Photos app on your iPad.
- Tap Collections.
- Scroll down to Media Types.
- Tap Screen Recordings.
On iPadOS 18 and earlier, open Photos and tap Screen Recordings below Media Types in the sidebar.
How to edit a screen recording on iPad
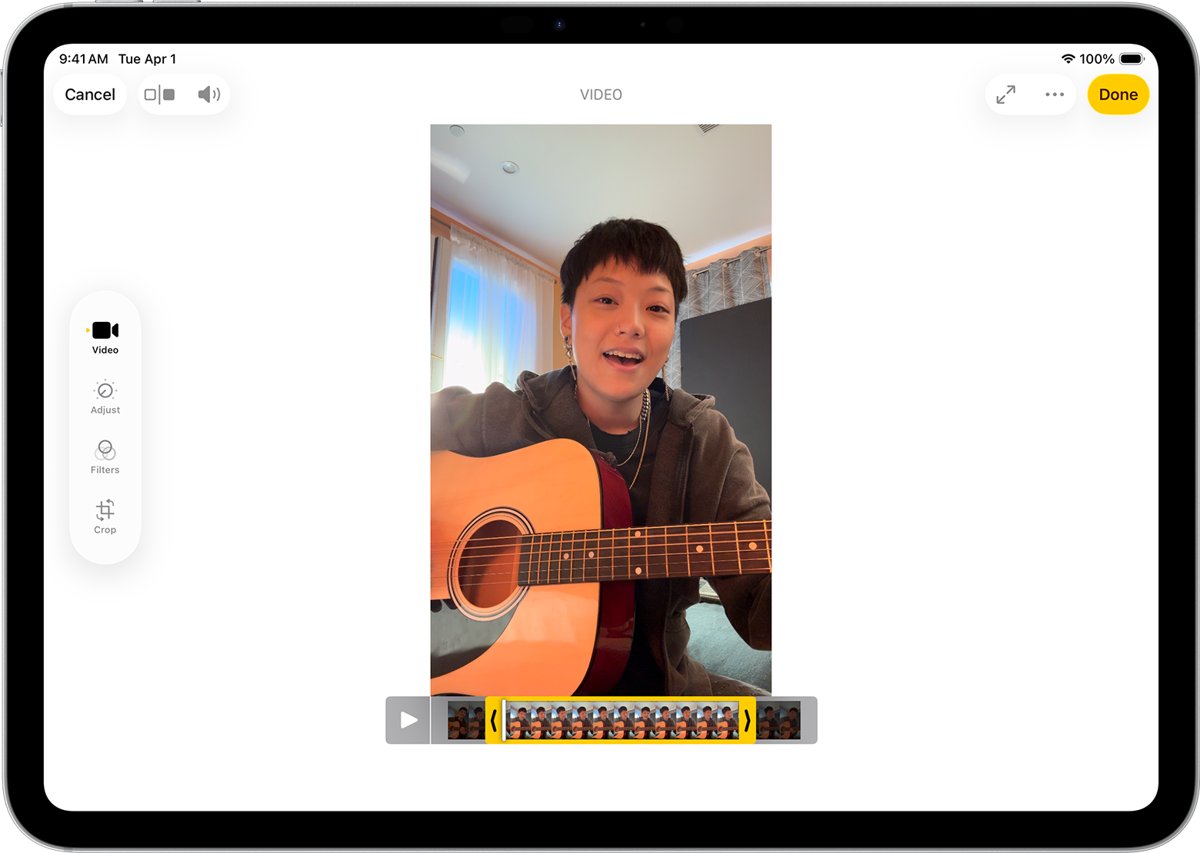
Photos can trim the start and end of a recording, which removes the moments spent opening and closing Control Center.
- Open the recording in the Photos app.
- Tap the Edit button.
- Drag either end of the frame viewer to set the new start and stop times.
- Tap Done.
- Tap Save Video to keep only the trimmed version, or Save Video as New Clip to keep both.
To undo a trim, open the video, tap the Edit button, then tap Revert. A video saved as a new clip cannot go back to the original length.
How to tell if your iPad is screen recording
- Look for the red button at the top of the screen, which shows while a recording runs.
- Open Control Center and check that the Record button is red.
- After you stop, open Photos and find the video under Screen Recordings.
- Play it back with the volume up to confirm your voice was captured, if you turned on the microphone.
Tips for screen recording on iPad
| Tip | How to do it |
|---|---|
| Silence notifications before you record | Turn on Do Not Disturb from Control Center |
| Set the microphone before the countdown | Touch and hold Record, then tap Microphone |
| Stop screen mirroring first | You cannot record your screen and use screen mirroring at the same time |
| Reach Control Center from inside apps | Go to Settings > Control Center and keep Access Within Apps turned on |
| Record a short test first | Check the picture and sound in Photos before a long session |
| Keep only the part you need | Trim the start and end in Photos, and use Save Video as New Clip to keep the original too |
Tips for adding screen recording on iPad
The Screen Recording control behaves like any other in Control Center, so you can place it where your thumb reaches it first.
| What you want | How to do it in edit mode |
|---|---|
| Move the control | Drag it to a new position |
| Change its size | Drag the handle at the lower right edge of the control |
| Give it its own group | Tap the little circle at the bottom of the right edge, tap Add a Control, then choose it |
| Find it quickly in the gallery | Type its name in the search field at the top |
| Remove it later | Tap the remove button at the upper left of the control |
Why is my screen recording not working on iPad?
Screen recording button missing from Control Center
The Screen Recording control has not been added yet.
- Open Control Center and tap the edit button at the top left.
- Tap Add a Control, then search for
Screen Recording. - Tap the control to add it, then close Control Center.
Why screen recording has no sound on iPad
The microphone was off, the app does not allow audio to be recorded, or something is covering the microphones.
- Touch and hold Record in Control Center and check that Microphone is on.
- Remove any case, film or screen protector, and clear debris from the microphone openings.
- Record a video of yourself in the Camera app and play it back to test the microphones.
- If your voice is clear in the Camera test, the app you are recording is the likely limit.
Why does my screen recording stop on iPad?
Screen mirroring and recording cannot run together, and some apps do not allow recording.
- End any screen mirroring session on the iPad.
- Start a new recording from Control Center.
- Record from the Home Screen for a few seconds to see if the problem follows one app.
Can't open Control Center inside an app
Access to Control Center in apps is turned off.
- Open Settings and tap Control Center.
- Turn on Access Within Apps.
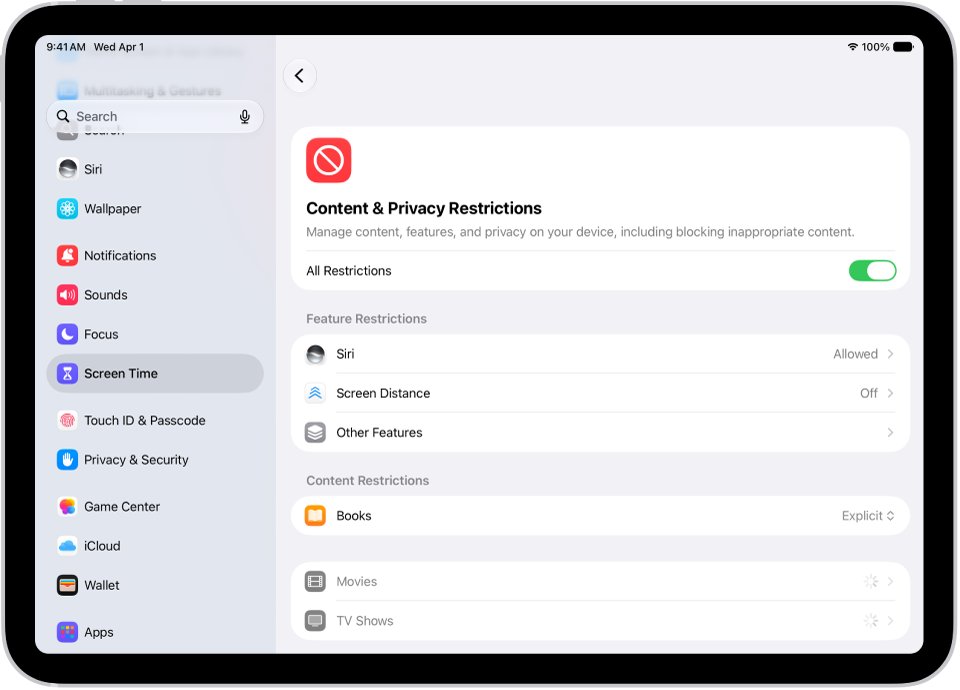
Screen recording not working on a managed or child's iPad
Screen Time can block built-in features on the iPad.
- Open Settings and tap Screen Time.
- Tap Content & Privacy Restrictions, then Other Features.
- Check the settings shown there and allow the feature you need.
- If a parent or your organization manages the iPad, ask them to change it.
iPad screen recording FAQ
Can I record my voice while screen recording on my iPad?
Yes. Open Control Center, touch and hold the Record button, tap Microphone to turn it on, then tap Start Recording. Your voice is captured through the iPad's microphones along with the video on the screen.
How long can I record my screen on iPad?
Apple does not list a time limit in its screen recording steps. The recording runs until you tap the red button at the top of the screen and tap Stop, so record a short test before you commit to a long session.
Can I record gameplay on my iPad?
Yes, in games that allow it. Start the recording from Control Center before you open the game, or open Control Center during play. Some apps might not allow their audio or video to be recorded.
Can I screen record and screen mirror an iPad at the same time?
No. Apple states that you cannot record your screen and use screen mirroring at the same time on iPad. End the mirroring session first, then start the recording from Control Center.
Do I have to add the Screen Recording control every time?
No. Once the control is in Control Center, it stays there for future recordings. You only need to add it again if you removed it, and you can move it to a spot that is easier to reach.
Is screen recording in iPhone the same as on iPad?
Yes, the screen recording steps on iPhone are the same as on iPad. Swipe down from the top-right corner, tap the gray Record button and wait for the three-second countdown. Stop by tapping the Screen Recording button at the top of the screen, then Stop.
How do I do screen recording in a laptop or Mac?
A computer uses different tools from an iPad. On Windows, you can screen record on a Windows 10 PC, and a Mac can record the screen with audio using its own shortcut or QuickTime.