To set up a Blink camera, install the Blink app, create an account, tap the + icon on the app's Home Screen, scan the camera's QR code, and follow the prompts to add it to a system.
This guide covers Wi-Fi requirements, Sync Module pairing, Mini, Outdoor and Indoor setup, placement, settings, and fixes for setup and connection issues.
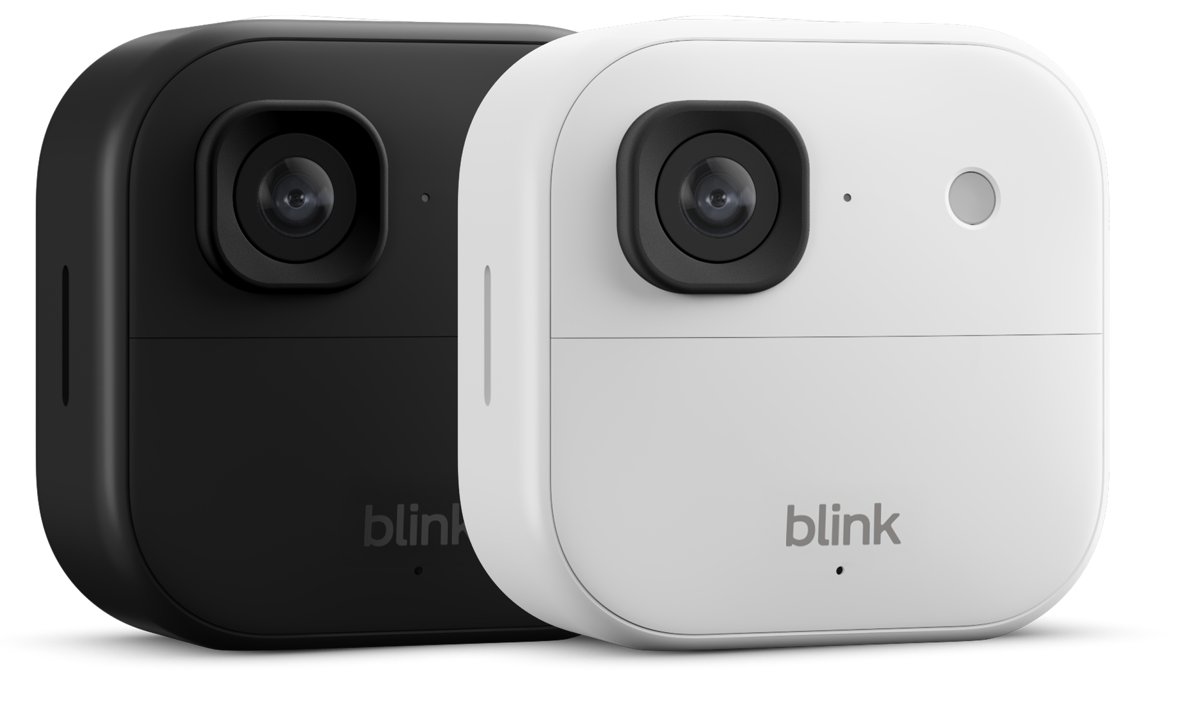
Blink camera setup tutorial
Install the Blink Home Monitor app on your phone or tablet first. Battery-powered cameras also need a Sync Module connected to your account before step 3.
- Open the Blink app, tap Create Account, and complete the email and phone verification.
- Connect your phone to the 2.4 GHz Wi-Fi network the camera will use.
- On the app's Home Screen, tap the + icon in the upper-right corner.
- Select Wireless Cameras for a battery camera, or Mini Cameras for a plug-in Mini.
- Scan the QR code on the camera, or tap Enter Serial Manually.
- Choose an existing system or create a new one, then tap Continue.
- Power the camera, wait for the setup light, then tap Discover Device when the app asks.
- Follow the prompts until the app confirms the camera was added, then name it.
- Tap Done, then tap Armed on the Home Screen so the camera sends motion alerts.
How does the Blink camera system work?
A Blink system is one or more devices managed together in the app. Systems appear as tabs at the top of the app's Home Screen, so you can run one for a house and another for an office.
| Part | What it does |
|---|---|
| Blink app | Sets up and manages every device, and shows Live View and clips |
| Sync Module | Plugs into an outlet and acts as the hub between wireless cameras, the app and Blink's servers |
| Camera | Detects motion and sends images and notifications over Wi-Fi |
| System | Links cameras together so they all arm and disarm at the same time |
| Storage | Cloud storage with a plan, or a USB drive or MicroSD card on a compatible Sync Module |
Do Blink cameras need a Sync Module?
Battery-powered wireless cameras do. Plug-in Mini models, the Wired Floodlight and the Video Doorbell do not, though a Mini can still join a system that has one.
| Your camera | Sync Module | Add Device choice | Power |
|---|---|---|---|
| Outdoor 2K+ | Required | Wireless Cameras | 2 lithium AA batteries |
| Outdoor 4 | Required | Wireless Cameras | 1.5 V lithium AA batteries |
| Outdoor or Indoor (3rd Gen) | Required | Scan the QR code from Add Device | 2 lithium AA batteries |
| Mini or Mini 2 | Not required | Mini Cameras | USB adapter |
| Mini 2K+ | Optional; setup can create a new system | Mini Cameras | USB-C power supply |
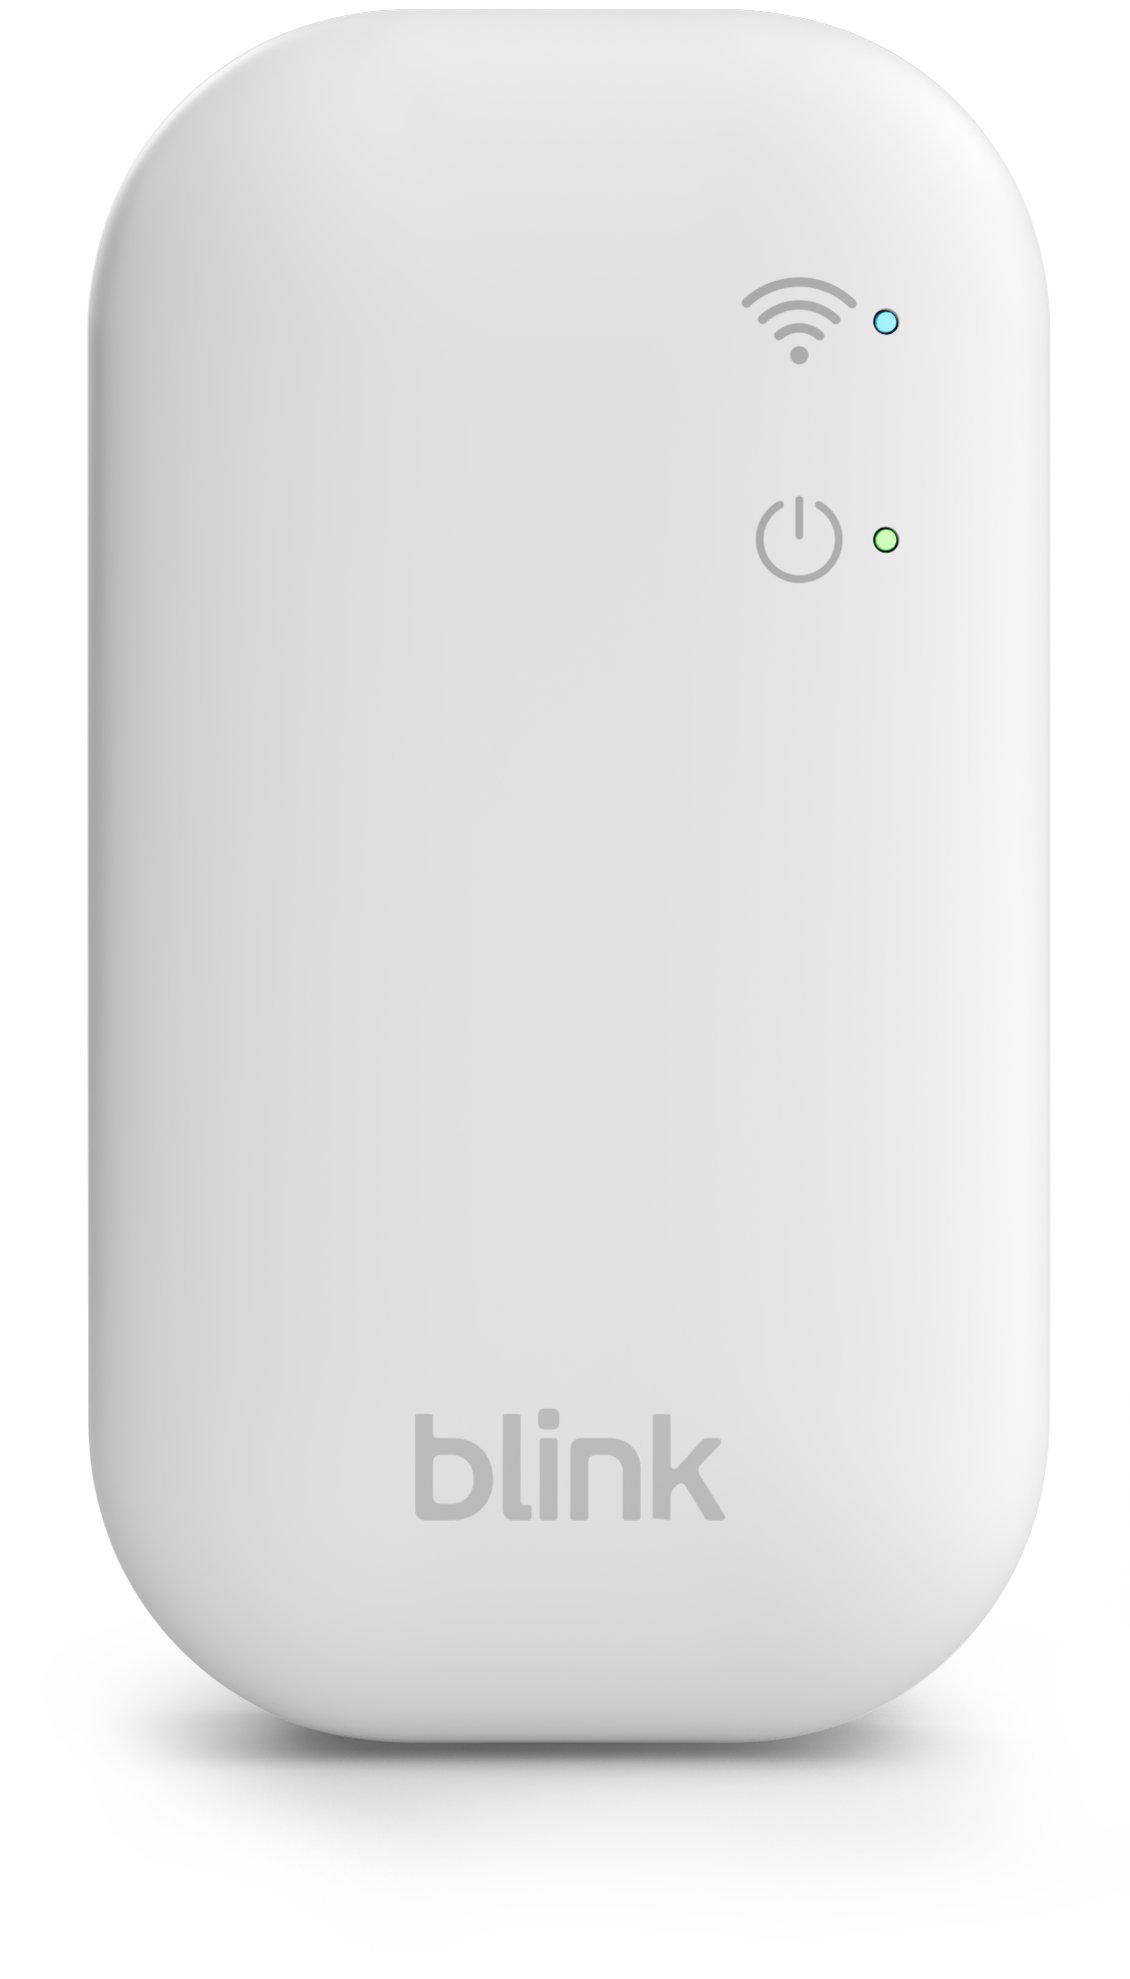
Blink camera wifi setup requirements
Blink cameras cannot connect to a 5 GHz band, so check that your router broadcasts a 2.4 GHz network before you start.
| Item | What Blink requires |
|---|---|
| Wi-Fi | 2.4 GHz network, 802.11b/g/n |
| Upload speed | At least 2 Mbps per Blink device |
| Network setup | DHCP; WEP, WPA or WPA2 with TKIP |
| Phone or tablet | iPhone or iPad on iOS 17 or later, Android 10 or later, or a Fire tablet on Fire OS 8 |
| Account | A Blink account with a valid email for verification codes |
| Networks to avoid | Hotel or school Wi-Fi with a login page; hotspots and satellite internet are not recommended |
How to download the Blink app and create an account
- Install the Blink app on a supported phone or tablet, open it, and tap Create Account.
- Select your country, then tap Save and Continue.
- Enter a valid email address and tap Next.
- Create a password and tap Create Account.
- Enter the 6-digit code sent to your email, then tap Verify.
- Add a phone number for multi-factor authentication, choose text or voice call, then enter that code and tap Verify.
- Tap Continue, enter your address or select Use my current location, then tap Save Location.
- Tap Agree and Continue to link your Amazon account, or tap Skip.
If a code does not arrive, wait 90 seconds and tap Resend Code.
Setup Blink camera with Sync Module
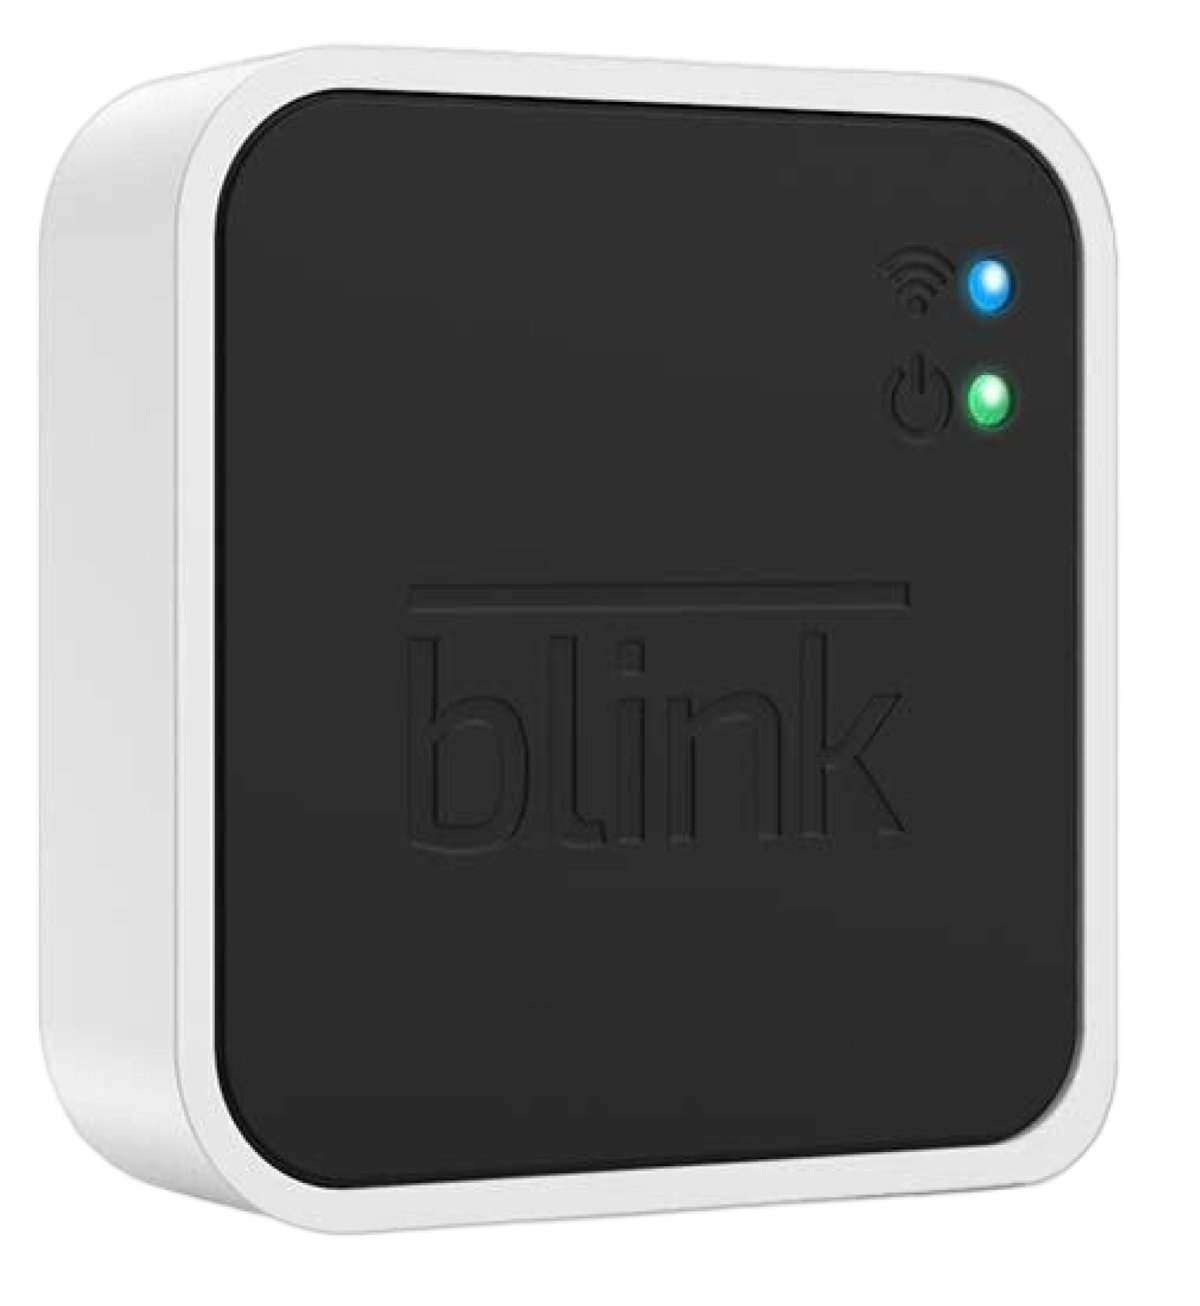
Add the Sync Module before any wireless camera. These steps apply to the Sync Module Core and Sync Module 2.
- Plug in the Sync Module.
- On the app's Home Screen, tap the + icon, then tap Sync Module.
- Scan the QR code on the back of the device, or tap Enter Serial Manually.
- Select a system, or create one with a unique name, then tap Continue.
- When the module shows a blinking blue and solid green light, tap Discover Device.
- Tap Join / Connect to join the temporary BLINK-xxxx network.
- Select your home Wi-Fi network, enter the password, and tap Join.
- Tap Done on the completion screen.
The module may run a firmware update after you tap Join. Sync Module XR and XR+ are for the US and Canada only and have their own setup guides on Blink's support site.
Blink outdoor camera setup for Outdoor 4 and Outdoor 2K+
Keep a new wireless camera in the same room as the Sync Module during setup, within 7 feet. Your system must be disarmed to add a camera; tap Disarm if the app asks.
- On the app's Home Screen, tap the + icon and select Wireless Cameras.
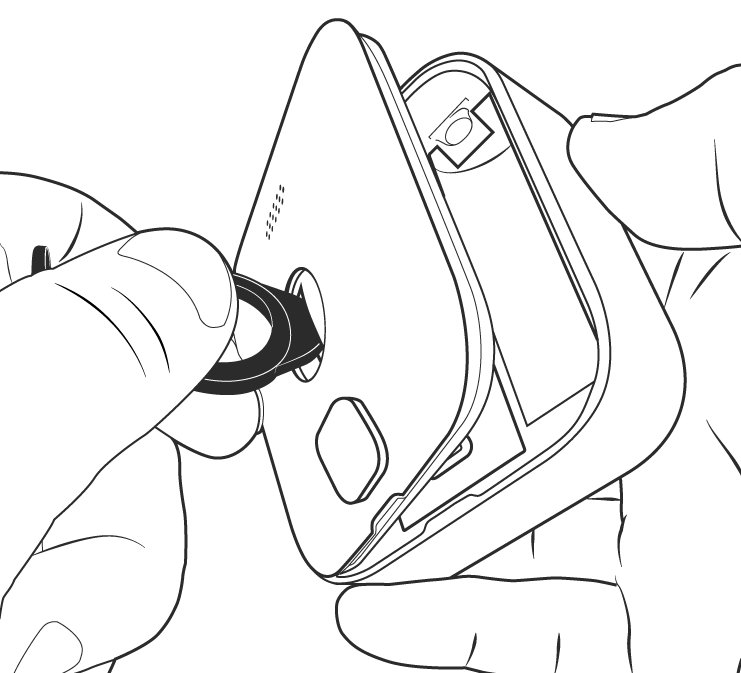
- Remove the back cover by turning the center screw counter-clockwise with the included tool.
- Install the two lithium AA batteries, matching the + and – marks.
- Scan the QR code on the camera, or tap Enter Serial Manually.
- Choose a system that includes a Sync Module and tap Continue.
- When the LED blinks red, tap Discover Device if the app shows that button.
- Name the camera, or tap Custom to enter your own name.
- Choose a preset on Settings Presets if shown, then tap Done.
- Replace the back cover and tighten the screw until the cover sits flush.
Keep the silicone plug over the USB port, because the camera is only weather-resistant with that port covered. On a Sync Module XR, the Outdoor 4 also asks you to choose Wi-Fi, Extended Range or Extended Range Plus, then tap Save.
Blink mini camera setup
These steps follow the Mini 2K+. The Mini 2 uses the same flow, and a Mini can start its own system without a Sync Module.
- On the app's Home Screen, tap the + icon and select Mini Cameras.
- Scan the QR code on the back of the camera, or tap Enter Serial Manually.
- Select an existing system, or tap Create New System and name it, then tap Continue.
- Plug the camera into a socket with its power supply.
- When you see a blinking blue and solid green light, tap Discover Device.
- Tap Join to connect to the temporary BLINK-xxxx network.
- Select your home Wi-Fi network, enter the password, and tap Join.
- Tap Done, choose a name for the camera, then tap Done again.
If the camera will act as a doorbell chime, add it to the same system as your Blink Video Doorbell. Outdoor use of a Mini 2 or Mini 2K+ needs the separately sold Weather-Resistant Power Adapter.
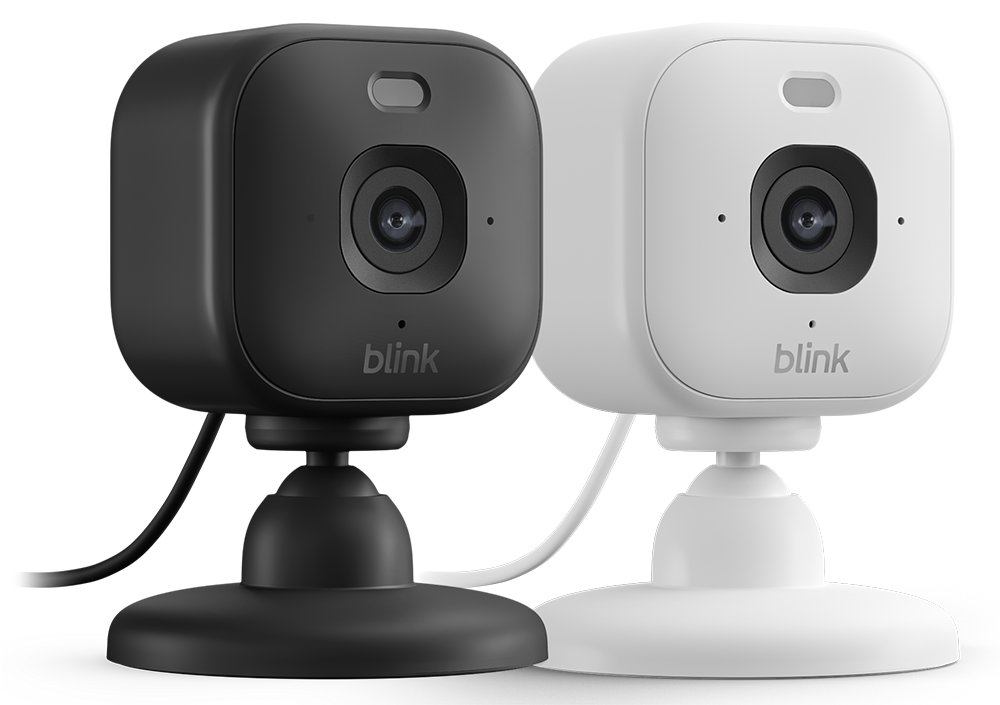
Blink indoor camera setup
The Indoor (3rd Gen) uses the same process as the Outdoor (3rd Gen) and needs a Sync Module, which is sold separately or in a bundle.
- Add a Sync Module and create a system, as shown above.
- Detach the camera from any mount and peel off the plastic sticker on a new camera.
- Turn the back screw counter-clockwise with the included tool until it rotates freely, then pry off the cover.
- Insert 2 lithium AA batteries, matching the + and – marks.
- Press the cover back on and hand-tighten the screw clockwise until snug.
- Tap Add Device + on the app's Home Screen.
- Scan the camera's QR code, or tap Enter Serial Manually and enter the serial number.
- Tap Done when the app confirms the camera was added.
How to set up Blink camera system with multiple cameras
Each Sync Module supports up to 10 cameras in one system. To add more, set up another Sync Module, which creates another system on the same account.
- Tap the + icon on the app's Home Screen.
- Select the device type and scan its QR code.
- Pick the system you want the device to join.
- Name each system by location, such as Home or Office.
- Swipe across the system names at the top of the Home Screen to switch between them.
Where to position a Blink camera for motion detection
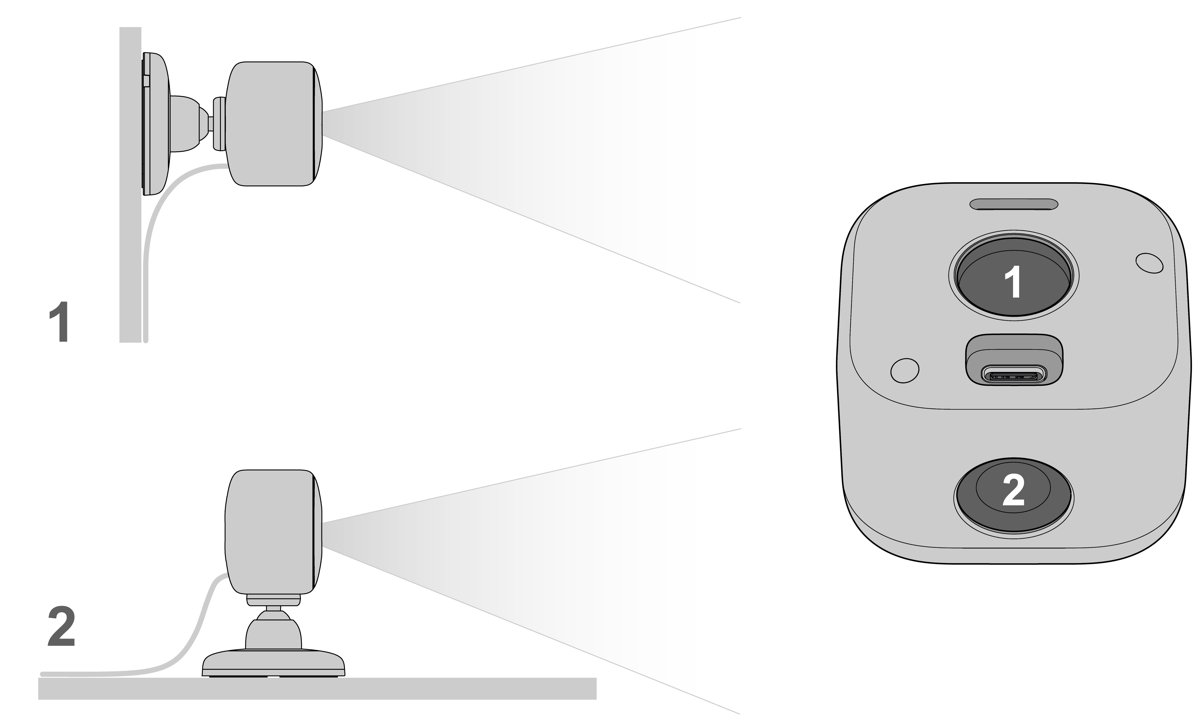
Finish setup indoors first, then mount the camera and check its view in Live View. Placement affects motion alerts, image clarity and signal strength.
| Factor | What to do |
|---|---|
| Motion direction | Aim the camera to catch side-to-side movement across its view |
| Distance | Keep the area you want covered 5 to 20 feet from the camera |
| Height | Mount it high to reduce false notifications |
| Things to avoid | Bright lights, moving branches, passing cars, flat reflective surfaces and glass |
| Sync Module | Keep it near your router but at least 10 feet away; it reaches cameras up to 100 feet away in a typical building |
| Mini cameras | Stay under 20 feet from the router where possible |
| Signal | Aim for 3 bars for both Camera to Wi-Fi and Camera to Sync Module |
How to test a Blink camera after setup
- Find the camera on the app's Home Screen and tap the play button on its thumbnail.
- Check that Live View shows the area you want to cover.
- Tap Armed at the bottom of the Home Screen and wait for the confirmation message.
- Walk across the camera's view and check for a motion notification on your phone.
- Open Device Settings > General Settings > Network and check the signal strength shows 3 bars.
New systems start disarmed, so a camera sends no motion alerts until you arm it. Motion clips also need a storage option in place.
Blink camera settings explained
To open them, tap the More button at the bottom-right of the camera's thumbnail, then tap Device Settings. Rename a camera here; older clips keep the previous name in your Clip List.
| Menu | What you change there |
|---|---|
| General Settings | Camera name, battery status, signal strength, Change Wi-Fi and Delete Device |
| Motion Settings | Motion detection and Motion Sensitivity; the default is usually 5, or 6 on Outdoor 4 |
| Video and Photo Settings | Video quality, including the Best setting |
| Audio Settings | Audio levels |
| Floodlight and Lighting Settings | Lights on cameras that have them, such as Mini 2 or the Wired Floodlight |
| Privacy Settings | Privacy zones |
If you get too many alerts, lower Motion Sensitivity by two levels and test again.
Blink camera setup without subscription
A Blink plan is not required to use a camera. A 30-day no-cost trial starts when you set up a new eligible camera, and it does not enroll you in a plan when it ends.
| Feature | Without a plan | With a plan or trial |
|---|---|---|
| Live View and motion alerts | Included | Included |
| Two-way audio | Included | Included |
| Saved clips | Local storage on Sync Module 2, XR or XR+ | Cloud storage, up to 180 days in the US |
| Person and vehicle detection | Not included | Included |
| Extended Live View | Not included; sessions extend to 5 minutes total | Up to 90 minutes on Mini and Wired Floodlight |
Sync Module Core has no local storage. Sync Module 2 uses a USB drive, while XR and XR+ use a MicroSD card, each sold separately.
Blink camera setup on computer
You cannot set up a Blink camera on a computer. Blink says you must use the Blink app to manage a system and its devices, and it lists only iPhone, iPad, Android and Fire tablets as supported. Blink.com handles plan purchases and plan management, not cameras.
Tips for Blink camera setup
| Tip | Why it helps |
|---|---|
| Stay on Wi-Fi, not mobile data | Setup may not work as expected on a mobile connection; you can use any connection afterward |
| Save your Wi-Fi password when prompted | Mini 2K+, Sync Module Core and XR can reuse it for the next device |
| Name cameras by location | A name such as Back Porch is easier to spot than the default model and serial number |
| Set your time zone correctly | Scheduled arming uses it to arm and disarm at the right times |
| Turn off the phone's VPN during setup | VPNs can cause HTTP 403 or 406 errors; turn it back on afterward |
How to delete a Blink camera and add it again
Devices cannot move directly to a system at another location. Delete the camera, then set it up again.
- Open the camera's Device Settings and tap General Settings.
- Scroll down, tap Delete Device, and confirm.
- Tap the + icon on the app's Home Screen.
- Scan the QR code or enter the serial number.
- Select the new system and location, then finish the prompts.
Blink camera setup issues and connection issues
Blink camera won't connect to Wi-Fi during setup
Poor signal is the most common cause. A 5 GHz-only network or a VPN on your phone also blocks setup.
- Confirm your router broadcasts a 2.4 GHz network, since Blink cannot use a 5 GHz band.
- Connect your phone to the same Wi-Fi network the camera will use.
- Move the camera closer to the router, ideally under 20 feet.
- Turn off any VPN on your phone until setup is complete.
- Restart the router by unplugging its power and plugging it back in.
"Incorrect Password for Your Wi-Fi" alert
The password is mistyped, or it contains special characters that cause trouble during setup.
- Re-enter the password and tap the eye icon to see what you typed.
- Compare it with the sticker on your router, if there is one.
- Forget the Wi-Fi network on your phone and reconnect to confirm the password works.
- If it contains characters such as *, @, $ or #, set up the camera on a temporary guest network.
Blink app won't join the BLINK-xxxx network
The app is missing a permission it needs to reach the device's temporary network, which you can grant in your phone's Settings app.
- On iPhone or iPad, allow Local Network for the Blink app.
- On Android, allow Location for the Blink app.
- Return to the app and tap Join again.
QR code won't scan or no blinking blue light
Low light stops the phone focusing on the code, and a Mini may need a reset before it enters setup mode.
- Add more light with your phone's flash or room lighting.
- Tap Enter Serial Manually if the code still will not scan.
- Press the reset button on the bottom of a Mini with a thin object, then wait for the green and blue lights. Remove the mount from a Mini 2 first.
"Camera is offline" after setup
The camera has lost contact with the Sync Module or with your Wi-Fi.
- Check that the Sync Module is online if your system has one.
- Power cycle the camera by removing its batteries or USB cable for five seconds, then wait 30 seconds.
- Check that other devices on your Wi-Fi can load a website.
- Replace the batteries with new 1.5 V lithium AA cells on a battery camera.
- Move the camera closer to the Sync Module.
Blink camera Live View isn't working
Weak signal delays or blocks Live View. A "Camera Busy" message means the Sync Module cannot reach the camera.
- Check for 3 bars for Camera to Wi-Fi and Camera to Sync Module.
- Unplug the modem and router for 30 seconds, plug them back in, and wait two minutes.
- Remove a battery camera's batteries for 10 seconds and reinsert them.
- Pause streaming and gaming on your network, since Blink needs 2 Mbps of upload speed.
Blink camera setup FAQ
How do I set up a Blink camera?
Install the Blink app, create an account, tap the + icon on the Home Screen, choose your camera type, and scan its QR code. Add the camera to a system and follow the prompts. Wireless cameras need a Sync Module added first.
How do I get my Blink camera to work?
Connect the camera to a 2.4 GHz Wi-Fi network through the Blink app, then tap Armed at the bottom of the Home Screen. New systems start disarmed, so cameras send no motion alerts until you arm them. Saving motion clips also needs a storage option.
How do you use a Blink camera?
Use the Blink app for everything. Tap the play button on a camera thumbnail for Live View, tap Armed to turn on motion alerts, and tap the More button on a thumbnail to open Device Settings. You can also set a schedule for arming.
Can I set up multiple Blink cameras?
Yes. Each Sync Module supports up to 10 cameras in one system, and you can add more Sync Modules to create more systems on one account. Multiple systems appear as tabs at the top of the app's Home Screen.
How do I change the camera's settings after setup?
Tap the More button at the bottom-right of the camera's thumbnail, then tap Device Settings. From there you can open General, Motion, Video and Photo, Audio and Privacy settings. Each camera has its own settings, including its own motion sensitivity.
Does a Blink camera work on 5 GHz Wi-Fi?
No. Blink cameras are designed for 2.4 GHz Wi-Fi and cannot connect to a 5 GHz band. If your router broadcasts only 5 GHz, turn on a 2.4 GHz network before you start setup, because the camera will not see anything else.
Can I access my Blink camera from a computer?
Blink's support pages describe Live View and clips in the Blink mobile app and Live View on certain Alexa-enabled devices. They do not list a computer app, and they say you must use the Blink app to manage your system and devices.
Where can I find Blink camera setup instructions?
Blink publishes a guide for each model on its setting up your Blink devices page. It covers current and older cameras, doorbells, Sync Modules and accessories, and several guides also include a setup video.