Press Windows + Shift + S on any ThinkPad running Windows 11 or Windows 10, drag over the area you want, and the screenshot is copied to the clipboard.
This guide covers every ThinkPad screenshot shortcut, including PrtSc, Windows + PrtSc and Fn + PrtSc, where each one saves the image, how to record the screen, and what to do when the PrtSc key does nothing.
ThinkPad screenshot shortcut
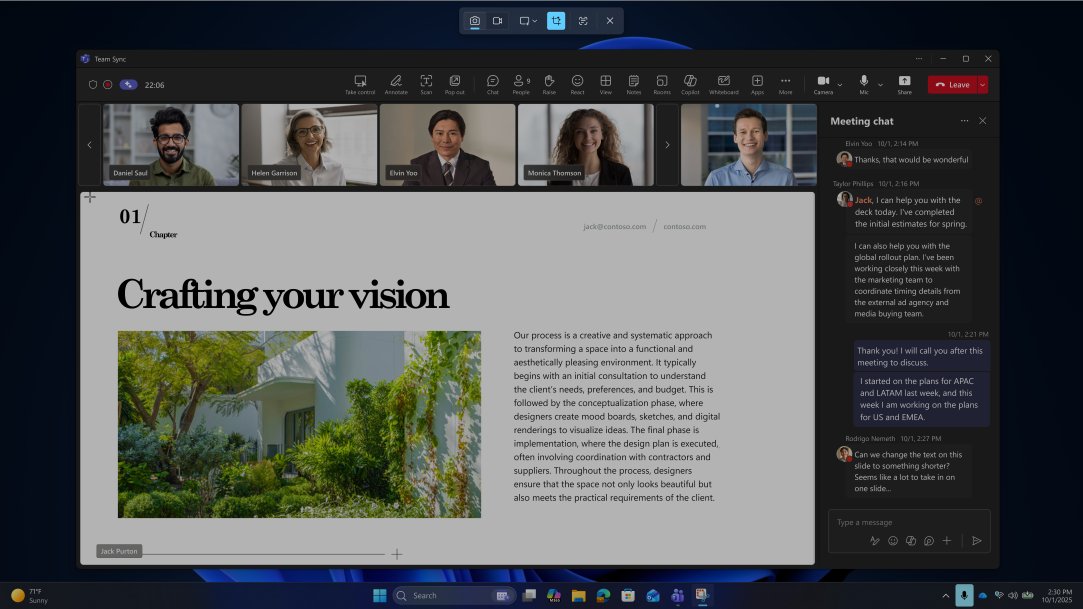
Windows + Shift + S works on every ThinkPad model, including the X1, T14 and E16, because it is a Windows screenshot shortcut, not a Lenovo one.
- Press Windows logo key + Shift + S together to open the snipping bar.
- Pick a mode on the bar: Rectangle, Window, Full screen or Freeform.
- Drag over the area you want, or click the window you want.
- Paste the image anywhere with Ctrl + V, or select the notification to open it in Snipping Tool.
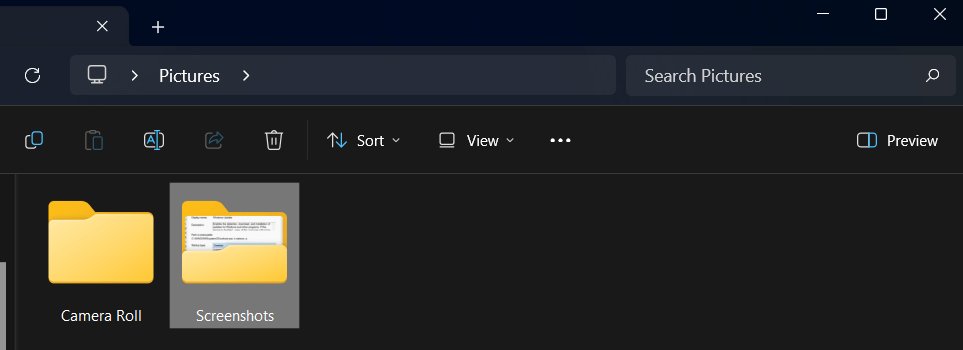
- On Windows 11, open File Explorer > Pictures > Screenshots to find the saved copy.
Screenshot methods compared
| Your situation | ThinkPad shortcut | Where the image goes |
|---|---|---|
| Capture part of the screen | Windows + Shift + S | Clipboard; Windows 11 also saves it to Pictures > Screenshots |
| Save the whole screen as a file at once | Windows + PrtSc | PNG file in Pictures > Screenshots |
| Copy the whole screen to paste into a chat or document | PrtSc (with snipping turned off in Settings) | Clipboard only |
| Capture only the window you are working in | Alt + PrtSc | Clipboard only |
| Open the full Snipping Tool app with delay and editing | Fn + PrtSc | Snipping Tool window, then saved where you choose |
| Record the screen as video | Windows + Shift + R (Windows 11) | MP4 file in Videos > Screen Recordings |
Windows + PrtSc is the only shortcut that saves a file without any further clicks on both Windows 11 and Windows 10.
Why is taking a screenshot on a ThinkPad confusing?
| What confuses people | What actually happens |
|---|---|
| The key is labelled PrtSc, not Print Screen | Lenovo uses PrtSc, PrtScn or PrtScr; they are the same key |
| Fn + PrtSc and PrtSc do different things | On recent ThinkPads, Lenovo's user guides list Fn + PrtSc as the shortcut that opens Snipping Tool |
| PrtSc opens a snipping bar instead of copying the screen | Windows 11 sets PrtSc to open screen snipping by default; you can switch this off |
| Nothing seems to happen after PrtSc | PrtSc and Alt + PrtSc copy to the clipboard only; nothing is saved until you paste |
| The F1–F12 keys change volume or brightness instead | Fn Lock decides whether the top row runs its special or standard functions; Fn + Esc toggles it |
| A two-monitor screenshot is very wide | A full-screen PrtSc captures every connected display in one image |
How to screenshot on ThinkPad: step-by-step
This is the Windows + Shift + S route in full, from setting up the screen to finding the file.
- Get your screen ready: open the window, menu or page you want and close anything that should not be in the shot.
- Press Windows + Shift + S.
- Choose your capture mode on the snipping bar: Rectangle, Window, Full screen or Freeform.
- Drag or click to take the snip; it is copied to the clipboard straight away, and Windows 11 saves a copy too.
- Find your saved screenshots in File Explorer > Pictures > Screenshots, or select the notification to edit and save the snip.
- Repeat the shortcut for as many shots as you need; each Windows 11 snip saves as a separate file.
On Windows 10, the snip goes to the clipboard only. Paste it into Paint or select the notification and use Save Snip to keep it, or find the Screenshots folder for Windows + PrtSc files.
Alternative ways to screenshot on a ThinkPad
These four shortcuts use the PrtSc key or the Snipping Tool app instead of the snipping bar. They work the same way as taking screenshots on a Dell laptop or any other Windows PC, apart from Lenovo's Fn + PrtSc shortcut.
| Method | Keys | Result |
|---|---|---|
| Method 1: Instant full-screen save | Windows + PrtSc | Saves a PNG of the full screen to Pictures > Screenshots |
| Method 2: Copy to clipboard | PrtSc | Copies the screen, or opens screen snipping on Windows 11 by default |
| Method 3: Active window only | Alt + PrtSc | Copies only the window in front to the clipboard |
| Method 4: The full Snipping Tool app | Fn + PrtSc, or Start > Snipping Tool | Opens Snipping Tool with modes, delay, pen and crop |
How to screenshot on ThinkPad with Windows + PrtSc
- Open the screen you want to capture.
- Hold the Windows logo key and press PrtSc once.
- Open File Explorer and select Pictures > Screenshots to find the PNG file.
How to screenshot the active window on a ThinkPad
- Click the window you want so it is in front.
- Press Alt + PrtSc.
- Open the app you want to put it in, such as Paint, Word or an email.
- Press Ctrl + V to paste the window image, then save the file.
How to screenshot on ThinkPad with Snipping Tool
The Snipping Tool app adds a timer, a pen, a highlighter and cropping, which the shortcuts alone do not give you.
- Press Fn + PrtSc, or select Start, type snipping tool and open Snipping Tool.
- Select Snipping Mode and choose Rectangle, Window, Full screen or Freeform.
- To capture a menu or tooltip, select Delay and choose a time such as 5 seconds.
- Select New and take the snip.
- Mark it up with Pen, Highlighter or Image crop.
- Press Ctrl + C to copy it, or select Save as to save a copy where you want.
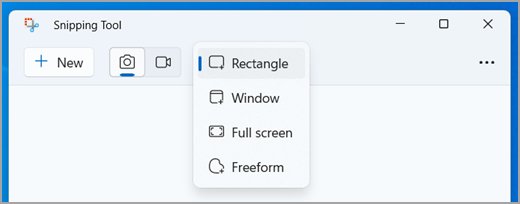
Lenovo lists Fn + PrtSc for Snipping Tool in the user guides for the ThinkPad T14 Gen 4, T16 Gen 2, P14s Gen 4, P16s Gen 2, T14s Gen 1 and X13 Gen 1. Check your own model's user guide for other lines.
How to screenshot on ThinkPad without a PrtSc key
Older or compact keyboards may hide Print Screen behind another key, and external keyboards may leave it out.
- Press Windows + Shift + S; it needs no PrtSc key at all.
- Or open Snipping Tool from the Start menu and select New.
- On some Lenovo laptops without a separate key, press Fn + Insert to perform Print Screen.
- If the Print Screen function sits on the top row, press Fn with that key; the model's user guide shows which key it is.
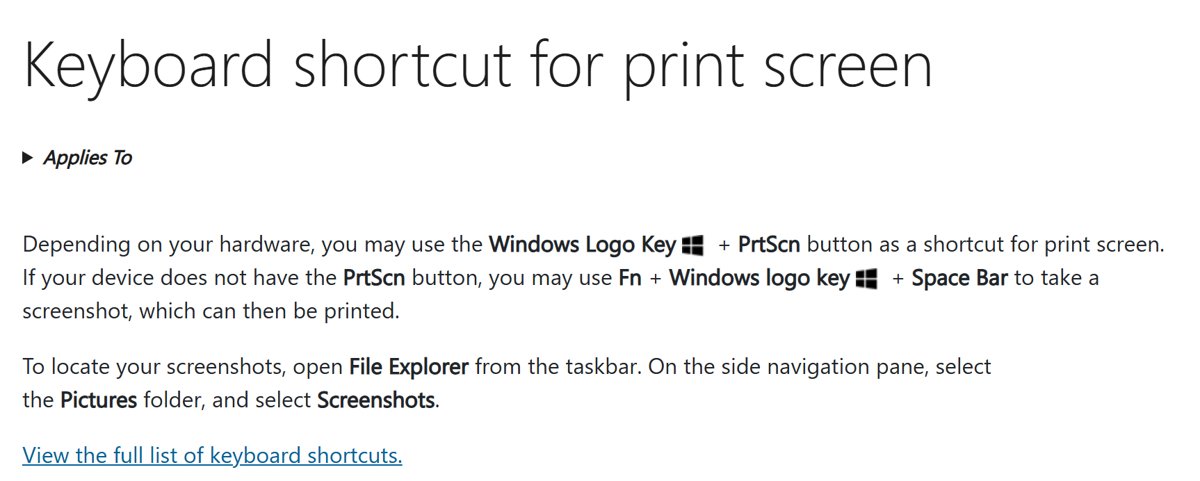
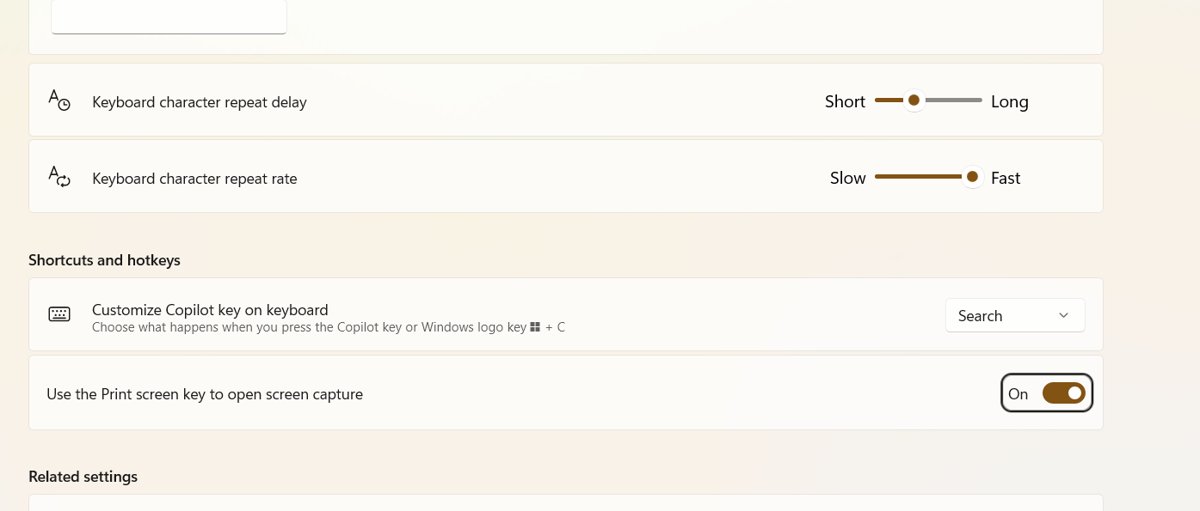
Use the Print Screen key to open screen snipping on a ThinkPad
Windows 11 turns this on by default, so PrtSc opens the snipping bar. Turn it off if you want PrtSc to copy the whole screen instantly.
- On Windows 11, open Start > Settings > Accessibility > Keyboard.
- Set Use the Print Screen button to open screen snipping to Off to make PrtSc copy the full screen, or On to open snipping.
- On Windows 10, open Start > Settings > Ease of Access > Keyboard.
- Under Print Screen shortcut, turn the toggle on to make PrtSc open screen snipping.
How to screen record on a ThinkPad
Snipping Tool on Windows 11 records video as well as still images.
- Press Windows + Shift + R, or open Snipping Tool and select Record > New.
- Drag over the part of the screen you want to record.
- Select Start and do what you want to capture.
- Select Stop when you finish.
- Find the MP4 file in Videos > Screen Recordings, or select Edit in Clipchamp to trim it.
Where do ThinkPad screenshots get saved?
| Shortcut | Saved to | Windows version |
|---|---|---|
| Windows + PrtSc | Pictures > Screenshots | Windows 11 and Windows 10 |
| Windows + Shift + S | Clipboard, plus Pictures > Screenshots | Windows 11 |
| Windows + Shift + S | Clipboard only | Windows 10 |
| PrtSc or Alt + PrtSc | Clipboard only | Windows 11 and Windows 10 |
| Windows + Shift + R | Videos > Screen Recordings (MP4) | Windows 11 |
To change where Windows 11 Snipping Tool saves, open Snipping Tool and select See More > Settings.
Tips for better ThinkPad screenshots
| Tip | How to do it |
|---|---|
| Capture one display on a two-monitor setup | Use Windows + Shift + S and drag over that screen only, since PrtSc captures every display |
| Catch a menu that closes when you press keys | Use Snipping Tool's Delay option, then open the menu before the timer ends |
| Hide personal details before sharing | Use Text actions > Quick redact in Windows 11 Snipping Tool for email addresses and phone numbers |
| Copy text out of a screenshot | Use Text actions > Copy all text in Windows 11 Snipping Tool |
| Keep the top-row keys predictable | Press Fn + Esc to set Fn Lock the way you like and leave it there |
ThinkPad screenshot still not working? Try these fixes
PrtSc does nothing
PrtSc only copies to the clipboard, or the key needs Fn on this keyboard.
- Press Ctrl + V in Paint or a document to check whether the image was copied.
- Try Fn + PrtSc to open Snipping Tool instead.
- Use Windows + Shift + S, which does not depend on the PrtSc key.
PrtSc opens the snipping bar instead of copying the screen
Windows 11 maps PrtSc to screen snipping by default.
- Open Settings > Accessibility > Keyboard.
- Set Use the Print Screen button to open screen snipping to Off.
Windows + PrtSc does not save a file
The capture went to a different folder or the key press did not register.
- Hold the Windows logo key first, then press PrtSc; on keyboards where PrtSc shares a key, try adding Fn.
- Open File Explorer > Pictures > Screenshots and sort by date.
- If the folder is missing, take a screenshot with Windows + Shift + S and save it with Save as in Snipping Tool.
Top-row keys change volume or brightness instead of working as F keys
Fn Lock is set to special functions.
- Press Fn + Esc to toggle Fn Lock.
- With the Fn Lock indicator on, F1–F12 run their standard functions; with it off, they run the icon functions.
Windows + Shift + S snips are not saved on Windows 10
Windows 10 copies snips to the clipboard without saving a file.
- Select the notification that appears after the snip.
- Select Save Snip and choose a folder, or paste the image into Paint and save it.
ThinkPad screenshot FAQ
How do I screenshot on a Lenovo ThinkPad laptop?
Press Windows + Shift + S and drag over the area you want, or press Windows + PrtSc to save the whole screen to Pictures > Screenshots. Both shortcuts work on every ThinkPad running Windows 11 or Windows 10.
What is the screenshot shortcut on a ThinkPad?
Windows + Shift + S opens the snipping bar, Windows + PrtSc saves a full-screen file, Alt + PrtSc copies the active window, and Fn + PrtSc opens Snipping Tool on recent ThinkPad models.
Do I need to press Fn to screenshot on a ThinkPad?
No for Windows + Shift + S, Windows + PrtSc and Alt + PrtSc. Lenovo's user guides use Fn + PrtSc only for opening the Snipping Tool app, so press Fn when you want that app.
How do I screenshot on a ThinkPad X1 or T14?
Use the same Windows shortcuts: Windows + Shift + S for a selection, or Windows + PrtSc for a saved full-screen file. On the T14 Gen 4, Lenovo also lists Fn + PrtSc to open Snipping Tool.
How do I screenshot on a ThinkPad E16?
Press Windows + Shift + S, choose a snip mode and drag over the area you want. The E16 runs Windows, so Windows + PrtSc and Alt + PrtSc work the same as on other ThinkPads.
Where do ThinkPad screenshots get saved?
Windows + PrtSc files go to Pictures > Screenshots. On Windows 11, Windows + Shift + S snips are saved there too. PrtSc and Alt + PrtSc copy to the clipboard only, so paste them to keep them.
Can I take a screenshot on a ThinkPad without a PrtSc key?
Yes. Windows + Shift + S needs no PrtSc key, and Snipping Tool opens from the Start menu. On some Lenovo laptops without a separate key, Fn + Insert performs Print Screen.
How do I use the Snipping Tool on a ThinkPad?
Press Fn + PrtSc or open Snipping Tool from Start, choose a Snipping Mode, then select New and capture. Use Delay for menus, then copy with Ctrl + C or save with Save as.
How do I record my ThinkPad screen instead of a still image?
On Windows 11, press Windows + Shift + R, drag over the area, select Start, then Stop when done. The MP4 file is saved in Videos > Screen Recordings.
Does this work the same on Windows 10?
Mostly. Windows + PrtSc, PrtSc, Alt + PrtSc and Windows + Shift + S all work, but Windows 10 snips go to the clipboard without auto-saving, and Snipping Tool screen recording is a Windows 11 feature.