Press Shift-Command-4 to capture part of the screen right away, then clear Remember Last Selection, restore your screenshot shortcuts and restart your Mac to bring back a missing selection frame in the Screenshot app.
This guide covers each of those fixes, how to tell whether the app or your user account is at fault, and where lost screenshots go.
How to fix the Screenshot app when capture selected portion stops working
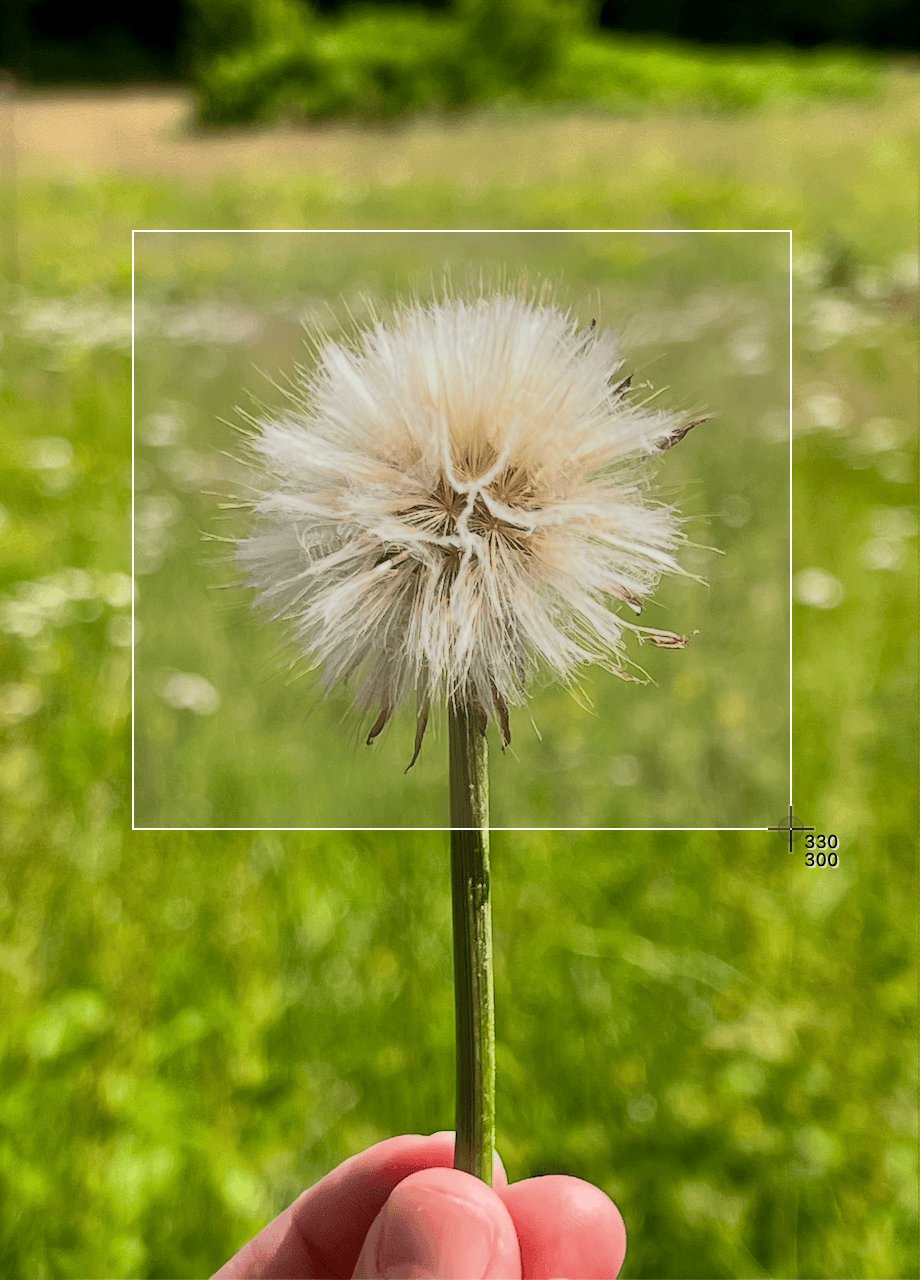
These steps fit this fault: the Shift-Command-5 toolbar still opens and other tools work, but the portion tool shows no frame to drag.
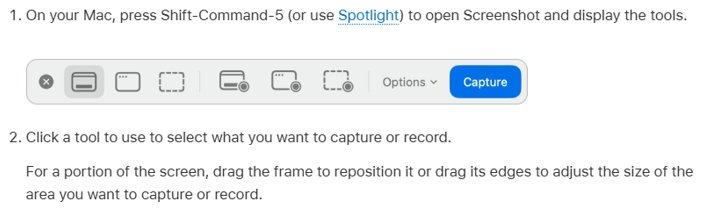
- Press Shift-Command-5 to open Screenshot and display the tools.
- Click Options, then choose Remember Last Selection so that the checkmark disappears.
- Click the Capture a portion of the screen tool.
- Look for the frame on every connected display. If it appears, drag its edges to set the area, then click Capture.
- If no frame appears, press Shift-Command-4, drag the crosshair over the area and release to take the screenshot.
- Restart your Mac from the Apple menu and try the portion tool again.
Apple's screenshot guides don't list a fix for a missing selection frame, so the sections below follow its general checks in order, from the quickest to the most involved.
Why doesn't my screenshot tool work on Mac?
| What you see | Where to look | Fix |
|---|---|---|
| Toolbar opens, but the portion tool shows no frame | A saved selection or a software fault | Clear Remember Last Selection, restart, then test safe mode |
| Shift-Command-5 does nothing | A changed or conflicting shortcut | Open Keyboard Shortcuts > Screenshots and restore defaults |
| The screenshot works, but the file is missing | A different save location or the Clipboard | Check Save to in the Options menu |
| One app's window comes out blocked | That app doesn't allow screenshots | Nothing to repair; Apple TV and DVD Player are examples |
| The fault appears only in your user account | Your account's settings or startup items | Compare with a new user account |
| The fault appears everywhere, even in safe mode | macOS itself | Update macOS, then reinstall it |
How to screenshot again on Mac with keyboard shortcuts
These shortcuts don't need the Screenshot toolbar, so they keep working as a stopgap and also show whether the capture system itself still runs. Add Control to any of them to copy to the Clipboard. You can compare every Mac capture option once this fault is fixed.
| What to capture | Shortcut | Next action |
|---|---|---|
| Entire screen | Shift-Command-3 | Wait for it to save, or click the thumbnail |
| Portion of the screen | Shift-Command-4 | Drag the crosshair and release; press Esc to cancel |
| Move a selection while drawing | Hold Space bar while dragging | The area moves without changing size |
| Window or menu bar | Shift-Command-4, then Space bar | Click the window with the camera pointer; hold Option to leave out the shadow |
| Menu and menu items | Open the menu, then Shift-Command-4 | Drag over the items |
| Screenshot toolbar | Shift-Command-5 | Choose a tool and click Capture |
| Touch Bar | Shift-Command-6 | Saved to the desktop |
Screenshot function not working: restore the Mac keyboard shortcuts
A shortcut stops working when it's turned off or another command already uses the same keys. Restoring defaults resets all your shortcuts, not only the Screenshots ones, so note any custom ones first.
- Choose Apple menu > System Settings.
- Click Keyboard in the sidebar. You may need to scroll down.
- Click Keyboard Shortcuts, then click Screenshots in the sidebar.
- Select the checkbox beside each screenshot shortcut you want turned on.
- Click Restore Defaults in the bottom-left corner if a key combination was changed.
- Press Shift-Command-5 to test.
Why did my screenshot stop working on Mac? Force quit, restart and update macOS
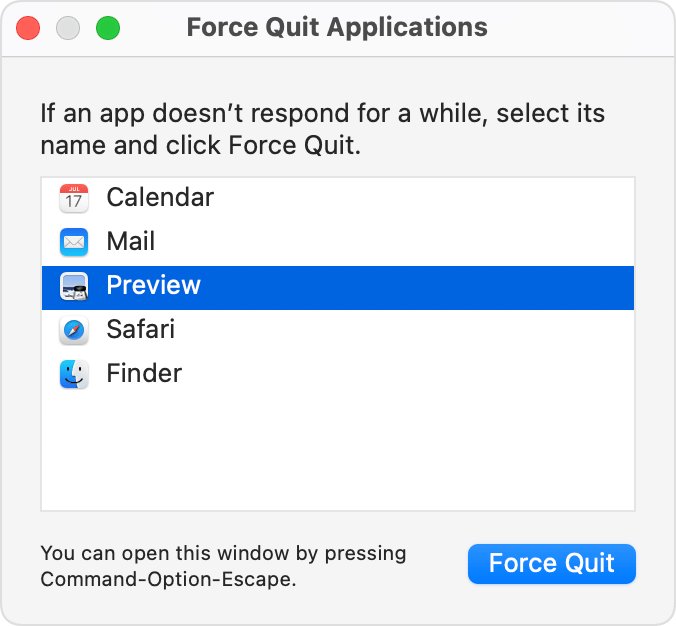
An app that has stopped responding can get in the way, and an out-of-date system can carry a fault that a later version has fixed.
- Press Option-Command-Esc to open the Force Quit window.
- Select any app that isn't responding, then click Force Quit.
- Choose Apple menu > Restart.
- Open System Settings, click General, then click Software Update.
- Install any update listed for your Mac.
- Open the App Store app and update any screen-capture tools you installed there.
- Press Shift-Command-5 and test the portion tool.
Test the Mac Screenshot app in safe mode
Safe mode helps you determine whether a problem comes from software that loads when the Mac starts up. If the frame returns here, a startup item is the likely cause.
Apple silicon Mac
- Choose Apple menu > Shut Down and wait until the Mac is fully off.
- Press and hold the power button until Loading startup options appears.
- Select a volume.
- Hold Shift, then click Continue in Safe Mode.
- Look for Safe Boot in the menu bar, then test Shift-Command-5.
Intel-based Mac
- Turn on or restart the Mac, and immediately hold Shift until the login window appears.
- Log in. You may need to log in a second time.
- Look for Safe Boot in the menu bar, then test Shift-Command-5.
Restart normally to leave safe mode. If the portion tool works in safe mode, remove or update recently added screen-capture, window-management and other utility apps one at a time.
Is the Screenshot app corrupted? Test it in a new Mac user account
A new account has none of your personal settings. If the frame works there, the Screenshot app itself isn't broken, and the cause sits in your own account.
- Choose Apple menu > System Settings, then click Users & Groups in the sidebar.
- Click Add User below the list of users, and enter your password if prompted.
- Choose Standard from the New User pop-up menu.
- Enter a full name and password, then click Create User.
- Press Shift-Command-Q to log out, then log in to the new account.
- Press Shift-Command-5 and test the portion tool.
- Log back in to your own account and delete the test user when you finish.
Can I download the Screenshot app again on Mac?
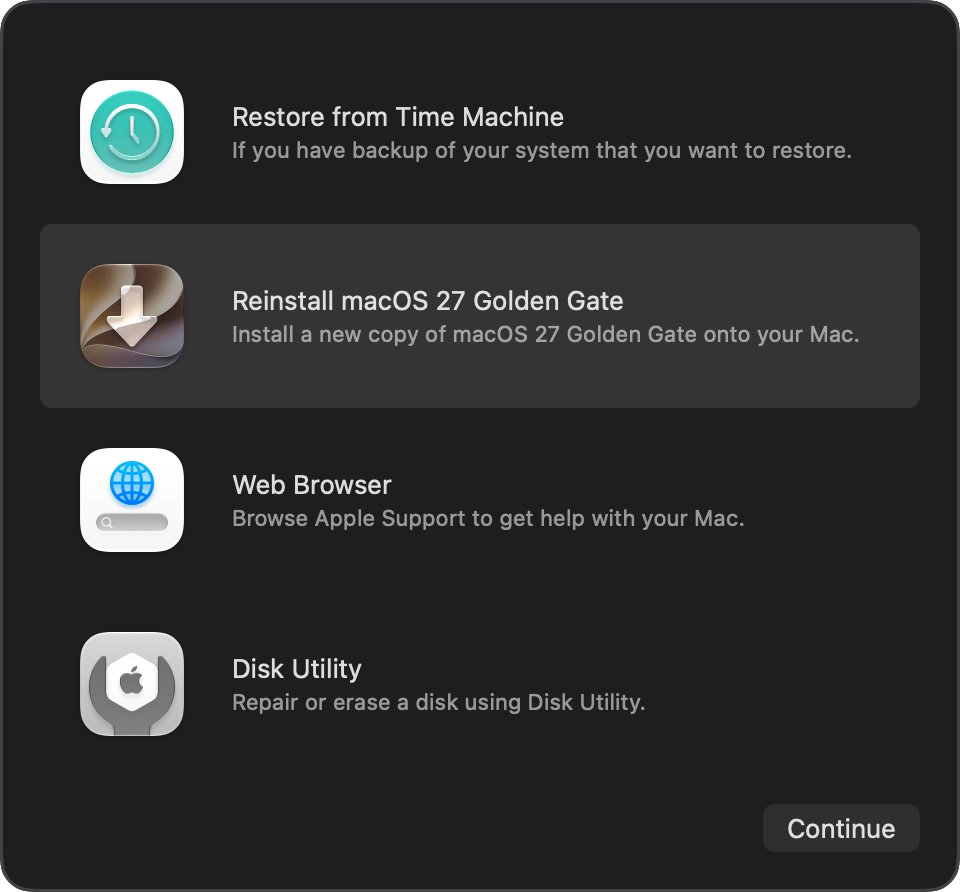
No separate download exists. Screenshot ships with macOS Mojave 10.14 and later and sits in the Utilities folder inside Applications, so reinstalling macOS is the way to replace it. Apple says a reinstall doesn't remove your apps or personal data, but it still recommends a backup first.
- Back up your Mac.
- Start up from macOS Recovery, using the method for your type of Mac.
- Choose the option to install or reinstall macOS, then click Continue.
- Follow the onscreen instructions.
- Let the installation finish without putting the Mac to sleep or closing its lid.
- Test Shift-Command-5, and contact Apple Support if the frame is still missing.
How to change Screenshot app settings on Mac
Open Shift-Command-5 and click Options. A changed option can look like lost functionality, for example when screenshots save to a folder you no longer check.
| Option | What it controls | Set it to |
|---|---|---|
| Save to | Where files go | A preset location, or Other Location for a folder |
| Timer | The delay before capture | The wait you need, or none |
| Show Floating Thumbnail | The preview in the bottom-right corner | On to mark up or drag the file before it saves |
| Remember Last Selection | Reuse of your last selected area | Off while you troubleshoot |
| Capture Format | HDR or SDR on supported Macs | SDR saves as PNG and is the most compatible; HDR saves as HEIF |
| Show Mouse Pointer | The pointer in the image | Your preference |
How to tell if the Screenshot app selection frame is back
- Press Shift-Command-5 and click the Capture a portion of the screen tool.
- Drag the frame to reposition it, and drag its edges to resize it.
- Click Capture.
- Confirm that the thumbnail appears in the bottom-right corner if Show Floating Thumbnail is on.
- Look in your Save to location for a .png file whose name begins with Screenshot and includes the date and time.
- Repeat with the Record a portion of the screen tool to confirm the frame appears there too.
What is the Screenshot app on Mac?
Screenshot is the panel of capture tools built into macOS. It opens with Shift-Command-5, from Spotlight, or from the Utilities folder in Applications.
| Tool | How you finish the capture |
|---|---|
| Capture the entire screen | Click Capture |
| Capture a window | Move the pointer to the window, then click it |
| Capture a portion of the screen | Set the frame, then click Capture |
| Record the entire screen | Click Record, then stop from the menu bar |
| Record a window | Choose the window, click Record, then stop from the menu bar |
| Record a portion of the screen | Set the frame, click Record, then stop from the menu bar |
Screenshot app not working on Mac: other problems
Where is my screenshot after I took it?
Screenshots save to the desktop by default, unless you chose another location or copied to the Clipboard.
- Look on your desktop for a file beginning with Screenshot or Screen Shot.
- Press Shift-Command-5, click Options, and read the location ticked under Save to.
- If you held Control with the shortcut, paste the image into a document, since no file was saved.
How to recover lost screenshots on Mac
Files you deleted stay in the Trash until you empty it, unless the 30-day removal setting is on.
- Open the Trash, select the screenshot and choose File > Put Back.
- If you use Time Machine and the file was on the desktop, open Time Machine with Spotlight.
- Use the arrows to go back to a backup that shows the file, select it, then click Restore.
This app does not allow screenshot on Mac
Some apps, such as the Apple TV app and DVD Player, don't let you capture their windows.
- Test the same tool on a Finder window to confirm that the Screenshot app works.
- Close or move the protected window if you need to capture the rest of the screen.
Why isn't screenshot working after I changed a shortcut?
A key combination already used by another command or app won't work.
- Open System Settings > Keyboard > Keyboard Shortcuts.
- Change either the new shortcut or the conflicting one, using each type of key only once.
- Quit and reopen any affected apps.
Screenshot app for Windows: what replaces Shift-Command-5
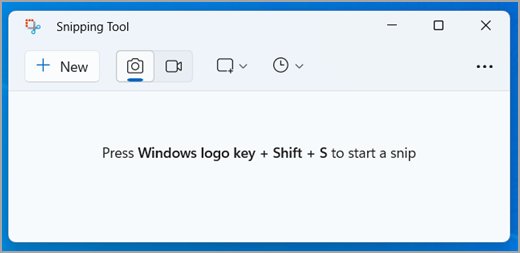
The Windows equivalent is Snipping Tool, and you can take a screenshot on Windows with these keys on any Windows 11 or Windows 10 PC. Snips save automatically to your Screenshots folder.
| What you want | Keys on Windows | Mac equivalent |
|---|---|---|
| Open the capture overlay | Windows logo key + Shift + S | Shift-Command-5 |
| Capture a video clip | Windows logo key + Shift + R | Record a portion of the screen |
| Copy the entire screen to the clipboard | Print Screen | Control-Shift-Command-3 |
Mac Screenshot app FAQ
What is the Screenshot app?
Screenshot is the capture panel built into macOS Mojave and later. Press Shift-Command-5 to open it, then choose to capture or record the entire screen, a window or a portion of the screen. You can also find it in the Utilities folder.
Why did my screenshot stop working?
On a Mac, the usual places to look are a changed or conflicting keyboard shortcut, an app that has stopped responding, software that loads at startup, or a fault in macOS. Restore the shortcuts, restart, then test safe mode and a new user account to narrow it down.
How do I screenshot again on a Mac?
Press Shift-Command-3 for the entire screen or Shift-Command-4 for a portion. These shortcuts work without the Screenshot toolbar. If they do nothing, open System Settings, go to Keyboard Shortcuts, select Screenshots and turn the shortcuts back on.
Where is my screenshot on a Mac?
Screenshots save to your desktop by default, with a name beginning with Screenshot and including the date and time. If it isn't there, press Shift-Command-5, click Options and read the location under Save to. Shortcuts that include Control copy to the Clipboard instead.
Can I download a screenshot app for a Mac?
You don't need to, since Screenshot is built into macOS and has no separate download. Replacing it means reinstalling macOS, which Apple says doesn't remove your apps or personal data. Back up your Mac first in any case.
How do I take a screenshot without losing quality on a Mac?
Mac screenshots save as PNG files by default. On supported Macs running macOS Tahoe 26 or later, click Options in Shift-Command-5 and set Capture Format to HDR for more brightness and color, or SDR for the most compatible file.
How do I retrieve a screenshot I deleted on a Mac?
Open the Trash, select the screenshot and choose File, then Put Back. If you already emptied the Trash, the file is permanently deleted from the Mac, so restore it from Time Machine if you have a backup that includes it.
What app takes screenshots on Windows?
Snipping Tool is the Windows screenshot app. Press the Windows logo key + Shift + S to open its overlay and capture a rectangle, freeform shape, window or the full screen. Snips are saved automatically to your Screenshots folder and copied into the Snipping Tool window.