To boot into BIOS on a Dell, restart the computer and tap F2 repeatedly as soon as the Dell logo appears until the BIOS setup screen opens.
This guide covers the F2 key, the Windows Advanced startup route, the F12 one-time boot menu, fixes when the Dell will not enter BIOS, and the settings worth checking.
Boot into BIOS on a Dell Using the F2 Key
F2 works on Dell laptops and desktops. Use Restart rather than Shut down, because Windows fast startup does not apply to a restart.
- Save your work and select Start > Power > Restart.
- As soon as the screen goes dark and the Dell logo appears, tap F2 about once per second.
- Keep tapping until the BIOS setup screen opens.
- Make your changes, then select Apply or Save and Exit, depending on your model.
If F2 keeps missing on a laptop, plug in a wired USB keyboard or use the Windows Advanced startup route below.
What BIOS/UEFI Is and Why You Might Need It
BIOS, or on current Dell models UEFI, is the firmware that starts the hardware before Windows loads. Dell calls its setup screen BIOS or System Setup.
| Reason to open it | What you change |
|---|---|
| Boot from a USB drive or DVD | Boot sequence, or use the F12 one-time menu instead |
| Meet Windows 11 requirements | Turn on Secure Boot and the TPM, often listed as Intel Platform Trust Technology or Firmware TPM |
| Run virtual machines or WSL | Turn on Intel Virtualization Technology (VT-x) or AMD-V |
| Undo a bad change | Load Defaults or Restore Settings |
| Update the BIOS | The F12 menu's BIOS Flash Update or BIOS Update entry on supported models |
Which method should you use?
| Your situation | Use this | Why |
|---|---|---|
| Keyboard works and you can time the key press | F2 at the Dell logo | Fastest, no Windows menus |
| F2 keeps missing, or Windows starts too fast | Windows Advanced startup | Windows restarts straight into the firmware |
| You only need to boot once from USB or the network | F12 one-time boot menu | Leaves the saved boot order untouched |
| You prefer a command | shutdown /r /fw /t 0 |
Restarts into the firmware with no key timing |
| Windows will not start at all | Windows recovery after failed boots | Windows RE opens automatically and still offers UEFI Firmware Settings |
Access Dell BIOS from Windows Advanced Startup
This route avoids key timing entirely and works on any Dell running Windows in UEFI mode.
- On Windows 11, select Start > Settings > System > Recovery. On Windows 10, select Settings > Update & Security > Recovery.
- Next to Advanced startup, select Restart now.
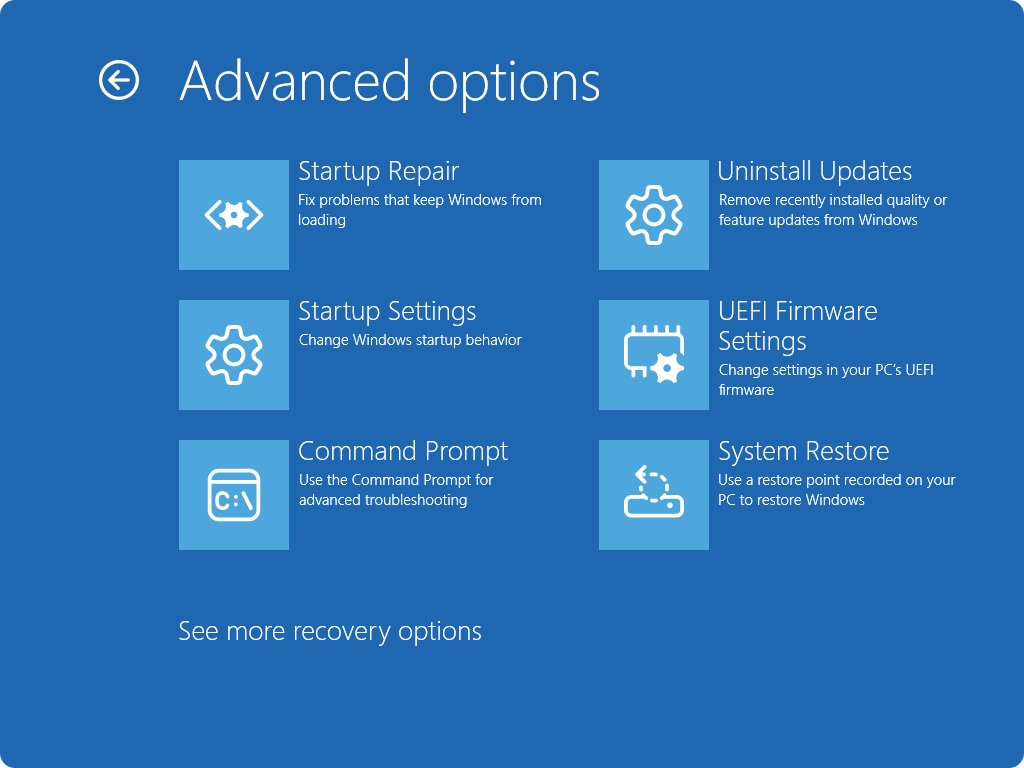
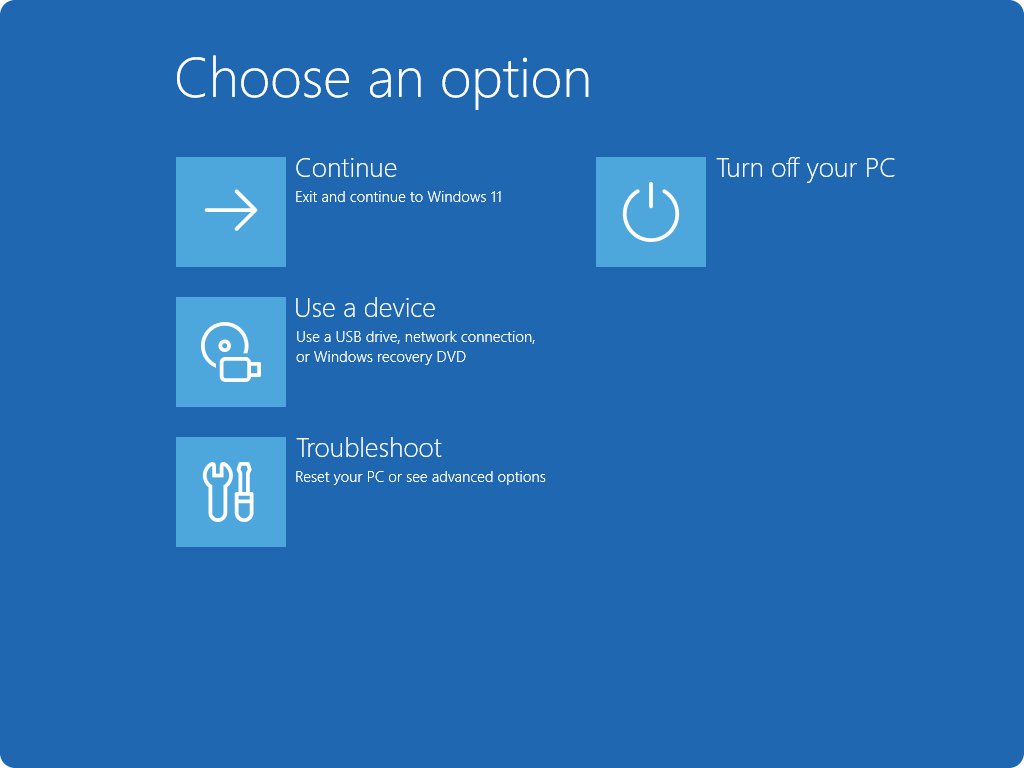
- On the blue screen, select Troubleshoot > Advanced options.
- Select UEFI Firmware Settings, then Restart.
- The Dell restarts straight into BIOS setup.
Holding Shift while you select Power > Restart opens the same blue screen.
Restart into Dell BIOS with a command
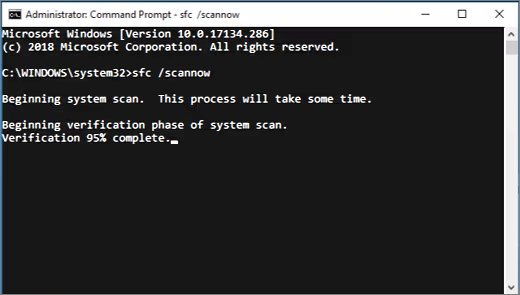
shutdown /r /fw /t 0/r restarts the computer, /fw sends the next restart to the firmware user interface, and /t 0 removes the default 30-second delay.
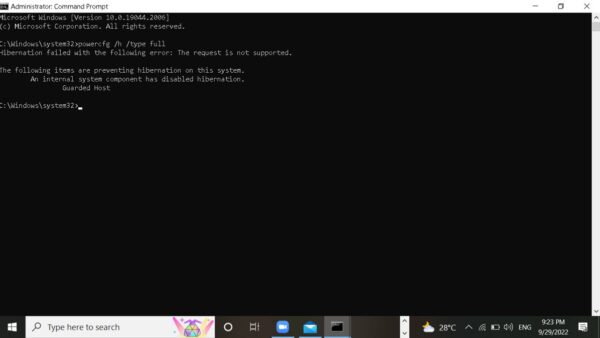
You should see: Windows restarts and the Dell BIOS setup screen opens without any key press. Run it from an administrator Command Prompt if it reports that access is denied.
Use the Dell One-Time Boot Menu with F12
F12 opens a menu for this start only. The BIOS boot order stays as it was.
- Restart the Dell.
- Tap F12 several times as soon as it starts, until the One Time Boot menu appears.
- Use the arrow keys to select a USB drive, the internal drive, the network adapter or BIOS Setup.
- Press Enter.
The entries depend on the model and what is connected. Many Dell computers made since 2012 also list BIOS Flash Update, shown as BIOS Update on 2020 and later models.
Important BIOS Settings to Check or Change
Change only what you came for. Microsoft warns that adjusting other firmware settings might stop Windows from starting.
| Setting | Where to look | What to know |
|---|---|---|
| Boot sequence and boot mode | Boot or Boot Sequence, then Boot List | Windows 11 needs UEFI, not Legacy |
| Secure Boot | Secure Boot | Set to Enabled, then Apply or Save and Exit |
| TPM | Security options such as Intel Platform Trust Technology, Trusted Platform Module or Firmware TPM | Set to On for Windows 11 |
| Storage controller mode | Storage or system configuration | Leave unchanged on a working system; changing it can stop Windows starting |
| Virtualization | Intel Virtualization Technology (VT-x) or AMD-V | Needed for Hyper-V, WSL and virtual machines |
| USB and network boot | Enable USB Boot Support, Enable UEFI Network Stack | Needed to boot from USB adapters or the network on some Latitude models |
If a firmware change triggers a BitLocker recovery prompt, the key is usually stored in your Microsoft account. Dell cannot provide or bypass it.
To install newer firmware, follow the Dell BIOS update steps.
How to check you are in the Dell BIOS
- Look for a Dell-branded BIOS Setup or System Setup screen rather than Windows.
- Confirm the arrow keys or mouse move between its sections, such as boot and security settings.
- Find the setting you came to change before touching anything else.
- After saving, restart and confirm Windows starts normally.
Troubleshooting When Dell Won’t Enter BIOS
F2 does nothing and Windows loads
The key press came too late, or the PC resumed from fast startup after a shutdown.
- Use Restart rather than Shut down and start tapping F2 as soon as the screen goes dark.
- Tap about once per second; holding the key down may not register.
- Or run
shutdown /s /t 0for a full shutdown, then power on and tap F2. - If timing keeps failing, use Windows Advanced startup instead.
F2 does not work on a wireless or USB keyboard
The keyboard is not ready that early in startup.
- Plug a wired USB keyboard into a port on the computer, not a hub.
- Or use Settings > System > Recovery > Advanced startup, which needs no key at startup.
Windows will not start, so Advanced startup is unreachable
Windows RE opens automatically after several failed boots.
- Turn the Dell on, and hold the power button to turn it off as Windows starts loading. Repeat twice.
- On the recovery screen, select Troubleshoot > Advanced options > UEFI Firmware Settings > Restart.
The screen stays black, so you cannot see the Dell logo
An external monitor or a display problem hides the startup screen.
- Disconnect external monitors and docks on a laptop.
- Tap F2 from power-on even without the logo.
- Use
shutdown /r /fw /t 0from Windows if it starts.
The PC keeps booting into BIOS
The firmware cannot find a bootable drive in the boot list.
- In BIOS setup, check the internal drive or Windows Boot Manager is listed under Boot Sequence.
- Check Boot List matches how Windows was installed, usually UEFI.
- If you changed settings, select Load Defaults or Restore Settings, then save and exit.
Frequently Asked Questions
What key do I press to enter BIOS on a Dell laptop or desktop?
Press F2. Tap it repeatedly as soon as the Dell logo appears until BIOS setup opens. F12 opens the one-time boot menu, which also lists BIOS Setup.
What is the difference between F2 and F12 on a Dell computer?
F2 opens BIOS setup, where changes are saved. F12 opens the One Time Boot menu, which boots a chosen device once and leaves the saved boot order alone.
How do I enter Dell BIOS if the F2 key is not working?
Use Windows Advanced startup: Settings > System > Recovery > Restart now, then Troubleshoot > Advanced options > UEFI Firmware Settings > Restart. The command shutdown /r /fw /t 0 does the same.
Can I boot into BIOS on a Dell without a keyboard?
Yes. From Windows, use Advanced startup in Settings > System > Recovery with a mouse or touchscreen, then choose UEFI Firmware Settings. The Dell restarts straight into setup.
Will changing BIOS settings on my Dell erase my files?
No. BIOS settings, including Load Defaults, do not touch your files. A changed boot mode or storage setting can stop Windows starting, and a TPM change can trigger a BitLocker recovery prompt.
How do I boot into BIOS on Windows 11?
Select Settings > System > Recovery, then Restart now next to Advanced startup. Choose Troubleshoot > Advanced options > UEFI Firmware Settings > Restart. This works on Dell, HP, Lenovo and other UEFI PCs.
How do I boot into BIOS on an HP or Lenovo laptop?
The Windows Advanced startup route works on any UEFI laptop, whatever the brand: Settings > System > Recovery > Restart now, then UEFI Firmware Settings. Startup keys differ by maker, so check the maker's support site.
How do I boot into BIOS on a Surface Pro?
Shut it down and wait 10 seconds. Hold the volume-up button, press and release the power button, and keep holding volume-up until the UEFI screen appears.
How do I boot into BIOS from cmd?
Run shutdown /r /fw /t 0. The /fw switch sends the next restart to the firmware screen, and /t 0 restarts immediately.
Why can't I boot into BIOS?
The key was pressed too late, the PC resumed from fast startup, or a wireless keyboard was not ready. Use Restart and tap F2 early, or go through Windows Advanced startup.
Why does my PC always boot into BIOS?
The firmware found no bootable drive in its boot list. Check the internal drive or Windows Boot Manager is listed under the boot sequence and that the boot mode matches the Windows installation.
Bottom Line
Restart and tap F2 at the Dell logo; if that keeps missing, use Windows Advanced startup or shutdown /r /fw /t 0. A restart skips fast startup so F2 registers, and the Windows routes need no key timing at all.